Share on social media networks:
No one is immune from such an unpleasant situation when the pipe in the bathroom is leaking. What to do in such a case? Structures leakage can be caused by mechanical damage or corrosion. If metal pipes are susceptible to corrosion, then damage also threatens products made of metal-plastic, polypropylene or polyethylene. Can a leak be repaired on my own without calling a plumber? It turns out that you can. How to start troubleshooting the accident? First of all, find the place where the leak has formed. There are several options, which we will consider in this article.
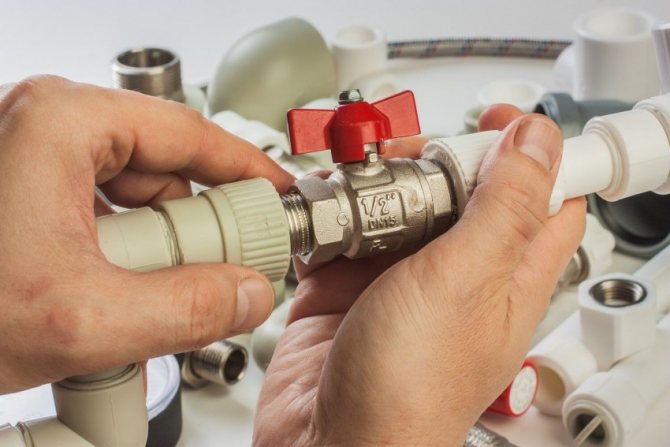
Pipe joints
If the cast iron pipes are not well enough connected to each other, then it is quite difficult to cope with such a problem on your own. The way to eliminate the leak depends on the type of connection.
If the pipe connection is lead, proceed as follows:
- Strip joints down to metal.
- Stamp the gap with lead cones using a blunt chisel.
Important! Lead is a soft metal and seals the gap very well.
For cement sealing, the following algorithm is suitable:
- Use a chisel and hammer to remove any old cement residue.
- Clean the gap.
- Drive in new tarred material and seal the gap with cement mortar (cement to water ratio 10: 1).
Important! Before clogging the tarred strands, treat them with a mixture (for 1 volume of water - 3 volumes of asbestos and 7 volumes of cement). The consistency of the mixture is the same as plasticine.

Cement filling
These tips will be useful if, apart from cement, there are no building materials in your arsenal. Try this:
- Clean the areas in the area of the joints, remove the remnants of the old seal. Do not use heavy tools as this may damage the pipes.
- For repairs you will need: some cement, gauze bandage.
- Dissolve the cement in water to a mushy state, moisten a bandage in it.
- Wrap the joint of two pipes with a bandage soaked in cement mortar.
- Wait until the solution has completely solidified (this will take about 2 hours).
- Sand the joint and paint over with paint.
Leak in the pipe body
If it is not the joint that is leaking, but the pipe itself, then the problem must be solved in a completely different way.
Banding method
When the owners know where to call if the pipes are leaking, but at the moment they do not have the opportunity to use the services of a plumber, then you can install a temporary bandage on the pipe with your own hands.
The bandaging procedure consists of the following steps:
- Search and identification of the place of leakage;
- Installation of a rubber gasket in the emergency area;
- The gasket is pressed tightly against the pipe and fixed with clamps.
Advice. A huge number of clamps can be found in a hardware store, but if one is not at hand, you should simply wrap the gasket tightly with the materials at hand.
The following can act as a rubber gasket:
Banding method
- A piece of rubber boot shaft;
- A piece of hose;
- Thick rubber glove;
- Part of a bicycle camera, etc.
The width of such a gasket directly depends on the diameter of the pipe and should be equal in length to 1.5 times the diameter.
Leak sealing
It is possible to eliminate leaks in heating, sewerage and water supply pipes using an adhesive bandage.
In this case, you must proceed as follows:
- Shut off the water supply;
- With the help of a hair dryer, the emergency area is dried;
- A dense flexible material is selected, suitable in size for sealing the hole.This material can be a piece of rubber, plastic, fiberglass, etc .;
- The selected material is glued to the leak with epoxy glue.
Advice. If you choose fiberglass, then you should prepare a piece of such a length that you can wrap the pipe at least 5 times. The width of this kind of band should be selected based on the diameter of the pipeline at least 1.5 diameters.
The adhesive is applied to the banding material with a spatula or brush. After the material is wound and until it is completely dry, press the bandage with clamps or ties. It will take at least 24 hours for the glue to dry completely at room temperature.
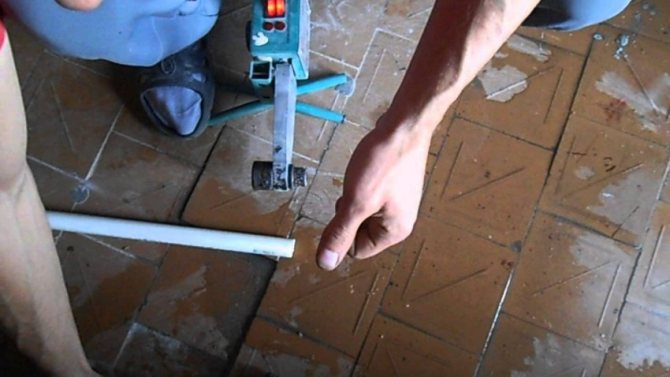
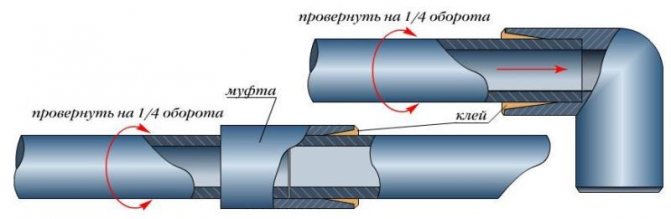
Sealing of plastic pipes
Sealing of plastic pipes
In order to eliminate the leak in the section of the plastic pipeline, it is best to use the glue sealing method. To implement it, you need a piece that fits the diameter of the plastic pipe. It needs to be cut to length.
Then, approximately 1/3 of the length is cut off from this workpiece, and through the resulting cut we put it on the emergency area, having previously processed the inner surface with sandpaper and generously smeared with glue. Until the glue is completely dry, it is better to press the workpiece to the surface using clamps.
The drain is leaking in the bathroom, what should I do? Leak in the pipe body
Here, the troubleshooting methods are somewhat different than when the joints are leaking. There can be several ways. Choose the one that suits you best.
Bandage
Installing a bandage is one of the ways to temporarily eliminate a leak from the pipe body. The essence of the repair is to find the damaged area and apply a rubber bandage. The sequence of the procedure is as follows:
- Place the rubber pad over the damaged area.
- Press the gasket against the pipe and secure with a hose clamp.
Important! Clamps are commercially available, but, if necessary, you can make them yourself. The material for the bandage can be: a rubber hose, an old rubber boot, a bicycle tube, etc. The width of the band is determined based on the diameter of the pipe.
Wood wedge
Sometimes there is a situation that is called a stalemate. The pipe is leaking, the water pressure is large, it is impossible to shut off the water supply, and the clamp does not hold. A small wooden wedge in the shape of a cone helps to solve the problem, at least temporarily. Make the wedge in such a way that its sharp part matches the size of the hole:
- Insert the sharp end of the wedge into the hole.
- Drive the wedge carefully into the pipe with a hammer.
Of course, this is a temporary measure, but you will gain time to call the master.

Hole sealing
This is the same bandage, only adhesive. The algorithm of actions is as follows:
- Shut off the water supply with a tap.
- Dry the problem area with a construction hairdryer.
- Find the right elastic material. It can be fiberglass, rubber, plastic, etc.
- Using epoxy glue, glue the material to the emergency area.
Important! The width of the rubber band is determined at least 1.5 times the pipe diameter. If fiberglass is used, then cut off such a piece so that you can wrap the problem area at least 5 times.
Apply the adhesive to the bandage material with a spatula or brush. Until the glue is completely cured, press the bandage with a clamp or tie. At a temperature of 25 degrees, the glue hardens for 24 hours. If the air temperature is 15 degrees, the glue will harden for about 3 days.
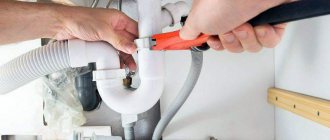
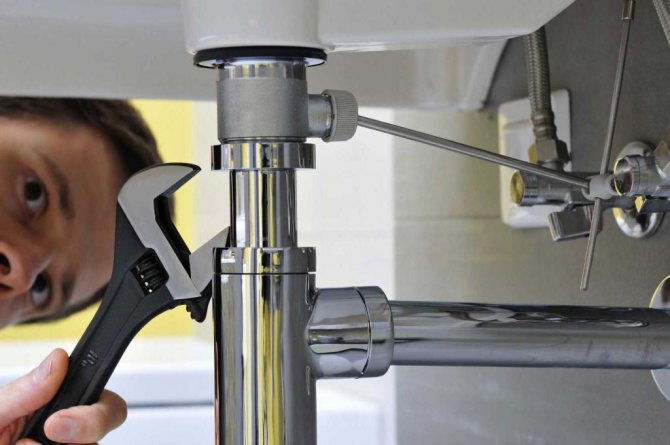
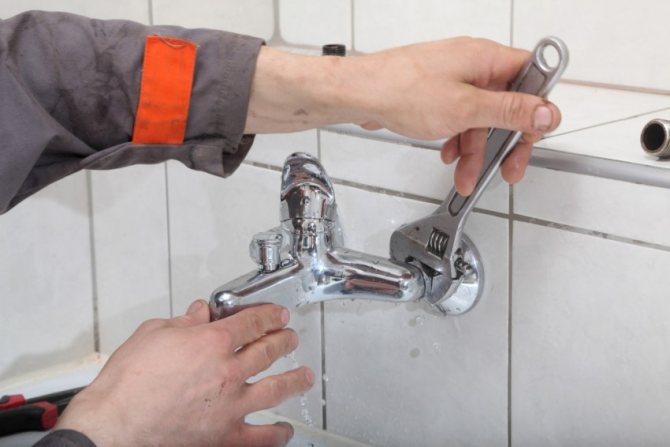
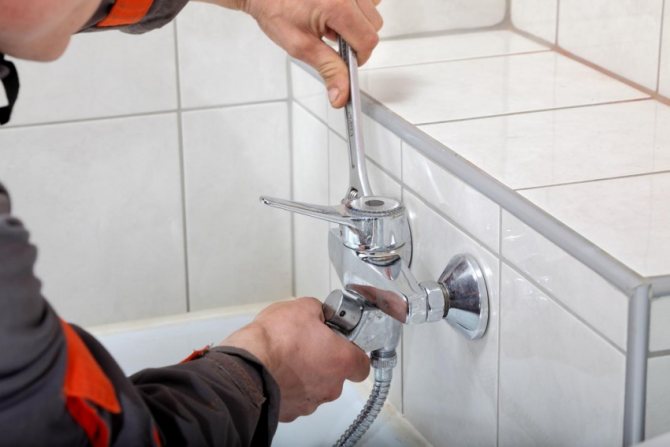
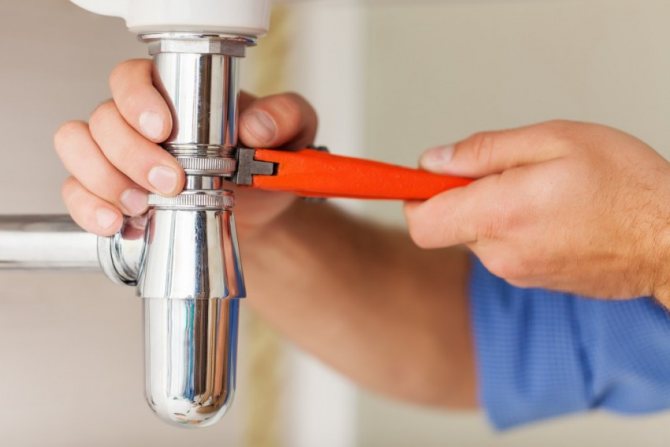
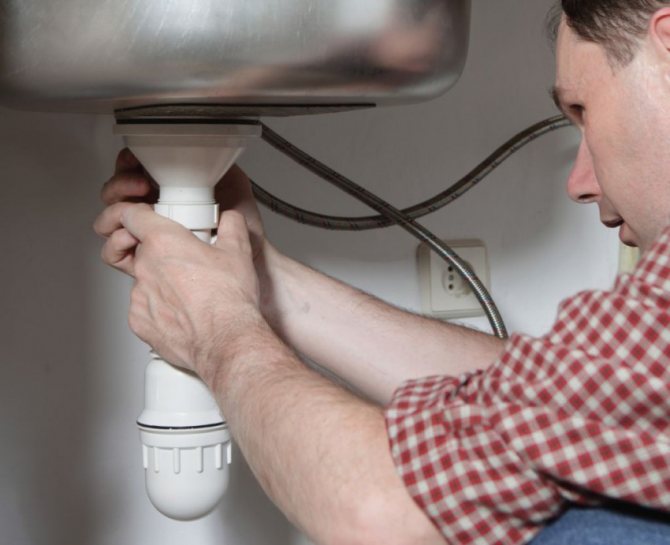
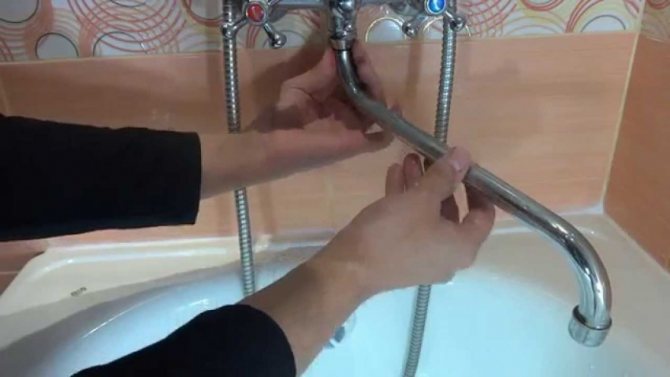
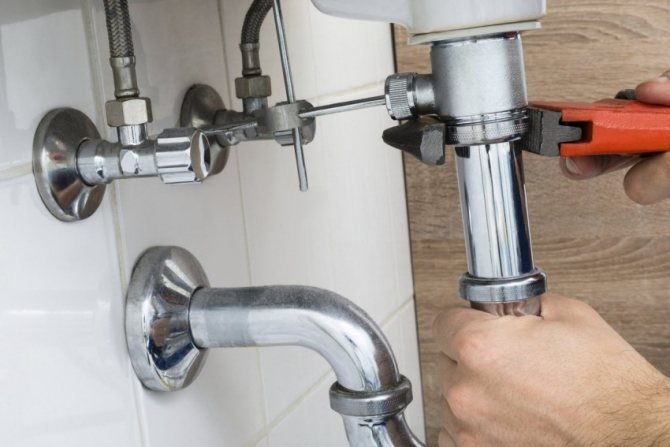
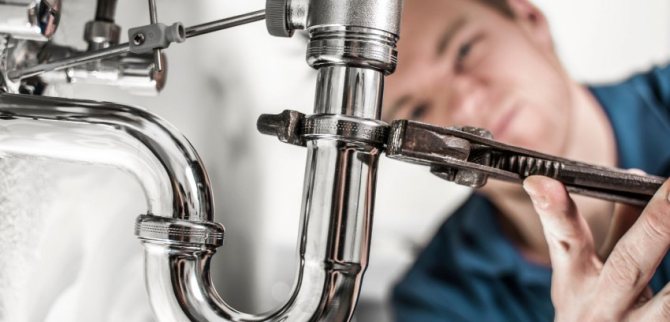
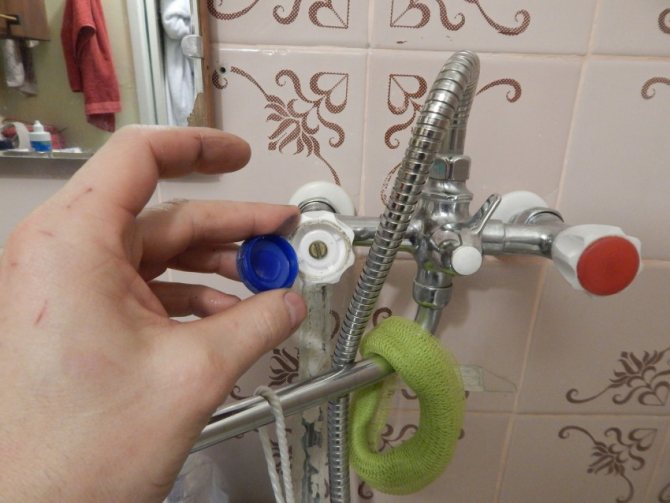
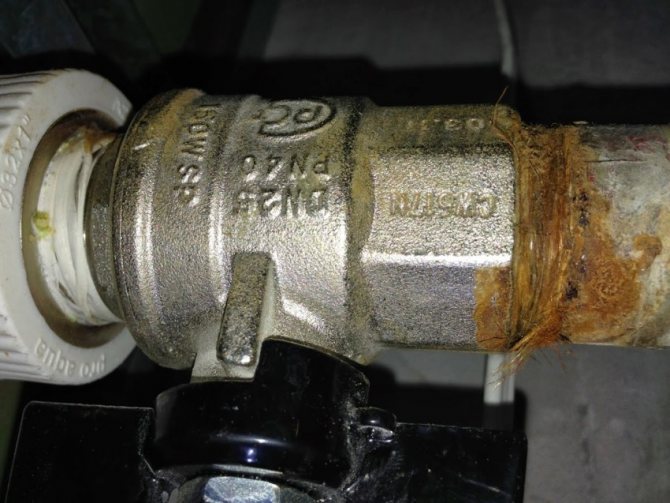
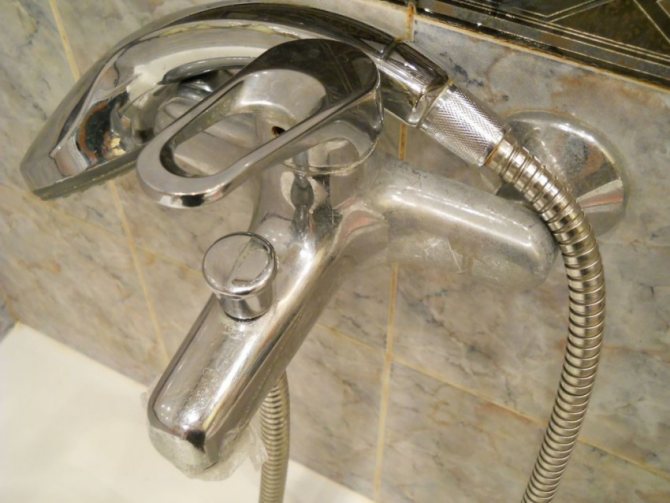
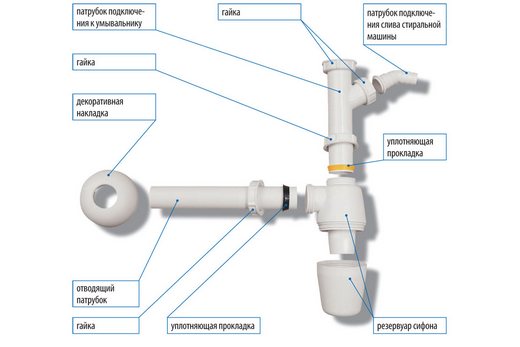
Damaged tap or siphon
If traces of water leakage are found in the bathroom, the equipment check begins with a tap and a siphon. In the first case, there is a possibility of incorrect operation of the mixer, due to which part of the water flow is directed past the bathtub or sink. Problems with the crane are solved by replacing it.

In other cases, the solution to the problem will be to install a new gasket to replace the worn out one. Occasionally, the leak is caused by damage to the housing, clogging of the ball mechanism or cartridge.
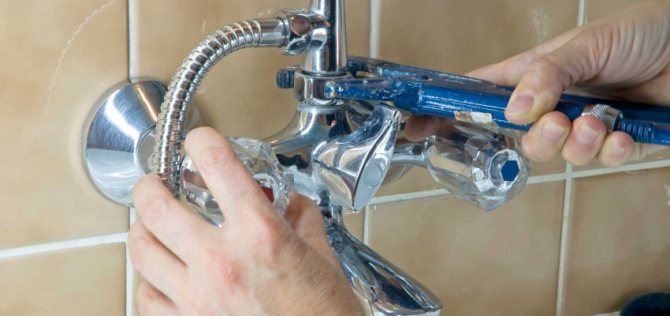
When deciding how to fix a bathroom faucet, you should take into account the scale of the breakdown and your own capabilities. In some cases, it is better to solve the problem using a wizard.
Siphon problems can be caused by the following reasons:
O-ring wear, stretching, cracking, misalignment. The issue is resolved by installing a new element. It is enough to return the shifted ring to its original place.
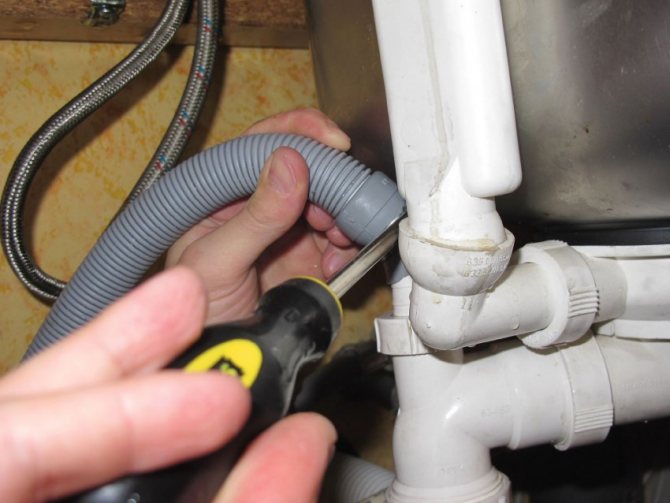

If the cause of the leak is a burst overflow pipe, the damage is also repaired by replacement.
One of the main problems with a siphon in a bathroom is considered to be a blockage. It can be cleaned mechanically, or using special means.
In some cases, it will be necessary to remove the siphon for work. However, before you start unscrewing the part, it is worth placing a container under it. So you do not have to waste time cleaning up dirt that will be on the floor during the dismantling process.
Deformation of the O-ring can be repaired by replacing it. However, along the way, you will have to install a new siphon. Especially if the problems started as a result of cleaning or poor selection of a part.
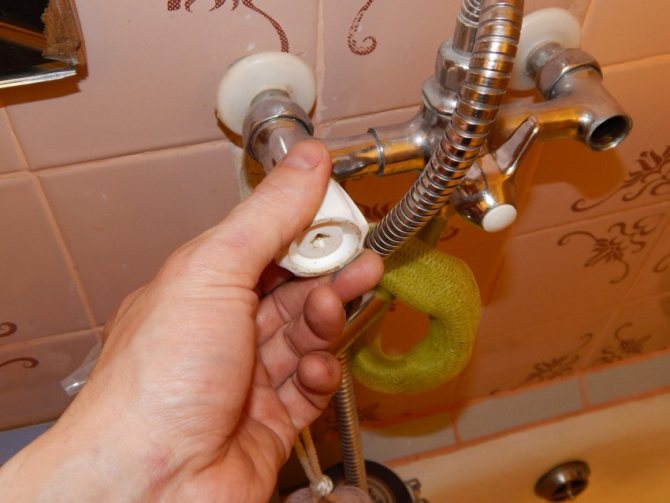
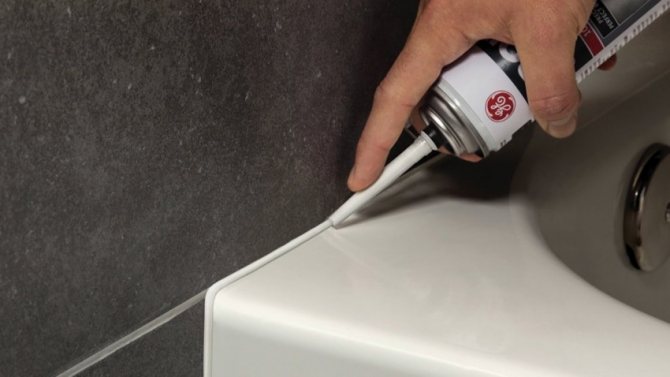
Not tight fitting of drainage connecting elements, as well as violation of the integrity of the system due to the action of time, is solved by using a sealant. Previously, the problem area should be wrapped with tow or electrical tape.

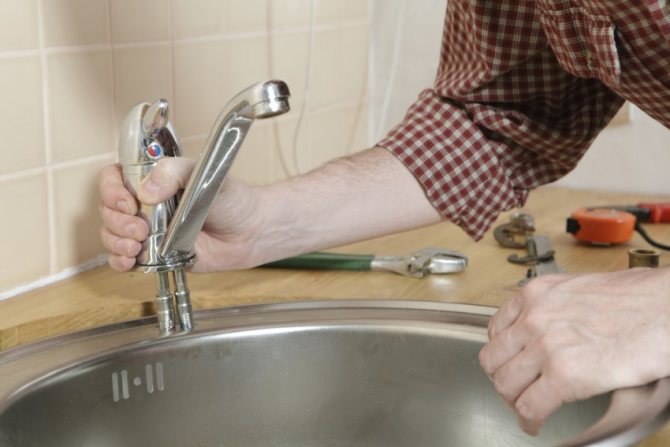
How to seal a leak in a plastic pipe?
Everything is very simple:
- Select a piece of plastic pipe of suitable diameter and cut to length.
- Cut off about a third of the surface to its full length.
- Sand the inside of the surface and apply glue to it.
- Place the resulting plastic strap over the damaged area.
- Press down on the clamp and wait for the glue to harden.
Bolt in hole
If the leak is provoked by a fistula in the pipe, drill a small hole in the place of the fistula and screw in a bolt moistened with oil paint. This method can be used for new large diameter pipes. If the pipeline is old, then all attempts to screw in the bolt will only lead to the fact that the hole will increase.
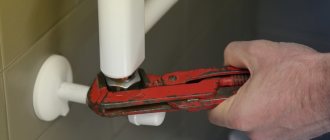
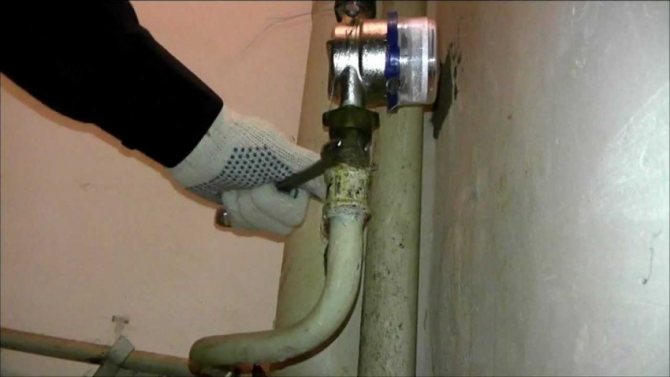
How to replace the damaged area?
Many are interested in the question: what to do if a bathtub leaks and how to replace a damaged area with metal pipes?
- Shut off the water supply.
- Using a grinder or a metal hacksaw, cut off the problem section of the pipe (approximately 300 mm from the damaged section).
- Disconnect the screw connection closest to the damaged area.
- Cut a thread on the stationary cut end of the pipe. Screw the sleeve onto it.
- Select a pipe section suitable for the length, cut threads from both ends.
- Connect the new section of the pipe and the water pipe with a coupling. To prevent the threaded connection from leaking, seal it with FUM tape or linen with a sealing putty.
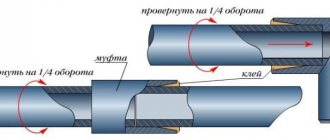
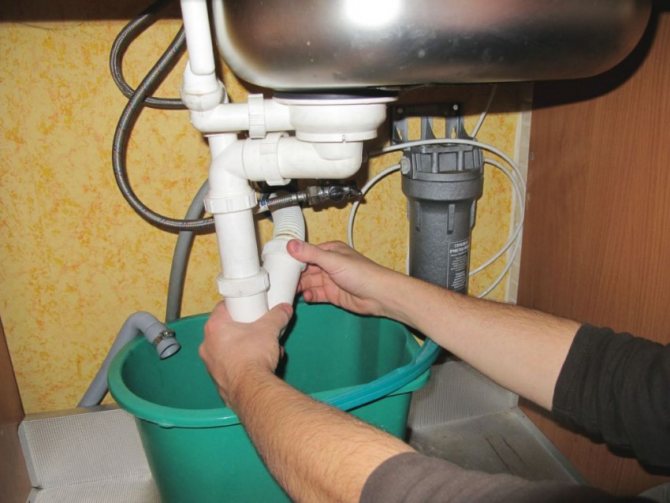
Do-it-yourself temporary elimination of a weak leak
It also happens when the reason for the pipe leak in the bathroom is not so terrible and serious, so there is no special need to change the pipe. Then you can try to fix the problem on your own. There are two solutions for this: cold welding or bandage.
Option one - cold welding
Scheme of cold pipe welding.
Now on sale there is a very useful substance in everyday life called cold welding. Such welding, without the application of special efforts and skills, is capable of very reliably interconnecting materials such as metal, glass, plastic, wood and others.Cold welding is perfect when the pipe does not flow much under the bathtub, but only oozes.
Turn off the water and put on rubber gloves before doing this welding. Then clean the damaged pipe well, thereby freeing it from dust and dirt. Wipe the pipe dry and degrease the surface thoroughly with acetone or alcohol. After that, remove the weld (so-called punches) from the packaging and press it as hard as possible against the deformation of the pipe. It is best if a man does it. Within about 20 minutes, the weld will set and the surface will be restored. All you have to do is wait a little and cover it with paint.
Option two - clamps and bandages
Another equally good way to eradicate the pipe leakage problem with your own hands is a clamp or bandage. The clamp is used when it is necessary to block the water leak in the pipe for a while (usually for several days). The bandage is used in the same cases, as well as when condensate is constantly collecting on the pipe.
To repair a pipe with a clamp, you will need a regular metal clamp, which you can buy inexpensively from the market or any hardware store, and a piece of rubber to act as a gasket. Moreover, a piece of rubber should be about 2 times larger than the damaged area. If the problem needs to be solved urgently, you can use ordinary wire instead of a clamp. Shut off the water. Clean the damaged area on the pipe and wipe dry. After that, firmly press the rubber to the damaged area and fix it as tightly as possible with a clamp or wire.
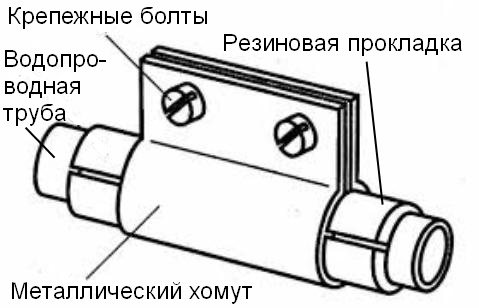
The scheme of fastening a metal clamp.
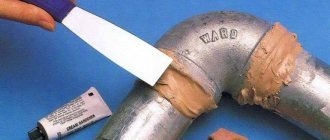
To put the bandage on the pipe under the bathtub, you must first purchase it. There are many pipe bandages on sale now. Keep in mind that it must be the correct size and made of waterproof material. The best option is fiberglass. Usually, the bandages are selected according to the pipe diameter. But its width should be about 7 cm more than the damaged area. In this case, the bandage has a longitudinal cut, with the help of which it is put on the pipe.
Before installing the bandage, close the water valve, wipe the pipe dry and, if necessary, clean its surface. Coat the inside of the pipe and bandage with epoxy or special waterproof glue. Put the bandage on the pipe carefully and fix it very tightly with a metal clamp. Depending on the width of the place damaged on the pipe, you can use two or even three clamps instead of one. This is necessary for greater reliability. After two days, when the glue or resin is completely dry and set, you can open the valve and use the bathroom.
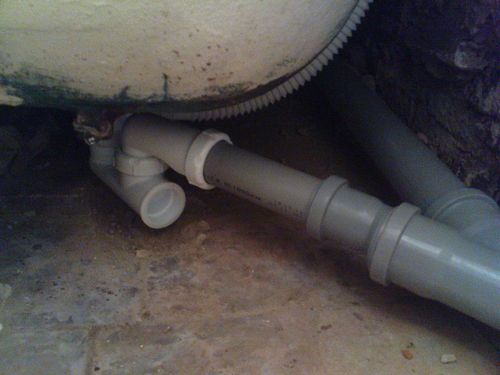
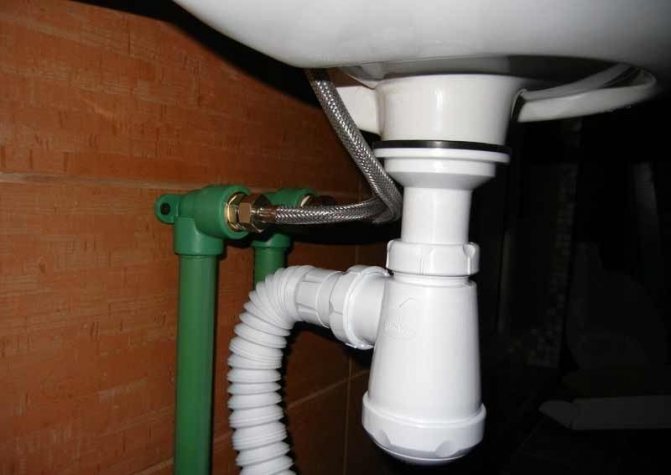
A siphon leaks under the bathroom - what to do?
First, let's try to figure out why puddles appear under the bathroom and how to avoid it. The most common reasons for a siphon leaking under the bathroom are as follows:
- O-ring rubber wear: stretching, displacement, cracking.
- Violation of the integrity of the overflow pipe.
- Loose siphon screwing after cleaning.
- Blockage formation.
- Looseness of the joint of the drain and overflow pipes.
- Loss of sealing of the connection due to damaged gaskets and stripped threads.
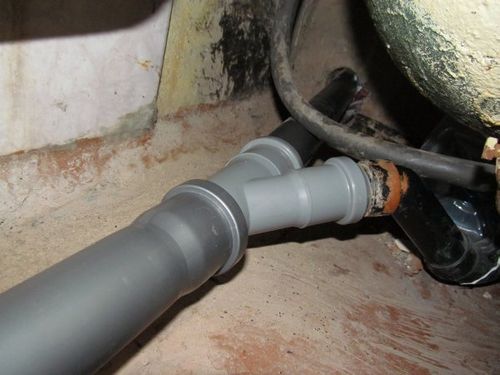
How to fix a leak:
- If the O-ring is worn or deformed, replace it with a new one, if it is displaced, put it back.
- If the overflow pipe is damaged, replace it with a new one.
- Is the siphon dirty? Unscrew it, first placing a container for water, then clean it with a screwdriver or a long wire. Assemble the device in the reverse order.
- If the sealing of the junction of the drain and overflow pipes is broken, seal this area with ordinary silicate stationery glue.
Important! If the sealing of the siphon connections is broken, treat the joints with a sealant.Winding up the thread with tow or silicone tape also helps.
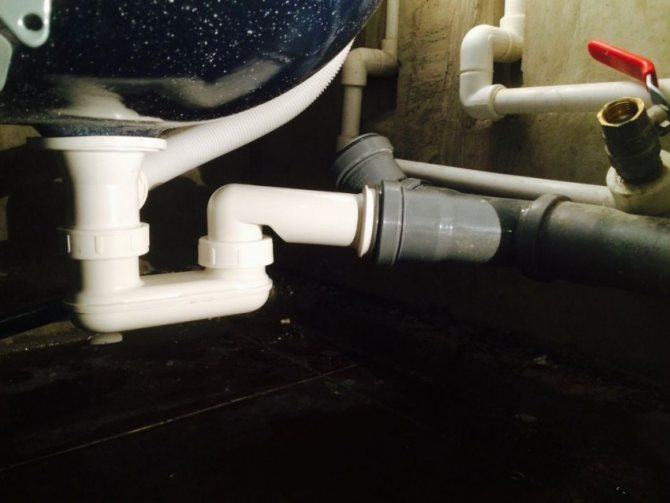
Why is there a siphon in the bathroom?
First, let's figure out what causes the puddles to appear under the bathroom, in what situations they arise and how intensely it happens.
Leaking siphon under the bathtub
Siphon flows under the bathroom - reasons
The most common ones are as follows:
Bath drain is clogged
- The rubber O-ring was worn out, that is, it cracked, stretched or moved from its place due to a poorly tightened nut.
- The overflow pipe burst.
- Do not tighten the siphon tightly after cleaning it.
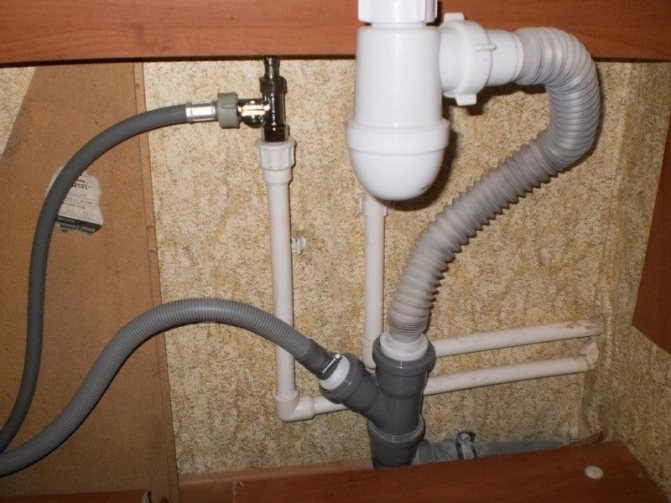
- The bath siphon device is dirty. You can read about the device of the water seal in the article on our website "Installing and replacing the bath siphon".
- O-rings are deformed.
- The joint of the drain and overflow pipes loosened.
- The connections are not tight due to stripped threads and damaged gaskets.
Bath siphon design