How to paint a cast-iron stove potbelly stove?
For work, you can choose one of the available materials. It can be paint, lime, varnish, some options from the list of alternatives, but you need to work with them especially carefully. The main thing is proper preparation.
When buying paint or varnish, one should start from the type of stove structure, the expected aesthetic effect and financial capabilities. It is advantageous to buy lime for the price, but paint is easier to handle.
Choice of paint
The main requirement for the composition of the paint is the presence of silicon and silicone. These components make it possible to impart heat-resistant characteristics to the composition, due to which the coating will not melt upon the first heating. Ordinary paint is not suitable for applying to a potbelly stove.
What goals are achieved when choosing a suitable paint:
- preservation of the structure of the surface of the furnace;
- aesthetic component;
- resistance to moisture;
- protection against the accumulation of dirt and dust;
- protection against rust, oxidative processes that violate the surface structure.
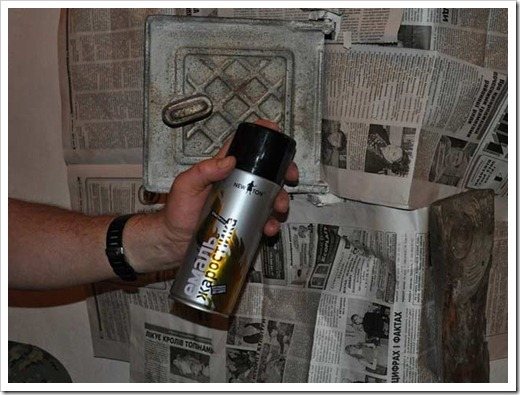
The market of paints and varnishes is wide - you can choose enamel in a can, which is applied with a brush, or paint in a spray bottle.
Application sequence
Stages of paint application:
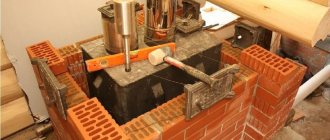
- Surface cleaning. Dust and dirt are removed in potbelly stoves (for example, with an alcohol solution).
- Crack filling, leveling. High temperature resistant silicone sealant can be used. It is applied with a thin, stiff brush.
- After the sealant dries, another layer is applied, then paint. If its structure is too thick and viscous, you need to add a solvent.
Apply one, two or three layers of paint - it depends on the quality, pigmentation of the product and the wishes of the owner.

Minimum 2 coats of paint required
Final works
The entire surface of the cast-iron structure is covered with a coloring composition, including elements that have not been treated with a selected putty. After the first coat of paint, you need to wait until it dries completely. If there are gaps, the manipulation is repeated, trying to evenly distribute the pigment.
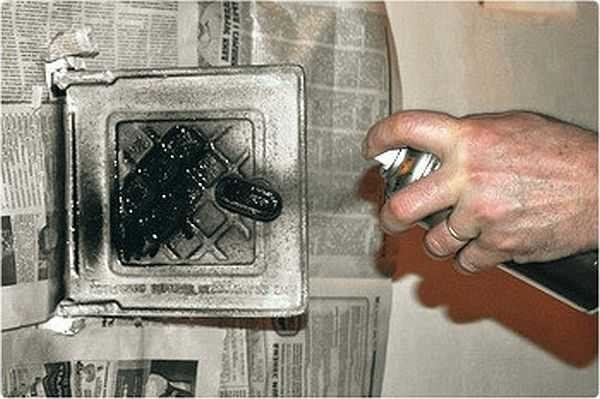
For small items it is convenient to use a spray paint
Some owners of potbelly stoves buy lacquered or matting heat-resistant enamel, which gives an additional effect and allows to ensure the leveling of the surface.
Heat Resistant Oven Paints
Indeed, in order to paint the stove, you cannot use traditional options. After a few lightings, the usual paint material will peel off or burn. Therefore, the oven is painted with a special heat-resistant paint or it is blued.
When choosing a material, it must be borne in mind that it must be certified and of high quality. Cheap paint can release toxic substances when the stove heats up. The product documentation must indicate the maximum temperatures and substances that can be released.
You should not save money by buying cheaper uncertified material, because your health depends on it.
Heat-resistant paints are based on silicone or other substances containing a lot of silicon. At high temperatures, polymerization processes begin, which forces the paint to sinter into a uniform film. The heat-resistant material copes well with the constant expansion of the metal and other influences.
Only heat-resistant material must be used for painting the oven.
Let's consider some types of paints in more detail:
- heat-resistant paint KO-8101; differs in low cost, the manufacturer promises a service life of up to 25 years (of which 15 are under warranty);
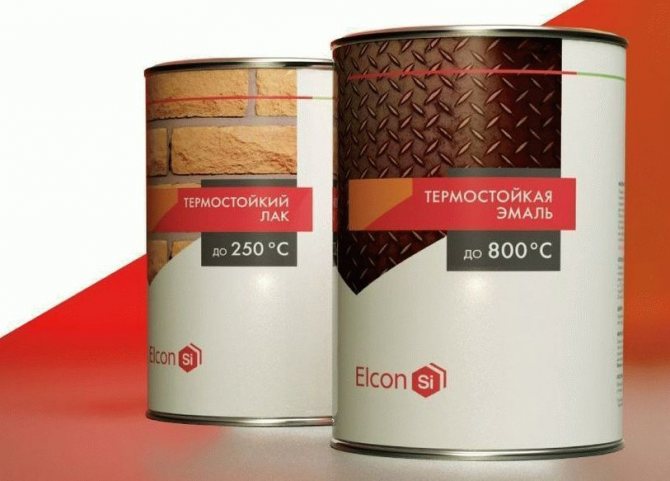
- organosilicon varnish KO-85; well protects against moisture and corrosion, withstands temperatures up to 250 degrees (in some cases this may not be enough);
- paints and enamels KO-868t; used for ovens heated to 600 degrees, have few colors (basic shades);
- enamel KO-822; copes with temperatures up to 800 degrees, high cost.
Depending on the temperature in your bath, the desired color and other characteristics, choose the right material. Feel free to ask the seller, other people for product reviews.
Please note that the level of heat dissipation depends on the roughness and color of the surface. The smooth and light surface gives off a minimum of heat, which will increase your costs. Do not use white or aluminum paint for this purpose.
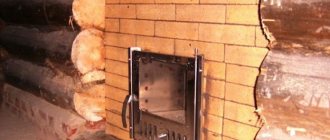
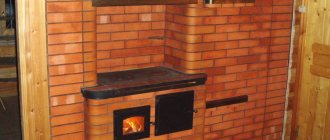
Painting a potbelly stove lined with brick
Paint
How to paint a brick stove stove? Choose a product based on the information provided by the manufacturer:
- heat resistance 200-900 degrees;
- you can choose low anti-corrosion performance (high is needed for working with metal);
- lack of susceptibility to sudden changes in temperature;
- dense coating in the form of a hard opaque film, it is better if it is enough to apply it once to obtain the desired pigmentation;
- matte or glossy finish - it doesn't matter.
Oil base - not the best solution... Enamel is suitable for you - it has a low level of heat transfer.
On dark colors, imperfections are less visible - irregularities, bumps, depressions. White, beige and derivatives give errors.
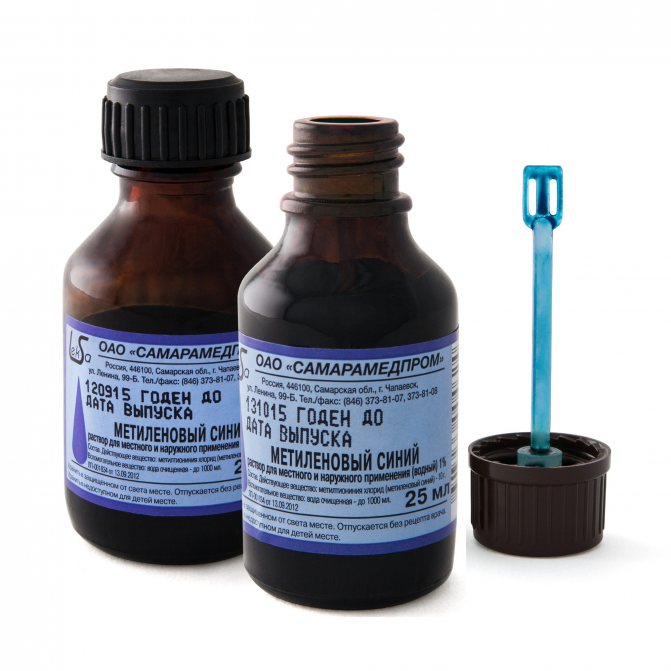
To prevent the paint from giving off yellowness (this effect gradually appears), you can first add blue to the composition.
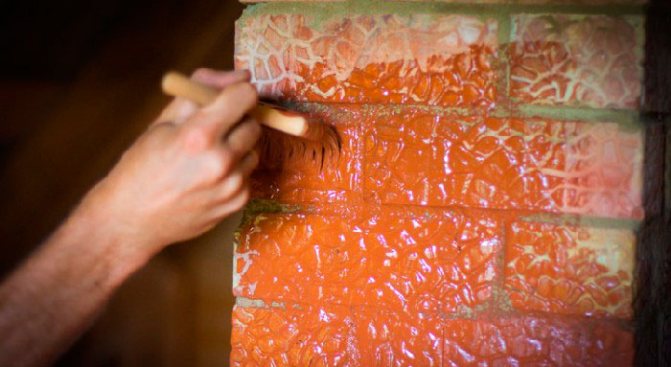
If you want to get a pattern, a mixture of gouache, protein and water makes images "wet". This requires a thin, soft brush. An additional pigment is applied to the still wet layer of paint to get neat, smooth patterns.
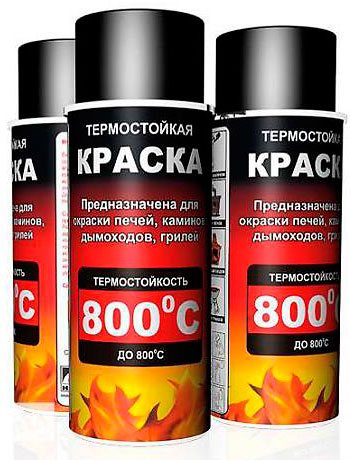
Here are the options for heat resistant paint:
- Thermika KO 8111 (Russia),
- Pyrolac 180 (Greece),
- Pyrolac 580 (Greece),
- Nobiles Termal 500 (Poland),
- Barpimo (Spain),
- High Heat Paint (UK),
- Elcon 600.
You can prepare the paint yourself. This will require varnish, turpentine PF-283, gouache of a certain color. If you do not add gouache, the coating will turn out to be matte, opaque. The components, except for the dye, are added in equal proportions.
Painting technology
- To carry out the work, you will need a wide and thin brush. It is better to choose a hard pile. If you need a preliminary putty of the surface, a putty knife will come in handy.
- The dye should be applied to the cleaned, prepared surface. The first thin layer is created first. After it dries, you need to check for gaps. If any are found, a second coat is applied.
- After processing the brickwork, they begin to cover the cast iron elements. The surface must be cold during all procedures.
Lime
Any material is suitable for work. Low-grade chalk may also be useful. Lime is heat-resistant in any case. You can buy an armored packaged product or a weighted one.
Painting technology
You will need:
- lime;
- roller or brush;
- canister, bucket or other mixing container;
- prepared solvent (it is possible to replace with an alcohol solution);
- enamel (spray);
- dye (color pigment);
- water;
- glue.
You need to start with the preparation of the coloring composition. Water and lime are mixed in a 1: 1 ratio. 10 liters of mortar is suitable for adding 100 g of glue. The product is thoroughly mixed. The consistency check is carried out as follows: the material is dripped onto a flat glass, then turned over. If the product has spread by 3 cm or less, you can start coloring.If the composition is liquid, add lime, if thick, add water. Instead of a dye, you can take potassium permanganate, blue.
Preparing the surface:
- Remove dirt and dust with a scraper and brush. We process cracks. We remove old paint, remnants of other coatings.
- Using a spray nanoim alcohol solution or a special degreaser.
- The surface is re-treated with a cleaned brush until the degreaser is dry.
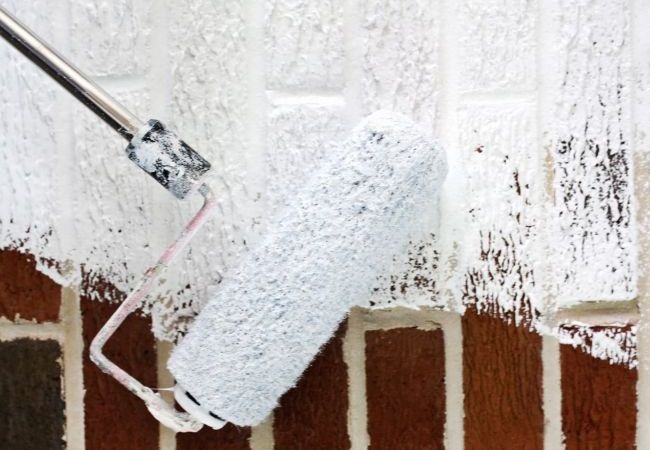
Application technology consists of the following stages:
- using a roller, a prepared composition based on lime is applied (we start working immediately after cleaning and preparing the surface);

Lime application technology - after the first layer has dried, the second is applied;
- after about a day, another layer is applied;
- the lime is spread with a small spatula in one direction;
- after applying the last layer, it is necessary to ensure that fresh air enters the room during the day.
Doors and handles are painted after a full range of work with the furnace body.
Varnish
You only need to choose a heat-resistant varnish. Serebryanka will perfectly cope with the task - a brilliant composition that allows you to hide irregularities, visually hide bumps and depressions on the surface of the furnace. Silverfish lasts a long time, the coating is not thick, dries quickly. You can buy a finished product or a varnish with silver paint separately, then dilute. When dry, the silver can catch fire, so storage is allowed in a safe place.
When preparing the composition using dilution, you must first pour the powder into the container, then add the varnish in the proportions indicated on the package. Without powder, exclusively in the form of a lacquer coating, a high-gloss glossy layer can also be created.
Painting technology
You will need a brush, a spatula to remove the old coating, a sponge for applying a degreaser, varnish and additional color components, a container for possible dilution.
Stages of work:
- surface preparation - cleaning, degreasing with alcohol;
- adding pigment or silver to the varnish, if provided (or working with a clean varnish);
- the first layer is applied thinly, you need to wait until it dries;
- the second layer is applied, then the third.
Furnace varnishing
Subtleties of coloring
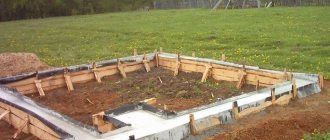
Before puzzling how to paint a brick oven, you need to know for sure whether its surface has previously been plastering. If the structure is old, then, most likely, it was used for its intended purpose, that is, it heated the room and served as a place for cooking. Such ovens are white, because they were previously plastered, and then whitewashed with chalk or slaked lime.
It is extremely important to clarify this question, because on top of the old layer it is worth applying exactly the same material that was used earlier, otherwise the work will be useless. If you have special paint for stoves and fireplaces, then you will have to remove all layers of the old material, and only then carry out the new cladding.
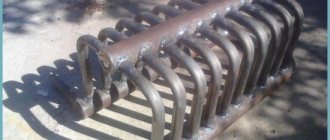
Before painting begins, you need to clean off all crumbling material from the oven. For this, a construction brush with metal bristles (a brush) is useful, or a narrow spatula will do. If the material is well removed, then it may be more expedient to remove it down to the brick luggage, in which case any paint for fireplaces and stoves can be chosen.
Good to know: What varnish to choose for covering a brick oven and how to use it
The next step is to remove all debris and clean the surface of dust. Further, with their own hands or with the help of a professional, they repair cracks, holes and seams. Now in specialized stores, ready-made mixtures are presented that are suitable for working with brick ovens.
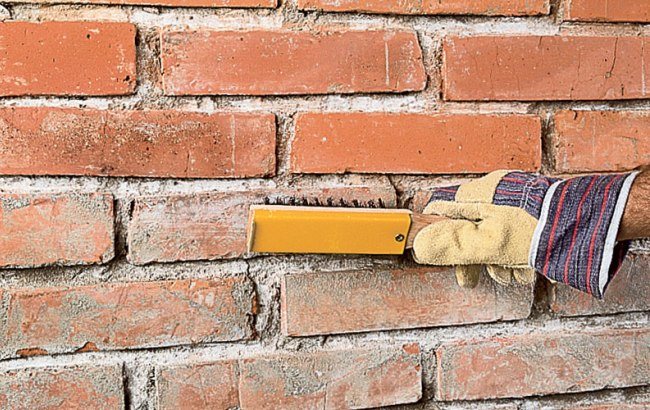
Surface preparation for processing
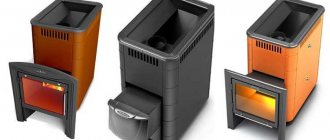
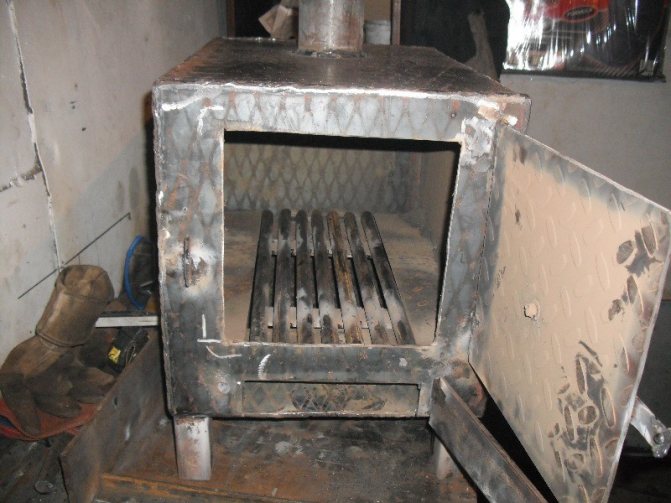
Bluing for metal furnace
A metal stove can be processed quickly and efficiently using the bluing procedure.
Instructions:
- Complete high-quality cleaning. Dirt, dust must be completely removed. The coating is washed, treated with a brush, and the localization of cracks in which dirt accumulates is established.
- Removal of oxides. A brush is taken, misses a 5% solution of sulfuric acid. The surface is fully processed, including cracks, gaps, irregularities.
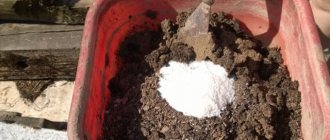
- Removal of acids. A solution is prepared for the subsequent processing of the entire area of the furnace. It is necessary to prepare 50 grams of laundry soap, dissolve it in a liter of water. With the help of a brush, the composition is applied, all areas are well worked out.
- Surface treatment is the last step. Sodium hydroxide is taken (50g / l). Working temperature - 140 degrees. Processing is carried out using a spray, to which the agent is added.
Sodium hydroxide
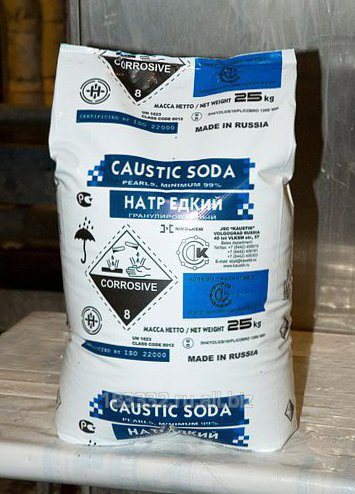
The procedure takes at least one hour. You need to be careful with the materials used - most are toxic and hazardous to health in direct contact, especially with mucous membranes. Use gloves and face shield.
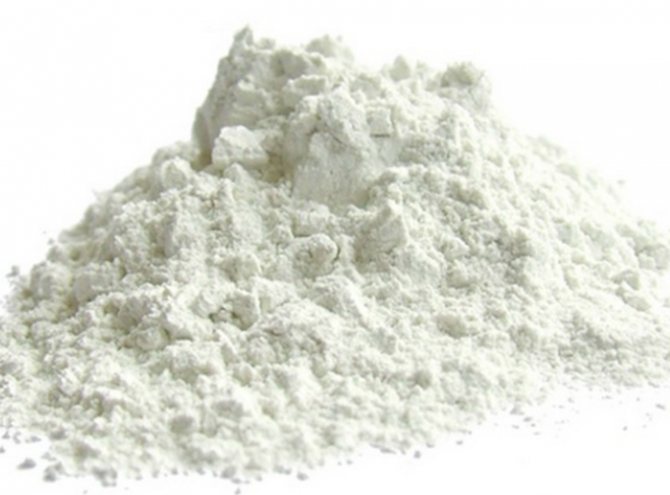
Using chalk
Many are interested in the question of how to paint a structure in the old way with the help of chalk. Everything is quite simple: after the plaster is completely dry, you can begin the process of painting the surface. If earlier the Russian stove was painted with chalk, then it is better to use it for reconstruction work.
There are two options here: you can take a regular white paint, or use a water-based dye, adding color is also permissible. If you do not want the structure to acquire an unaesthetic yellowish tint in the future, then blue should be added to the chalk, previously diluted in ordinary water.
Coating must be prepared in advance as it will need to stand for a while to achieve the correct consistency. Chalk paint for a brick oven is made as follows:
- Take pieces of chalk or chalk paste.
- Put the material into a bucket.
- Fill it with water until it is completely covered.
- Leave for 2 hours to infuse.
In order not to waste time in vain, a special glue part should be prepared for the chalk mortar for brick stoves and fireplaces. It is made on the basis of gelatin, carpentry or casein glue, diluted in a liter of water. For a bucket of paint with a volume of 10 liters, take about 100 grams of glue.

Painting in white
After that, both compositions are gently mixed, for example using a construction mixer, until the liquid is homogeneous. Now you can add blue at the rate of 60 grams per 10 kg of chalk, heat-resistant liquid is also poured in to improve the color, and you can proceed to the coloring itself.
Good to know: How to dry the oven after laying and when it will be possible to heat it
How often should you paint?
Preservation of the presentation is the main goal of the owner of the house, who noticed that the potbelly stove was slightly spoiled in appearance. If chips or scratches appear on its surface, it's time to start updating the coating.
The staining should be repeated every 5-7 years. If the pigment layer has been damaged earlier, this indicates the poor quality of the product used the last time or mistakes on the part of the contractor. Also, cracked old paint does not protect the surface of the stove, so its renewal also plays a protective role, and not only an aesthetic one.
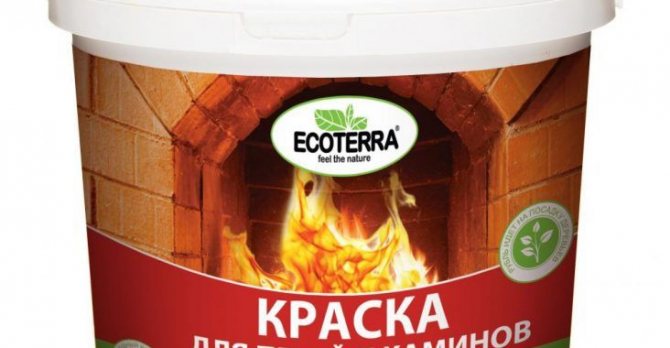
Application of Certa
Certa is a heat-resistant paint specially formulated for painting ovens. She is the best option for solving the indicated problem. However, before using it, it is necessary to prepare the surface.
It is performed as follows:
- rust is removed with emery;
- where this is not possible (there is a lot of rust), it is necessary to use a rust converter;
- using a solvent of the R-021 series, it is necessary to thoroughly degrease all
- oven surface (remove metal chips that remain after using emery).
Read also: When can a flower be transplanted female happiness
Now you can proceed to applying Certa. It is recommended to start with joints, protruding and hard-to-reach parts. It is necessary to paint over with perpendicular lines.
Multiple layers are highly recommended. In this case, the complete absence of rust can be guaranteed in the future.
Output
Dyeing is a simple procedure. It usually lasts several days due to the need to apply 2-3 layers, between which it is better to withstand at least a day so that the material dries well.
It is important to use quality materials and tools - this will affect the result. The main thing is to wait until each layer is dry, clean the surfaces well, work with gloves.
For coloring, enamel paints resistant to high temperatures, lime, varnish can be used. When choosing, start from the desired effect and the cost of the material.
Sequence of the paint application process
Like all previous processes, this stage of the "marafet" must also be done responsibly and with love. It is worth paying attention to the fact that the heat-resistant enamel is not too thick. If the composition is too viscous, there is a risk that the surface does not absorb the paint enough, and it will be simply impossible to work with such a material. Diluting it is highly recommended. In this case, a solvent that is intended for organic materials will help.
Tip: There are times when you do not have something necessary at hand, this also happens in the case of a solvent. In this situation, you can use regular turpentine.
The required density is ready and now you can proceed to the direct process of painting the oven. It is very important that the first coat of paint is thin. After it is completely dry, the next layer is applied. An indicator that the layer has laid down will evenly indicate the absence of gaps, that is, the surface of the stove will not be observed in certain places. In the event of a marriage, it is necessary to apply a control layer, through which the bricks should definitely not show through. All cast iron elements can now be painted.