There is nothing unusual in dismantling a relatively new cast iron radiator, the technology is quite simple and requires only the ability to use the key correctly. It is quite another matter if you need to disassemble a cast-iron battery that has been in the system for ten years. The work is hard, requiring endurance and accuracy. In this case, it is impossible to cope with physical strength and a key alone, if you do not know the very procedure for disassembling a cast-iron battery with your own hands.
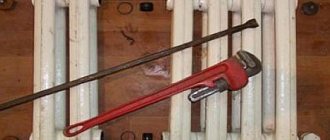
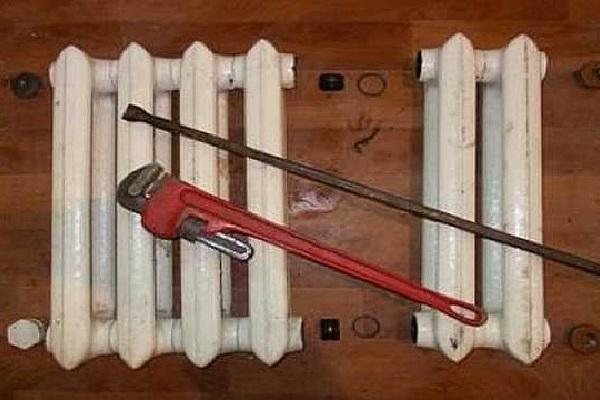
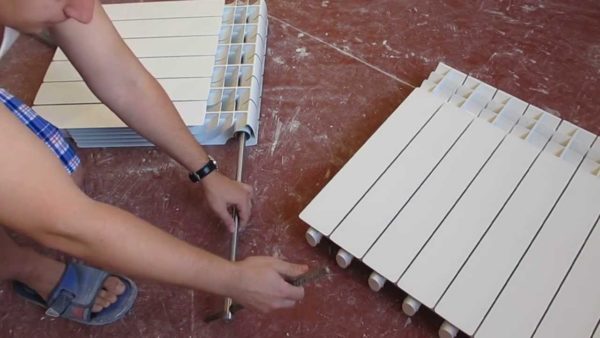
Disassembly requires a reliable tool
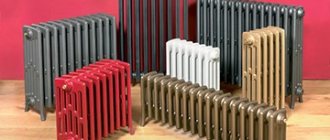
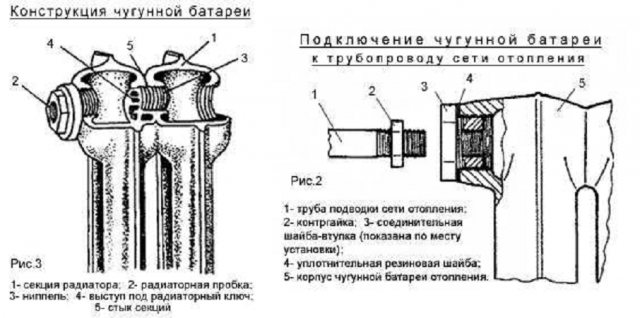
Heating radiator design
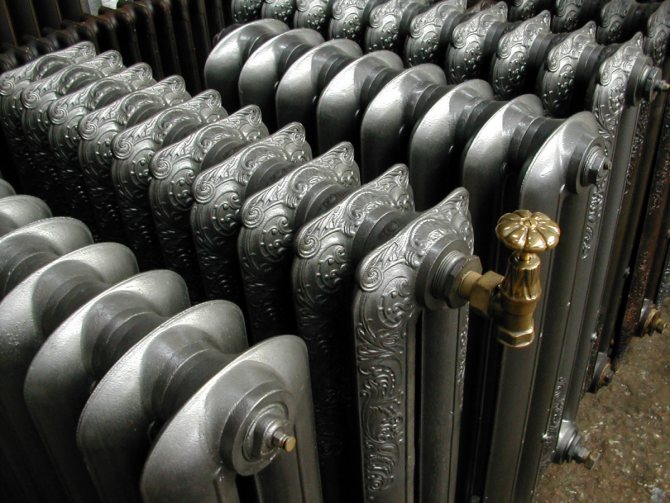
A standard battery is assembled from separate cast sections, without the use of external fasteners or clips. Thus, a radiator of almost unlimited length can be assembled.
To properly disassemble a cast-iron battery, you need to know some of its design features:
- The individual sections are assembled into one body using internal threaded bushings or nipples. To disassemble a cast-iron radiator, you need to be able to unscrew the end caps and internal inserts;
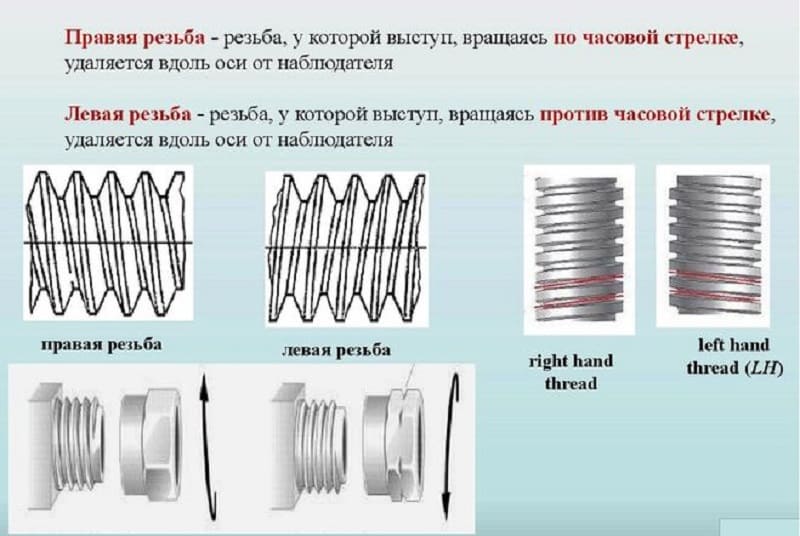
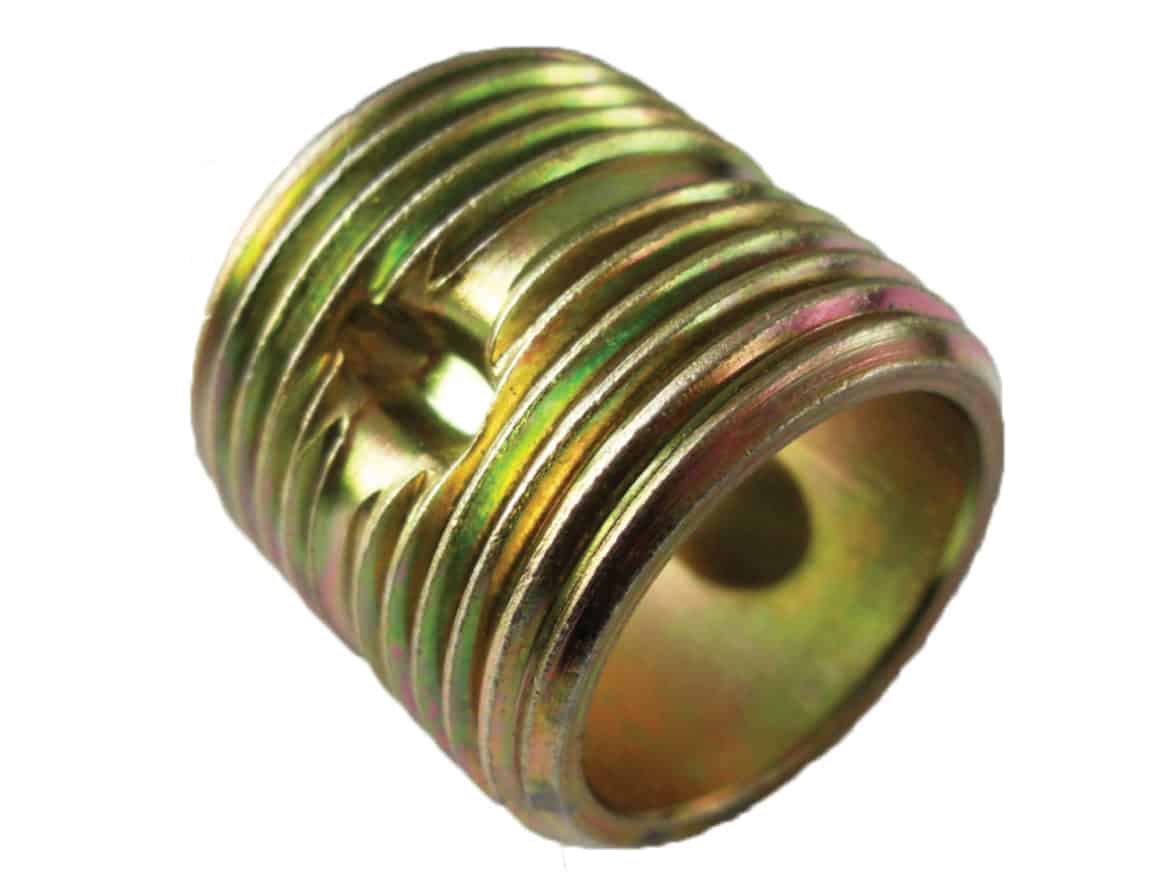
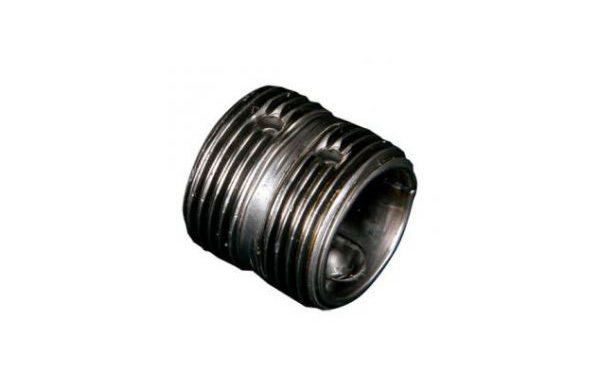
- Each nipple is a cylindrical glass on which two sections are cut with threads of two types - with the left and right direction of the turns.
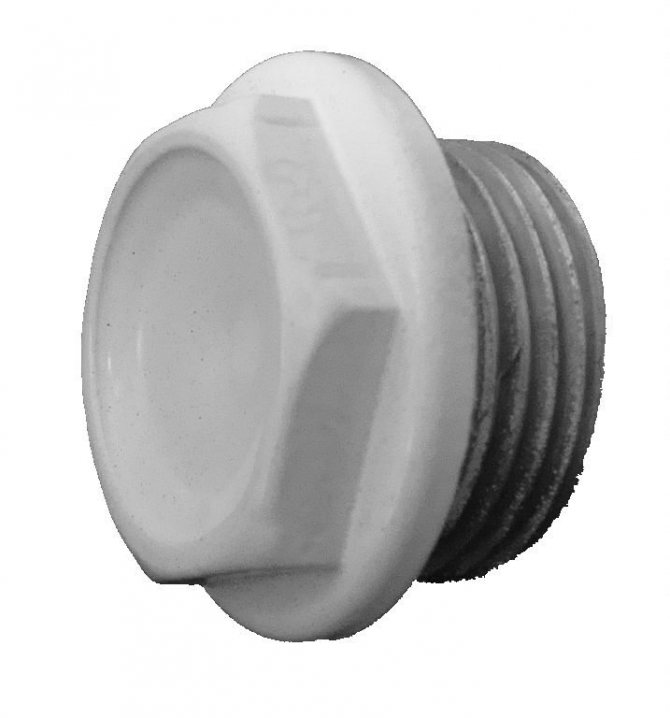
End caps are also manufactured with two types of threads, as a rule, blind ones are produced with a left-hand thread, and a nut-union for connecting to a pipe - with a right one.
Important! To disassemble the sections, you will need to choose the right direction of rotation, otherwise you can quickly break the cast-iron battery case.
To attach a separate register to a common cast-iron body, a pair of nipples is used, which are simultaneously screwed between two sections with a long square-head wrench. In order to disassemble and not split the cast-iron body, you will also need to carefully unscrew the nipples, making only 1-2 turns on each.
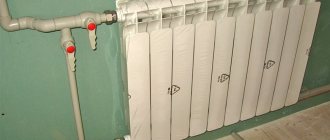
Dismantling of bimetallic and aluminum sectional products
To disconnect the radiator from the system and remove it from the mounting location, proceed as follows:
- Stop water circulation and relieve pressure.
- If the radiator is hot, you need to wait until it cools down and then disconnect from the system. To do this, unscrew the inlet and outlet couplings.
- Move the coupling away from the radiator along the pipe and remove the device from the brackets.
- Drain off remaining water and place the product face up in the disassembly area.
- Pull out and rinse the filter immediately so that dirt does not dry on it.
Dismantling of bimetallic and aluminum sectional products
In the next step, the radiator is disassembled into separate sections. To avoid damage during operation, you need to figure out which direction you need to turn the nipple-nut. This element is a ring nut with an external thread and grooves inside on both sides. In this case, one nut has both a right-hand and a left-hand thread. If you unscrew it, then the adjacent sections of the battery will move apart evenly, and when twisted, they will contract.
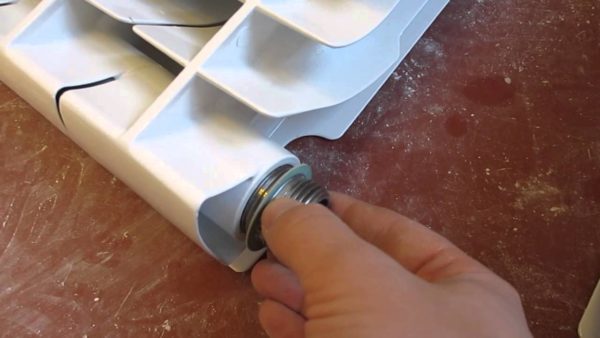
Typically, manufacturers make marks on the face of plugs and butts to indicate the thread direction. O stands for right-handed thread, "S" for left-handed thread. To accurately determine the direction of movement, it is recommended to take a loose nipple-nut and try to thread it onto the thread in the radiator. Having decided in which direction it is twisted, it will become clear where to turn the key in order to separate the sections.
Important! If the nipple-nut is turned in the wrong direction, you can easily break off the thread on it and on the radiator
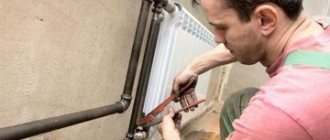
Having decided on the direction of the thread, insert the nipple wrench into the radiator and slide it to the desired nut. The notches on the tool will help to do this. When it is in the grooves, insert the lever into the hole on the other side of it. Force is required to move the nut. Call an assistant to fix the radiator in one place.
Repair of bimetallic radiators
When the nut has advanced half a turn, go to the other side to unscrew the other, and follow the same procedure. After making sure that both nuts rotate without applying great physical force, gradually unscrew one or the other side, moving 5-7 mm.
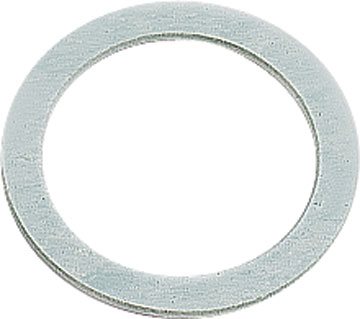
Gasket between radiator sections
After disconnecting, remove the metal spacers that were between the sections. If they are in good condition, then they can be installed back during assembly, if in poor condition, then use them as a sample for buying new ones. Silicone gaskets must be replaced.
Preparatory work
In order to disassemble the cast-iron body, it must first be dismantled from the wall mount. The hooks on which the battery is suspended are removed, then you need to disassemble the taps or coupling drives, with which the radiator is connected to the heating pipes.
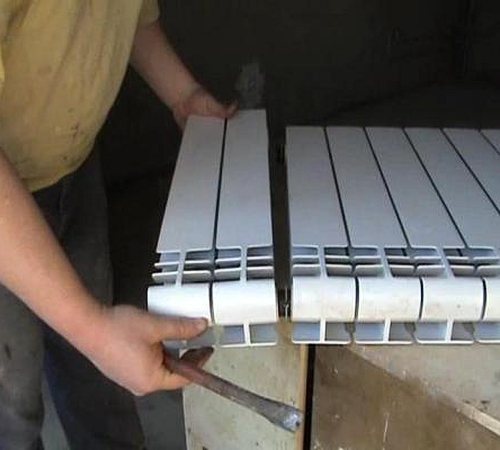
The weight of one assembly of 8-10 sections can easily exceed a hundred kilograms, so the battery is lifted to the end and in small "steps" is turned over to the place where the radiator is planned to be repaired or simply disassembled.
If the cast-iron battery is relatively new, then a platform with an impact-resistant coating will be sufficient, for example, a chipboard sheet can be laid on the floor. Disassembling an old cast iron heater will require a place to work with a burner and heavy scrap.
Required tools
It will not work to disassemble the cast-iron case with bare hands; without a tool, the battery can be broken with a sledgehammer or split if handled carelessly and dropped to the floor. To work, you will need at least four types of equipment:
- Special wrench with square head for unscrewing the nipples;
- Box wrench for unscrewing plug caps;
- Grinder with cut-off wheels;
- Gas burner with reducer and cylinder.
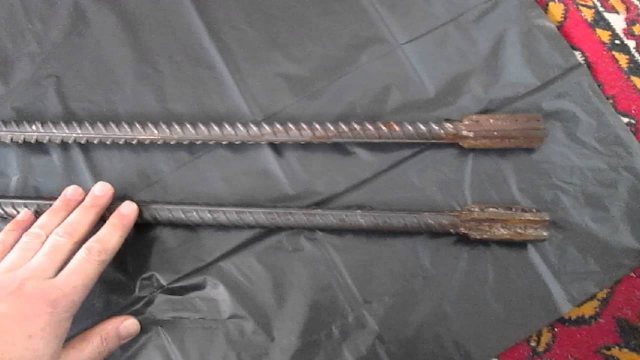
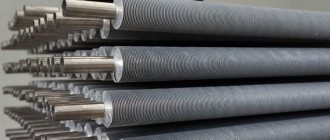
Nipple wrenches
In addition, you will need a heavy metalwork hammer, chisel, tow, kerosene or brake fluid. All this will be needed in order to try to disassemble the sections with minimal damage. When reassembling old batteries, the plugs and nipples still need to be replaced, so sometimes it is easier to cut them out than trying to unscrew them.
How to solder an aluminum car radiator with your own hands
Let's move on to the soldering process. First, the problem area is carefully cleaned with a file and sandpaper. Before you start replacing the Peugeot 307 timing belt with your own hands, you need to prepare the tools that we need for this operation on the nfu engine. If there are slats on it, they must be carefully removed with pliers. Aluminum radiator with your own hands, a car that is like already. Further, the place of repair is degreased with acetone.
When the brazing preparation is complete, the flux can be applied. After that, we begin to warm up the junction. If you are using a gas torch or blowtorch, be careful not to burn out the flux ahead of time. It is easier to apply it with a soldering iron. It is enough to dip its working element into the mixture and transfer it to the surface to be treated.
Now it's time to apply the solder. How to repair a toyota radiator It is better if it is in the form of a bar or wire. The solder is applied to the junction and carefully warmed up with a soldering iron (torch).When it spreads evenly, it is necessary to let it cool down, after which it is advisable to apply a second (safety) layer. At the end of the work, the formed nodules can be removed with sandpaper.
How to disassemble a new cast iron heating radiator
The easiest and fastest way to unmount a relatively new battery. If the case has not yet been installed in the heating system or has been used for a maximum of one season, then the chances of disassembling the cast-iron radiator section without using tricky tricks and tools are quite high.
First of all, you need to unscrew the plugs, they usually stand on the left end of the cast-iron battery case. You can disassemble the plugs with an ordinary coccygeal wrench, provided that the length of the tool handle is at least 70 cm.
Important! Even a new cast-iron battery mounted on heating pipes should not be disassembled, the maximum that can be done is to unscrew the plugs. Otherwise, the radiator can be easily damaged, for example by splitting the nipple.
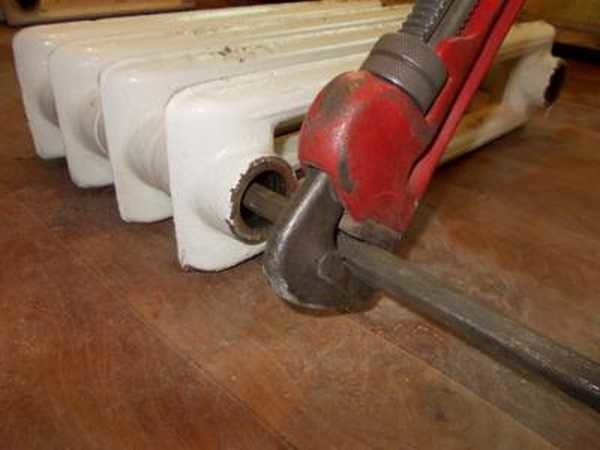
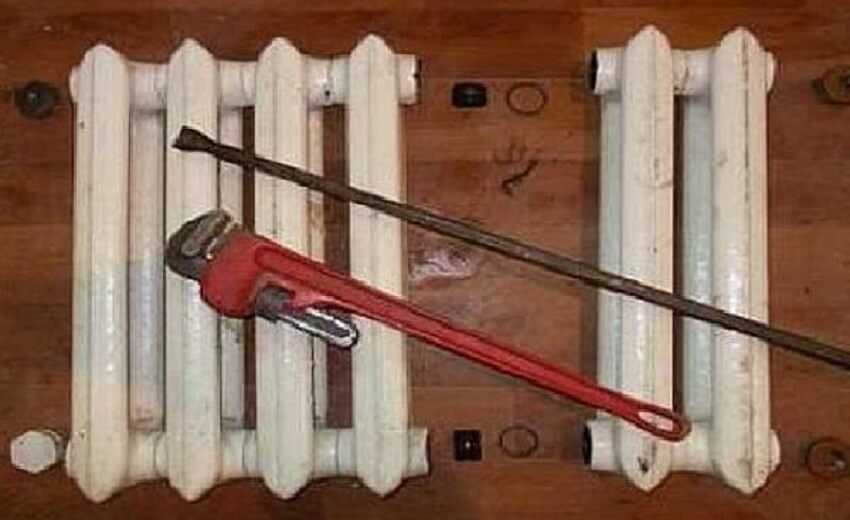
You can only turn with a lever
To disassemble the sections, the plug will have to be removed without fail. Since the plugs always have a left-hand thread, they will have to be unscrewed clockwise.
In order to dismantle the section, you will need to put the radiator on the side end. Then we proceed in the following order:
- After removing the plugs, the first nipples will be visible through the holes;
- Turn both nipples counterclockwise;
- The top section rises and can be removed by hand.
It is more difficult to disassemble a cast-iron battery that has served at least one season. Due to the fact that the cast iron parts stick to each other. For new sections, a cloth or cotton cord soaked in brake fluid is wound under the plugs and on the joints. After a day, the radiator can be disassembled without much effort.
After completing the disassembly, the liquid will need to be washed with detergent, otherwise, during reassembly, the gaskets can quickly fail.
After unscrewing the plug
Battery assembly
In principle, having the necessary tools at hand, even a beginner will be able to assemble or disassemble an aluminum radiator with his own hands.
To install an aluminum radiator heater with your own hands, you must:
Place the battery on a flat surface. This is necessary in order to inspect the device before installing it and check all the joints for possible cracks or chips.
Before connecting the elements of the heater, the threads at the joints are cleaned not only of debris, but also of factory paint. This is done using fine-grained sandpaper.
This is important, as the paint layer can crack in the future, leading to a leak. For the sake of presentation, manufacturers paint not only sections of radiators, but also their joints.
When cleaning the battery from paint, you need to make sure that the sandpaper does not leave scratches on it, which can also cause leaks in the future.
All gaskets should be washed in soapy water. and if antifreeze is supposed to be used in the heating system, then they need to be degreased, since this carrier is able to penetrate into any, even the smallest, irregularities.
Before connecting the sections, it is advisable to study the drawing of the key for assembling an aluminum radiator in order to know how to use it. This metal is very soft, so any too much force can damage the threads and then you will have to buy a new section.
A paronite seal is put on the nipple nut on both sides. The key is placed on top and can be easily turned a couple of times, the same is done with the bottom hole. Only after the joints have been tacked can you tighten them more tightly using the lever.
The hole that will not be used is closed with a plug, and the Mayevsky crane is attached to the other and the aluminum radiator assembly is ready.
After all sections of the radiator have been assembled, it can be connected to the heating system and checked for possible leaks. Since aluminum batteries are quite lightweight, you can easily connect them yourself, even without having the appropriate skills for this.
How to disassemble an old cast iron radiator
The greatest number of problems arises when disassembling cast-iron heating radiators that have served for more than a dozen years. Cast iron serves well and practically does not wear out when it comes into contact with a coolant, but due to a large amount of rust and dirt falling out on the inner surface, the heat transfer efficiency drops significantly. Ideally, such a system can be disassembled, rinsed, and reinstalled. One of the ways to disassemble old cast iron batteries is shown in the video:
Removing the battery
Unfortunately, it is clearly not possible to disassemble the squeegee-couplings on which the cast-iron battery is connected to the heating system using coccygeal keys or any other tool at home.
In theory, there are vibrating electric machines capable of disassembling stuck and rusted plumbing fixtures, but it is difficult to find such an apparatus in everyday life. Professionals burn out couplings with a blowtorch or gas torch. In about half of the cases, the squeegees can be turned off and disassembled, in other cases the pipes have to be cut with a grinder.
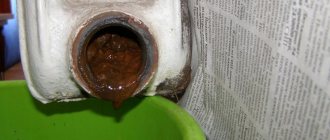
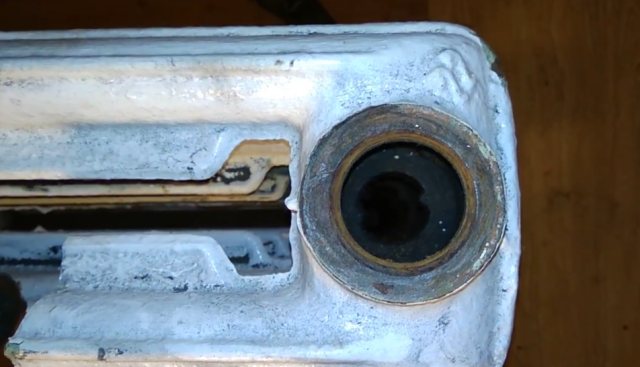
How to remove plugs
In order to unmount the sections, it is necessary to gain access to the nipples. To do this, the battery is taken to a safe place and the plugs are burned out with a propane burner.
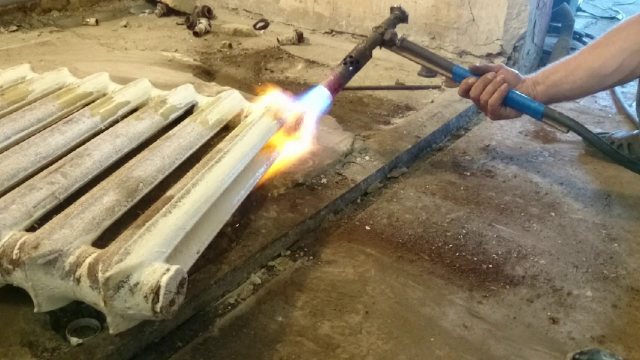
It takes 5-10 minutes to heat
In order to unscrew the plug, it is necessary to heat its body, and not the sections. The metal should be red-hot, only in this case the sealant and dirt will burn out. Without waiting for the cast iron to cool down, a key is put on the hexagonal base of the plug and, using a crowbar, it is unscrewed from the body of the section.
Spanner key
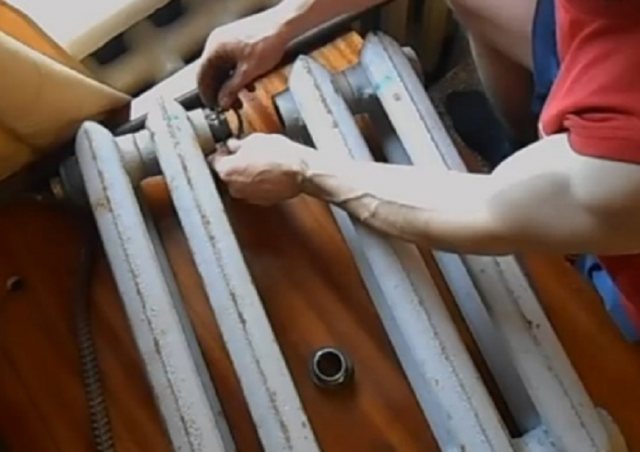
How to unscrew the nipple
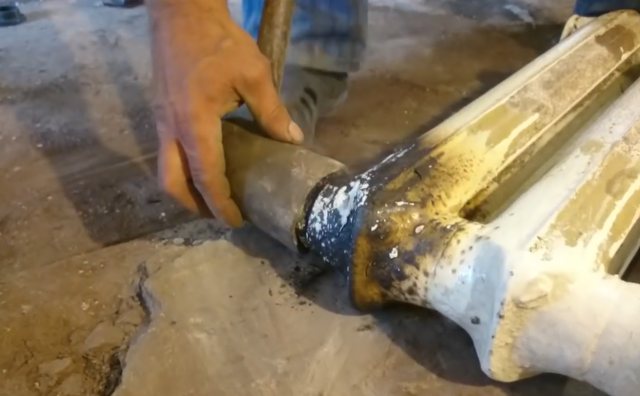
The most difficult step in the entire battery disassembly procedure. The nipples can be turned out through the open holes, or the section can be cut into two parts, as in the video:
It all depends on how old the cast iron is, and how long the radiators have been in operation.
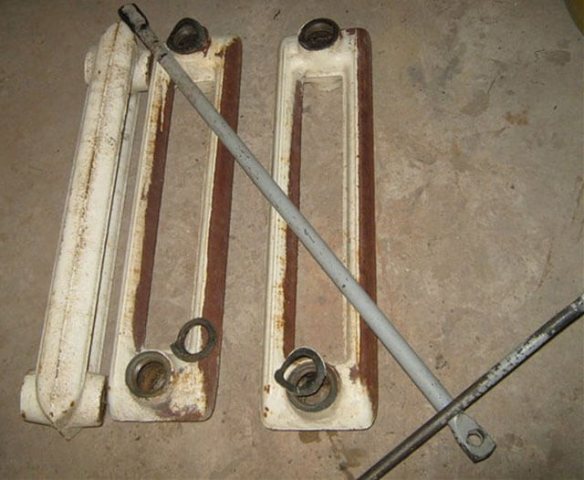
Cut sections
In the worst case, it is not possible to disassemble the case with the key. In such a situation, you have to cut the junction of the sections with the help of a grinder. If you cut it carefully and in a thin circle, then the "cheeks" of the sections will not suffer. The seal will be removed and the body of the threaded insert will be cut.
In this case, pieces of the nipple will remain inside the sections, which can be cut with a hacksaw for metal and knocked out of the body using a chisel and a hammer. You should not feel sorry for the insert, it is a consumable and must be replaced in any case.
The main reasons for repairing an aluminum radiator
Why do such incidents occur? The fact is that aluminum heating batteries are not entirely suitable for installation and operation in such buildings, due to the limit of the permissible operating pressure of the product. For aluminum radiators, the maximum (permissible) operating pressure is within 15 atmospheres. Installation of an aluminum radiator in an apartment, with an external heat supply source, forces the product to work at its limit, since the working pressure of the central heating system, as a rule, is in the range of 12-15 atmospheres, and during pressure testing (starting the system) it reaches much more.
As you understand, an accident of an aluminum battery, in such operating conditions, is inevitable and can occur at any time and it is not necessary that you wake up, at the same time, be at home and be the first to know about it. So, based on the above, a sudden accident of an aluminum structure can lead to large - serious financial costs that will have to be spent not only on repairing your premises - an apartment, but also on compensation for the consequences of the accident, neighbors ...
But there are other reasons that force urgent repairs, interference with the integrity of the battery structure, that is, to attract a qualified specialist or disassemble and assemble an aluminum heating radiator with your own hands. If you decide to do it, in order to save money or other circumstances, on your own (on your own), then you will have to thoroughly study the topic and find out: "How to properly disassemble and assemble an aluminum heating radiator with your own hands?"
As practice shows, there are three main reasons that imply urgent, professional repair (disassembly and assembly of an aluminum heating radiator on your own):
- Clogged heating battery. The radiator is barely warm (not all sections are of the same temperature), although the pipe of the heat source is hot. Such a defect involves disassembling and washing the product;
- Between sectional battery leak. Moisture appears between the joints of the sections or fluid flows - it involves disassembling the structure and replacing the sealing elements;
- Leaking radiator section. The appearance of a crack or other defect, directly, in the section itself, which provokes the allocation or leakage of the structure, implies the replacement or restoration of the sectional element, or the entire battery.
Assembling a cast iron heating radiator
Before assembling, first of all, it is necessary to clean the threads from traces of packing material and jute on all sections. To do this, you can use a metal brush, kerosene and rags.
The quality of the thread must be checked by trial screwing in new nipples and plugs. The assembly procedure is shown in the diagram.
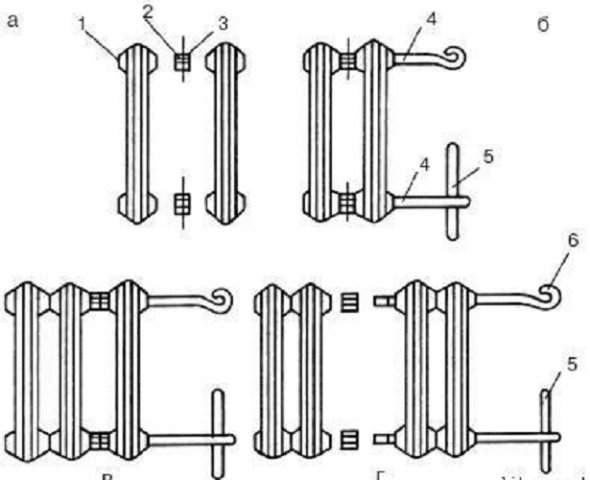
Before assembly, each glass is processed with Ciatim or graphite, wrapped with jute tow and screwed into the register body by one thread.
Collect only on the table
A sealing ring is installed on top, the next register of the battery and aligned along the axis. Then you can wrap it with a key. If the thread "does not go", then it is better to disassemble and try to establish the cause. Assembly is done with minimal effort.