Is it preferable to have internal or external insulation?
First of all, measures should be aimed at reducing heat loss in the house. The thermal insulation procedure may differ slightly depending on whether the wall of the house is made of brick or wood. The most commonly used materials for keeping warm are:
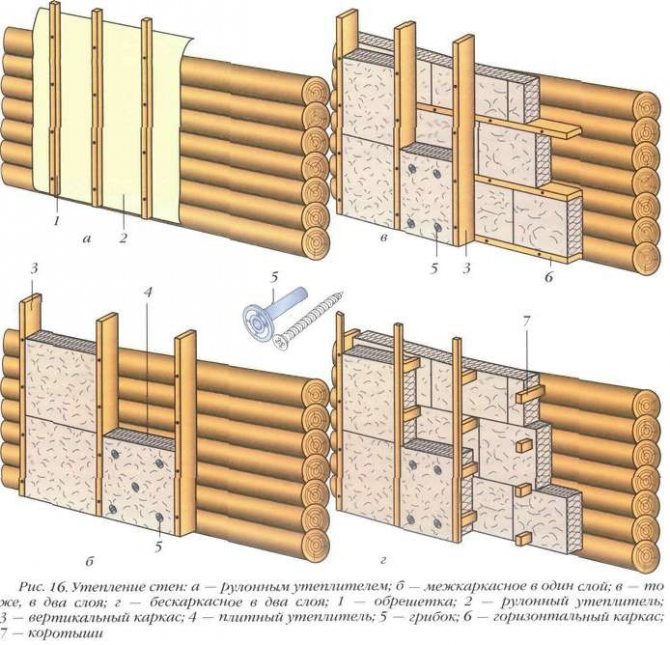
Wall insulation
- Plaster;
- Styrofoam;
- Mineral wool;
- Penoplex.
You can insulate the wall both from the outside and from the inside. If we are talking about a private house, then the best option would be insulation from the outside, since the interior space of the rooms will be preserved as much as possible. If a private house is planned to be insulated from the inside, then this moment must be foreseen even at the stage of project development in order to lay additional space in the premises for laying a heat-insulating agent.
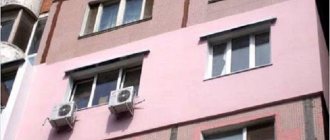
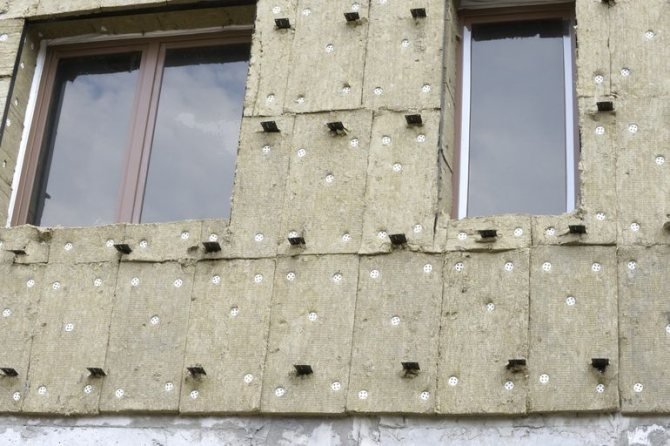
The version of insulation from the outside is more efficient in terms of saving heat and energy. But the process of assembling such a structure is not so easy to perform, it will require the involvement of third-party specialists who are qualified to perform this type of work. A very wide variety of heat-saving substances are used for such work. These are mineral wool, polystyrene, polystyrene foam, plaster with thermal insulation properties, and much more. With this option of insulation, care must be taken to provide the insulating agent with protection from the effects of an adverse environment.
If we are talking about an apartment, then there are no options, you can only insulate from the inside, it is easy to do it yourself, but then you need to carefully approach the choice of a heat-insulating substance, since its thickness hides the inner space.
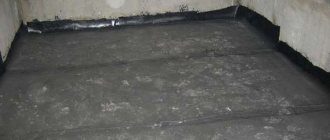
Another important nuance, only dry walls can be insulated. If condensation and moisture collects on the surface, you must first solve this problem, only then carry out insulation measures.
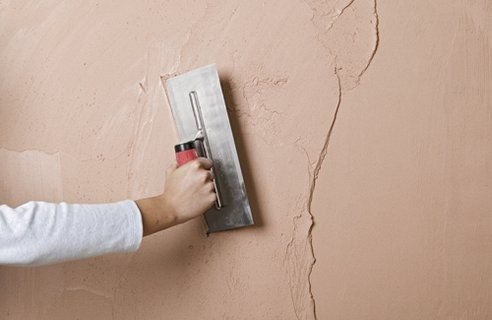
Plaster as insulation

Wall insulation plaster
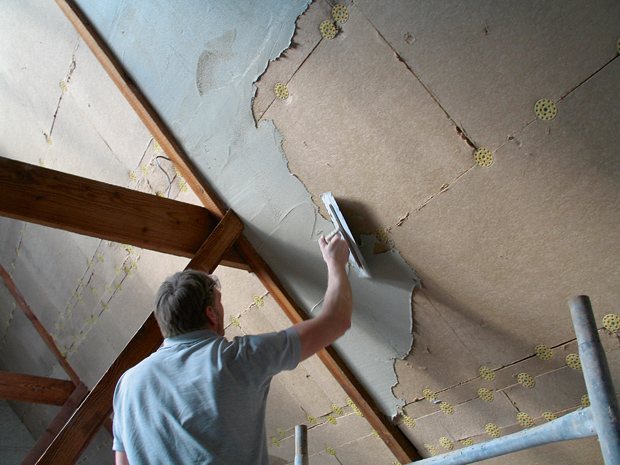
The most common, well-known method is insulation with plaster. The advantage of this type of thermal insulation is that the plaster is an environmentally friendly agent, has sound insulating properties, and is a reliable prevention of fungus and mold on the walls.
The disadvantage of this method of thermal insulation is that it is quite laborious and takes a lot of time, both for applying the mixture and for full drying.
Even special compositions have been developed that have good thermal insulation properties and, when applied in three approaches, create a decent thermal insulation effect. Especially when it comes to brick walls.
Instructions for making warm plaster:
- The first layer is made with a liquid plaster mixture, the thickness of the application is about 3 centimeters;
- The second layer is considered a primer, its thickness is from 5 to 15 centimeters, it is the most important in this type of insulation. The primer, in turn, also consists of three layers, the thickness of each should not exceed 5 cm. It is possible to apply the next portion of the plaster mixture only after the previous one has completely dried;
- The third layer is called a cover, it is done more for decorative purposes to level the surface of the wall, it is the thinnest of all three. The mixture for it consists of sand diluted with water.
Plastering the wall
Before plastering, it is recommended to moisten the brick wall with plain water. Then the adhesion of the plaster to the wall will be the strongest. Be sure to dry each coat thoroughly before applying the next one.
Wooden surfaces are also insulated with plaster. An important nuance is that a crate must first be completed on a wooden wall, only then proceed to applying the plaster composition.
Plastering concrete walls is more difficult than all others, since they require preliminary installation of a frame made of metal mesh.
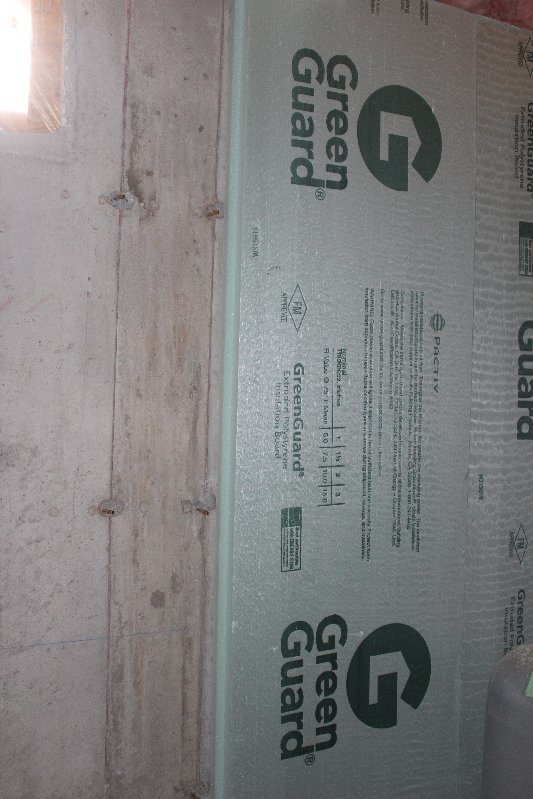
Styrofoam for wall insulation
Polyfoam has become widespread as a heat-insulating insulation due to its insulating properties and low cost, another advantage is its low weight. It tolerates low temperatures well, does not lend itself to mold and mildew. Under the influence of high temperature, the substance deforms, but does not burn by itself. Professionals in the field of renovation work advise, for prevention, to carry out edging of door and window openings using mineral wool.
It is very easy to install such insulation, but the peculiarity of wall insulation with this type of insulation is that you need to carefully level the surface beforehand so that the foam sheets fit as tightly as possible. You need to level the walls with plaster, it will be enough to apply it in two non-thick layers.
Bonding styrofoam to the wall for insulation
The next point that must be taken into account, the foam requires the creation of a vapor barrier so that moisture and condensate do not accumulate on its surface. The accumulation of moisture on the surface of the insulation is dangerous because it deprives it of its thermal insulation properties, turning all the work done on insulation into useless.
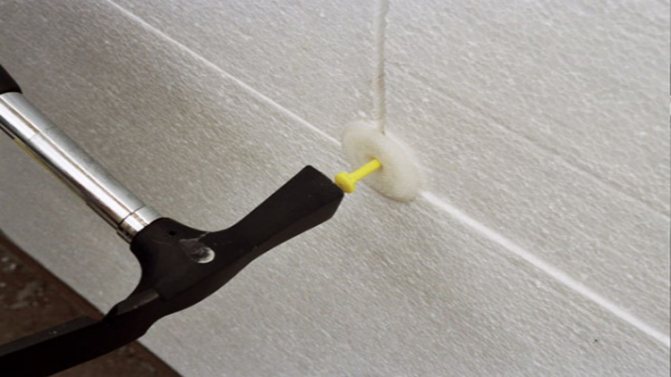
There are different ways to fix the thermal insulation on the wall. Fastening the insulation to a brick wall, with a pre-applied layer of plaster, is performed using glue. The adhesive is applied on the reverse side of the foam sheets over the entire area of the sheet. Particular attention should be paid to the perimeter. After that, the sheet is pressed as tightly as possible to the surface and fixed.
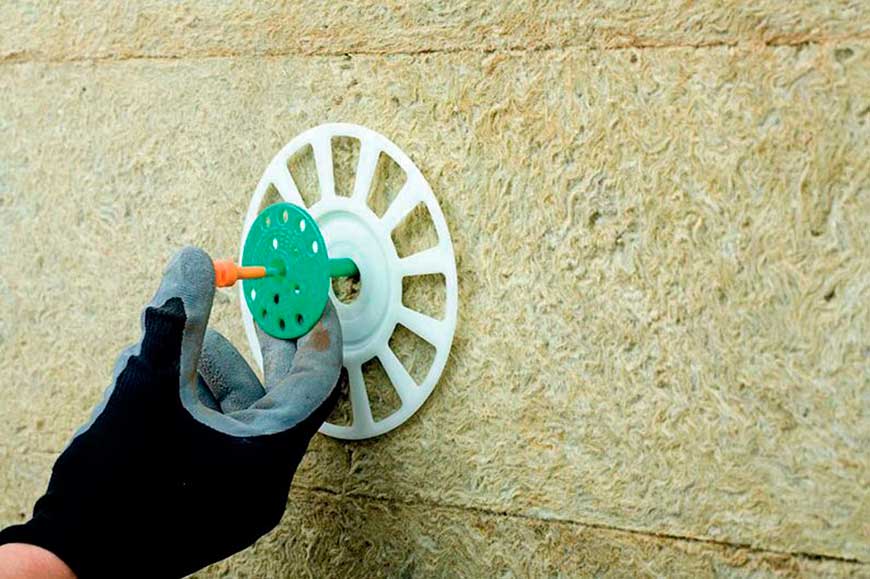
Fastening of insulation to a wooden wall or concrete surface is carried out using special dowels, which are shaped like fungi. To do this, several holes are made in the surface, with a piece of foam attached to it. It is necessary to calculate the required depth of the holes so that it is sufficient for reliable fixation of the material. These holes are designed to reinforce the insulation sheets with fungi. After preliminary fixation of the foam sheet, the remaining holes are finalized in the required quantity around the entire perimeter of the attached thermal insulation. The spacing should be about 25 centimeters.
Next, a mesh is installed on top of the insulation layer, fixing it with special glue, and work is carried out to plaster the surface.
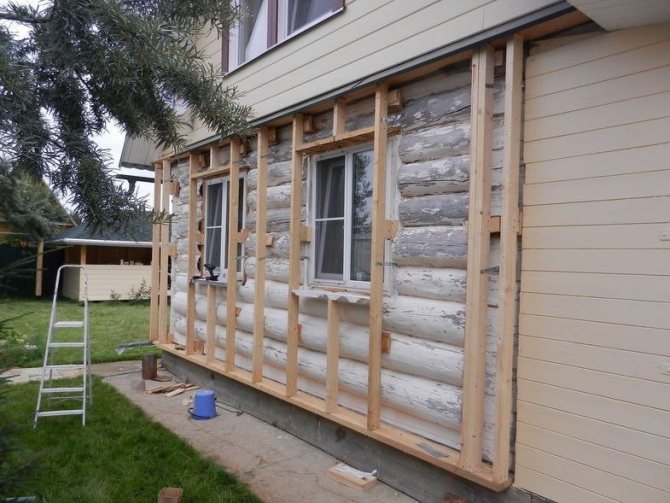
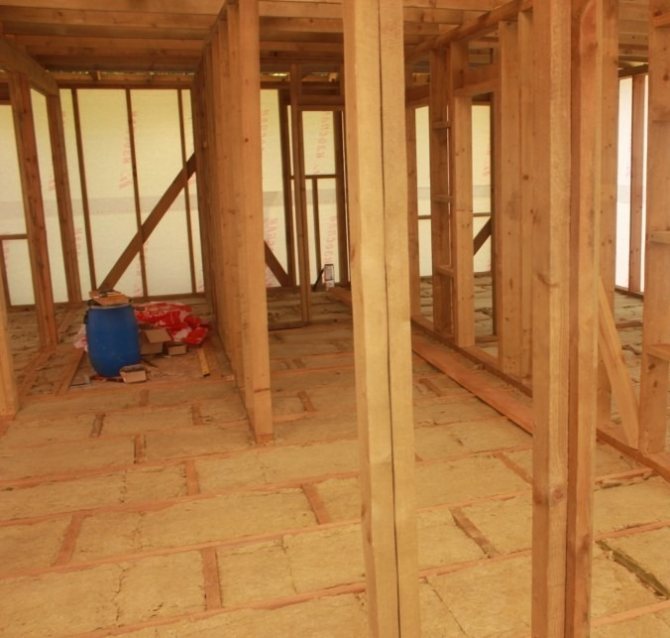
Design features of a frame house
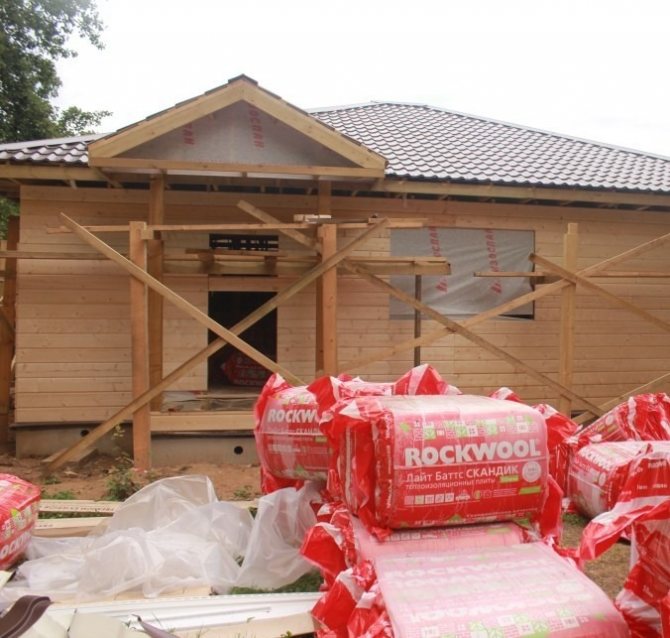
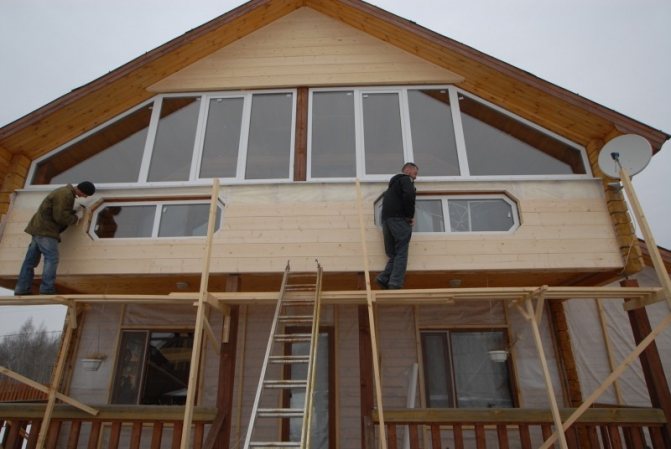
Consider the technology of insulating a frame house from the outside. To fully understand the process, you need to know the features of the construction of a frame house. This is due to the fact that additional thermal insulation is a build-up of an existing insulation layer. The photographs below show the main stages of building a frame house: building a foundation, creating a frame, laying a roof, filling the frame with thermal insulation, installing a windscreen, finishing a facade.
|
|
|
|
|
|
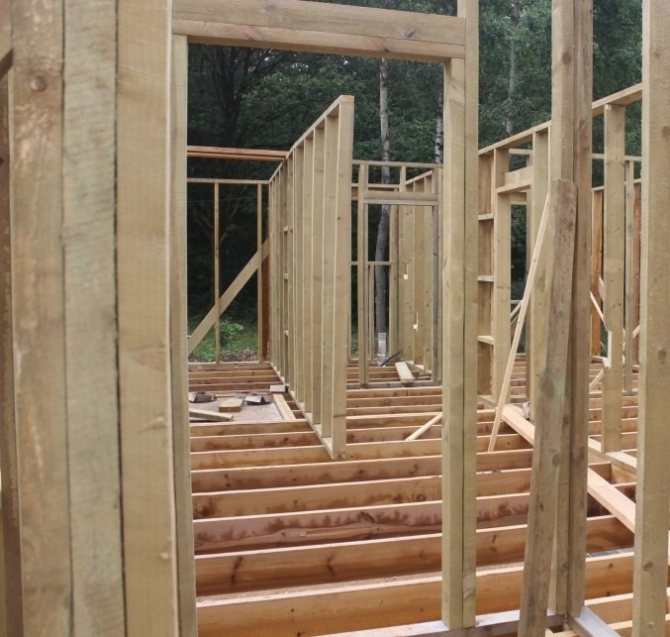

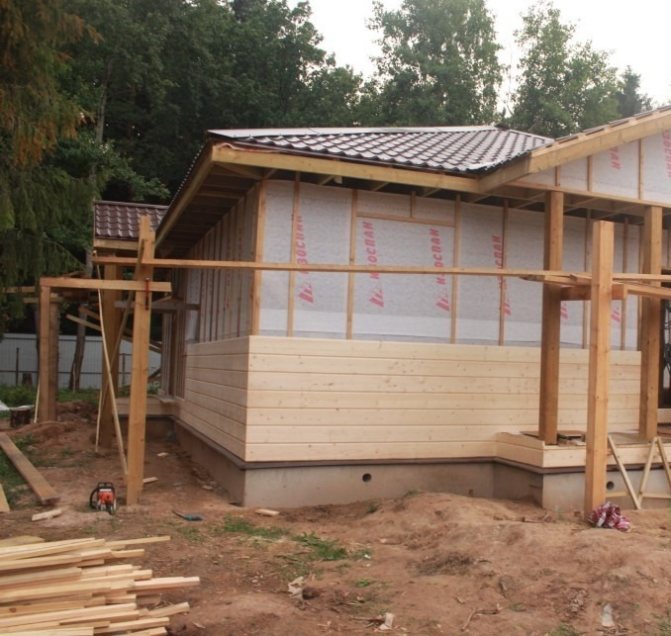
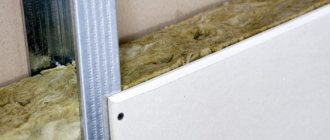
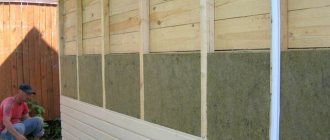
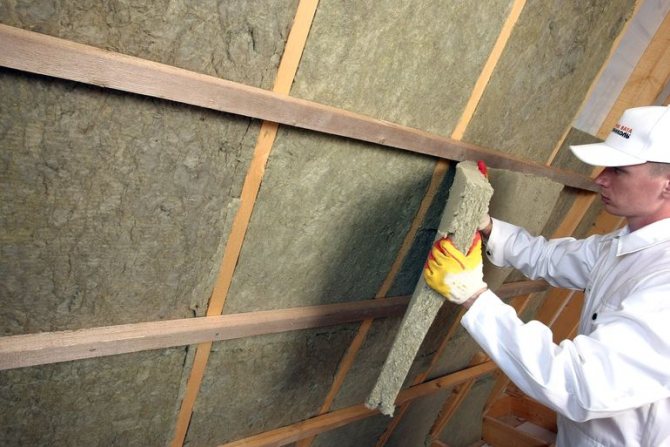
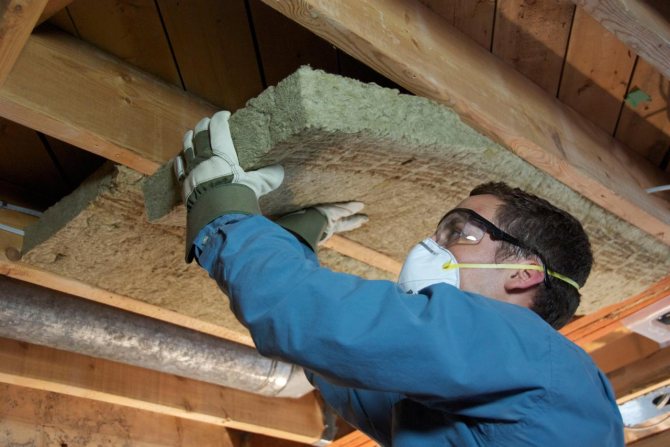
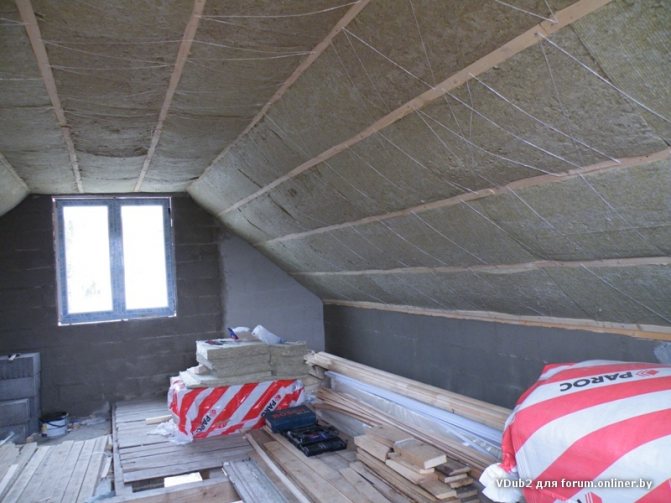
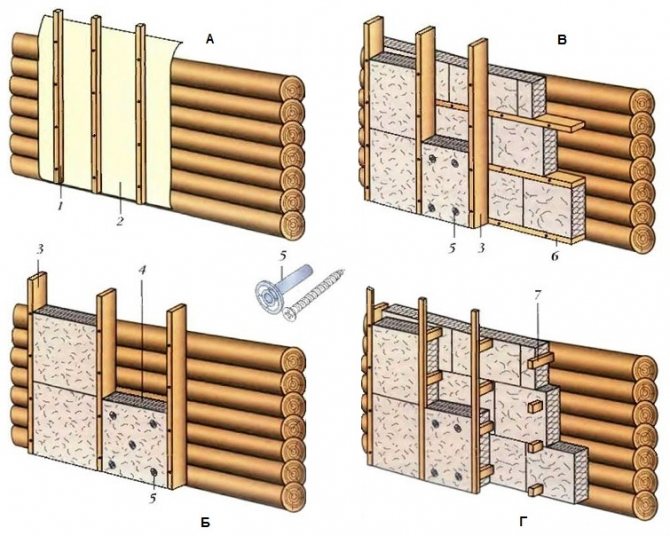
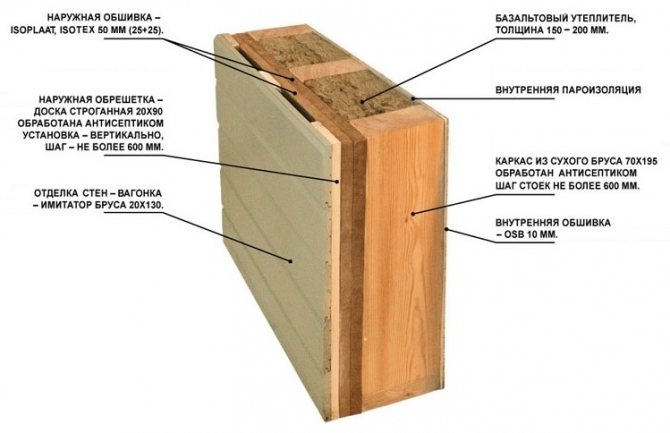
The construction of frame houses begins with the installation of a supporting frame (of course, there is already a foundation) made of wooden beams. Thermal insulation boards made of glass or stone fiber are placed between the beams.It is important to know that fiber insulation is afraid of moisture. Getting wet reduces its thermal insulation properties. As a result, more heat is used to heat the house. Also, if the insulation gets wet, then the duration of its operation decreases.
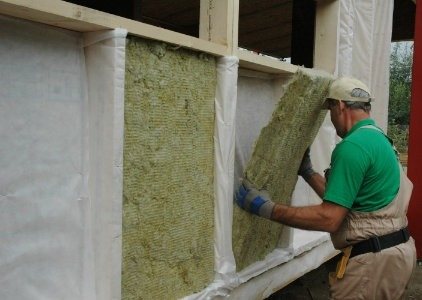
Fibrous insulation is placed between the uprights. From the side of the room, it is protected with a vapor barrier. OSB boards can be installed on top of the timber frame as a base for finishing. However, they should not be mounted close to the insulation, otherwise they will prevent steam from escaping from it.
High humidity is also harmful to the timber frame. Wood becomes moldy and rotten under the influence of moisture. Exposure to water vapor, which tends to escape from the warm air inside the house, is very dangerous for wood. In the cold, it turns into condensation and moisturizes the frame of the building. To protect wood from exposure to steam, special measures are taken. These include:
- ventilation gap;
- vapor barrier film.
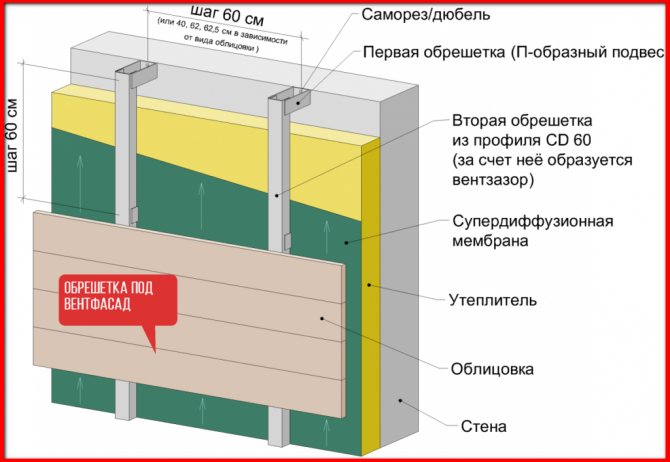
A ventilation gap is left between the exterior trim and the thermal insulation, as a result of which the penetrated steam is eliminated. Fiber materials are characterized by high vapor permeability, so steam passes through them easily. The ventilation gap is made using counter-lattice bars, which are nailed to the frame posts. The gap is made from 20 to 50 mm.
A vapor barrier film, most often made of polypropylene, is applied to the insulation from the inside of the building. It is necessary to prevent the passage of water vapor in the structure of the walls. The film is attached with a stapler. At the same time, a gap is left between the finishing of the room and the film in order to prevent damage to the vapor barrier film during finishing. All communications also fit into this gap.
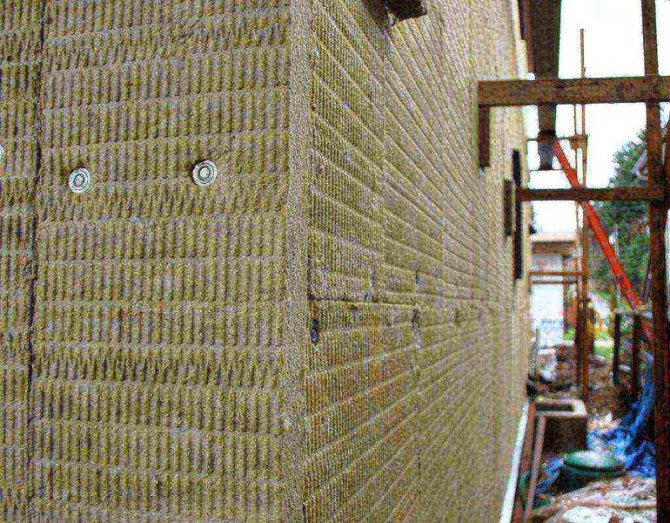
Outside, the insulation is closed with a windscreen, then a counter-lattice is nailed to the posts, which provides a ventilation gap and becomes the basis for finishing. It is necessary to leave an air gap between the insulation and the outer finish to remove water vapor from the wall structure in order to avoid condensation and, as a result, moisten the insulation and the wooden frame.
Another equally important element of the wall structure is wind protection. It is mounted to the insulation close to the outside. Its purpose is to protect against blowing through the ventilation gap. When installing the windscreen, polymer films are used. In this case, it is necessary to use only diffusion films or vapor-permeable ones so that they do not interfere with the elimination of water vapor from the insulation. The windscreen is also stapled to the frame posts with staples. Additionally, it is reinforced with counter-lattice bars.
ROCKWOOL Video Guide to Insulating Siding Walls:
Often, work on additional insulation of a frame house involves laying heat-insulating plates only between vertical posts fixed to the existing frame. This is not the best solution, because wooden posts are heat-conducting elements in the wall structure, which can be detected with a thermal imager. It is advisable to prevent heat loss through them by covering them with another layer of insulation. This can be done, for example, like this: across the racks with a certain pitch, fill wooden blocks (usually 50 mm thick), and between them lay stone fiber slabs.
Another option is to install 25 mm fibreboards in two layers with overlapping joints. The advantage of such plates is that they play the role of not only insulation, but also wind protection.A layer of insulation across the racks will also eliminate freezing of the wall caused by a human factor: loose connections of the thermal insulation to the frame.
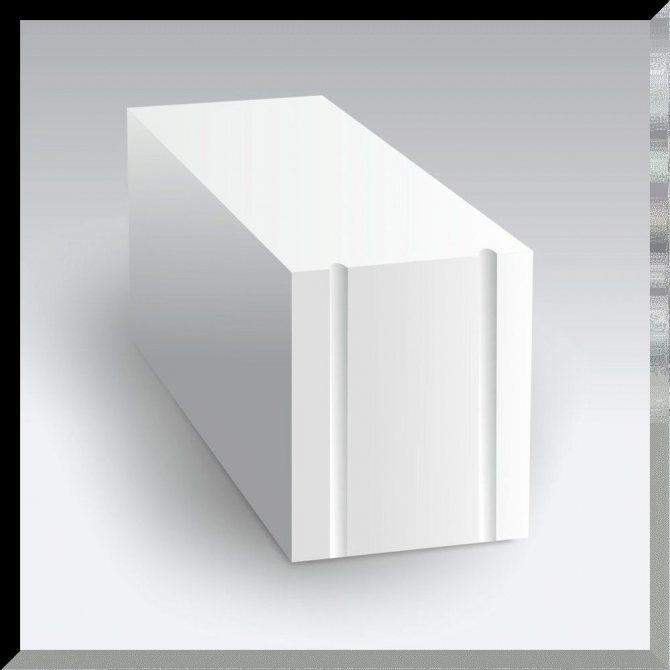
Wall of insulated frame house with ISOTEX, ISOPLAAT boards (fibreboards 25 mm thick)
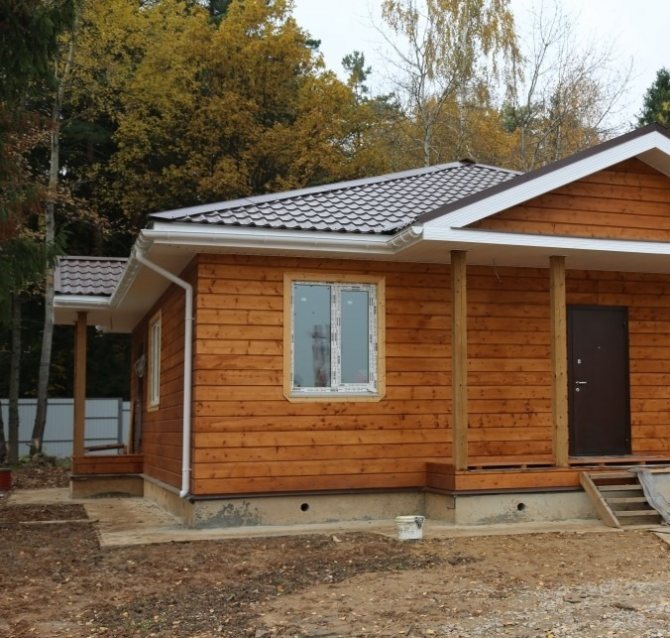
The last stage in the construction of a frame house is exterior decoration. It is attached to a counter-lattice or to a base made of OSB boards. You need to know that OSB slabs do not allow steam to pass through well, so they cannot be fastened tightly to the insulation.
Is a windproof membrane necessary in the "pie" of the wall of a frame building?
On the one hand, the membrane prevents the penetration of cold air into the insulation, increasing the heat-shielding properties of the wall. On the other hand, the air flow in the ventilation gap is negligible and, as a rule, does not lead to noticeable heat loss. Meanwhile, according to studies, even a vapor-permeable membrane to a certain extent prevents steam from escaping from the frame wall structure. And in the presence of a membrane, the probability of condensate accumulation in the insulation is greater than in its absence. Therefore, we can definitely recommend only the installation of wind protection in the corners of the building, where it is most likely to blow the insulation through the leaks in the facade decoration. However, there is also an argument in favor of its arrangement along the entire facade: this layer will protect the thermal insulation from external moisture if it gets under the finish through cracks or damage.
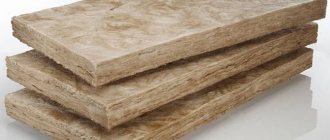
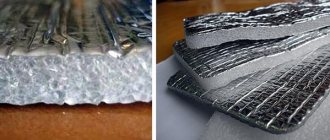
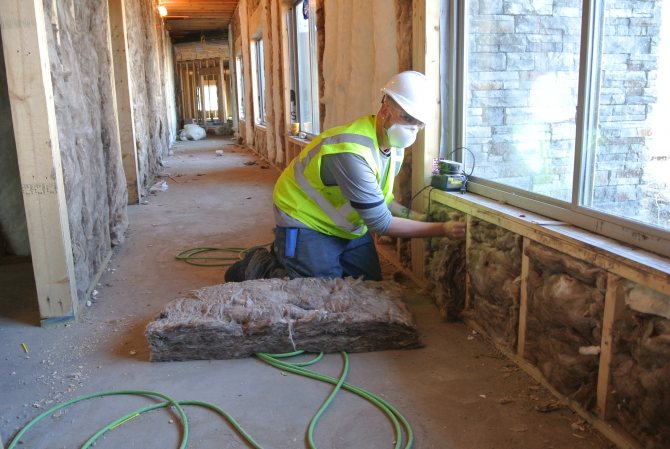
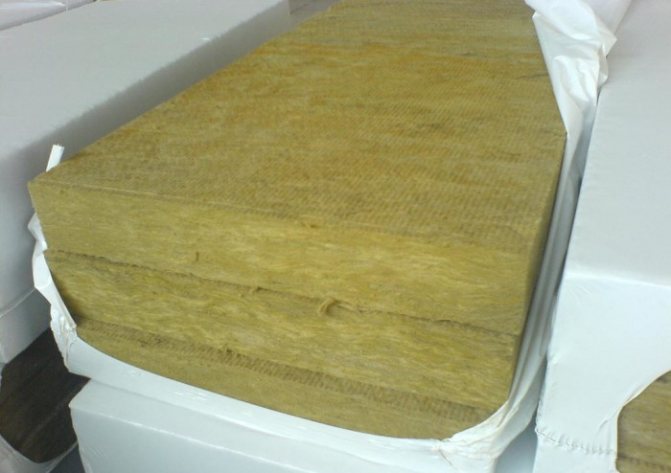
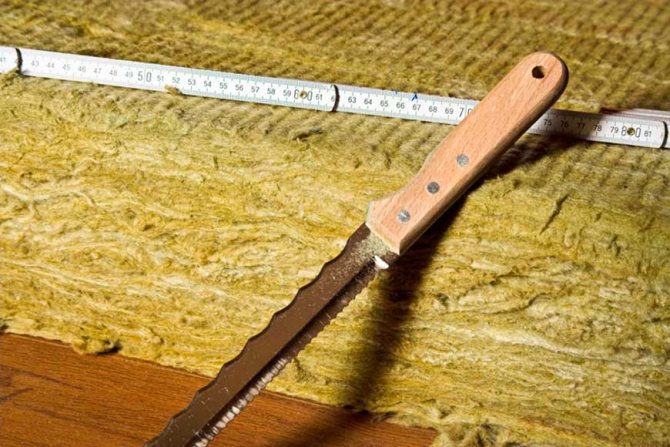
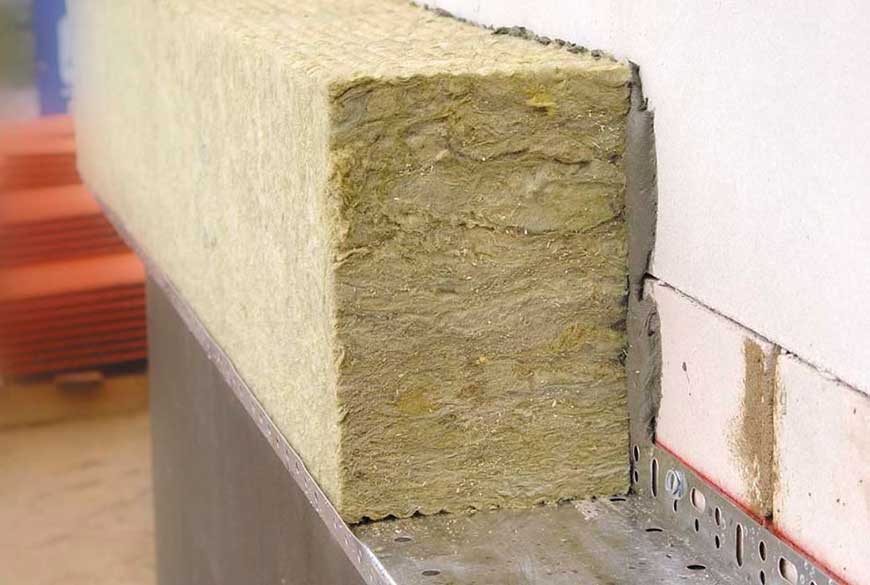
Mineral wool for wall insulation
This is another thermal insulation material that is very often used for high quality work. The advantages of mineral wool are that it is breathable and also fire resistant.
Mineral wool is especially good in that, in addition to thermal insulation properties, it also has sound insulation properties. Thus, in one step, two problems in the apartment can be solved at once.
In general, the methods of fixing mineral wool are not difficult. The only caveat is that to fix pieces of material on the surface, additional assembly of a special frame will be required. It is he who will hold the mineral wool.
In order to assemble the frame with your own hands, you will need either wooden slats or a metal profile. The choice depends on the wishes of the apartment owners and financial capabilities. The easiest way is to assemble a frame from wooden elements; this option will also take much less time to work.
The slats are fastened vertically or horizontally with self-tapping screws. The distance between the frame elements should be slightly less than the width of the thermal insulation material. Such a frame will make it possible to lay pieces of thermal insulation as tightly as possible, avoiding cracks or gaps.
If the mineral wool is released in the form of a mat, then it is enough to just put it tightly into the cells of the frame and that's it, it does not require additional fixation. For a more reliable fastening, you can fill the space between the frame elements with small studs driven in, staggered, for greater reliability, pull the threads between the studs. All these elements will keep the insulation near the surface reliably enough.
After strengthening the insulation layer, it is necessary to complete the stage with plastering.
How to carry out the installation correctly
In order to start wall insulation, you will need the following tools:
- screwdriver (preferably cordless, since you will have to move a lot);
- self-tapping screws with galvanized coating;
- tape measure, building level and various rulers - corners;
- fastenings - umbrellas for insulation;
- jigsaw with a blade for wood;
- metal profiles and corners.
The insulation process is as follows:
- A frame made of wooden (metal) profiles with a step of at least 50 cm must be attached to the wooden walls.The distance between the beams dictates the width of the insulation - it must fit tightly into the opening. The frame is erected using a building level and attached to metal corners.
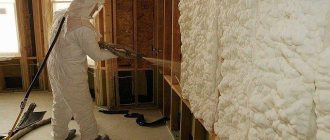
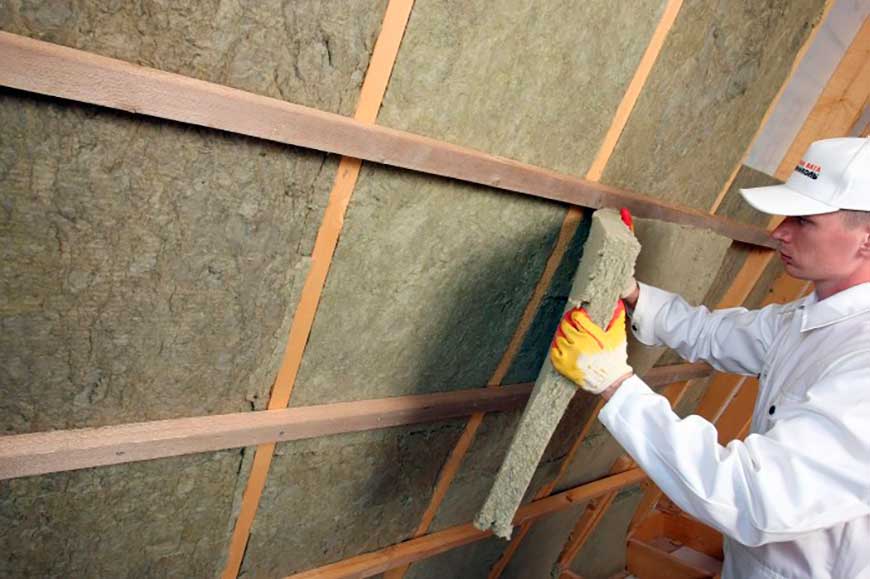
- This is followed by the first layer of ecowool or mineral wool. Install the insulation tightly to the base of the frame. Loose insulation should be laid in a special way: a special membrane fabric is attached to the finished frame, so that a bag is formed. Insulation is thrown from above and fixed with a construction stapler.
- Mineral slabs or basalt slabs are the second layer after the membrane fabric. Fasten the insulation cake with plastic dowels in the form of a fungus, for the stability of the structure.
- Install membrane insulation on the battens. Secure it to a wooden frame using construction brackets or small self-tapping screws. This backing prevents excess moisture from entering the insulation, which reduces heat loss.
- Now you can start finishing: siding, brick or building boards.
Penoplex for wall insulation
This thermal insulation material of all listed is the youngest. But it has already gained great popularity and is used very often. Particularly attractive in the use of this material is that it is easy and fast to work with it, but other qualities of this material are also at a very high level.
The insulation is fastened to the wall using special self-tapping screws that are included in the kit with the material. To fix the insulation, it is enough just to attach it to the wall, make holes through the material with a tool, and fix it with self-tapping screws from the kit.
When choosing a heater for an apartment, you need to take into account its thickness, if the thermal insulation material is laid inside the room, then the useful area of the room becomes smaller.
Safety engineering
Installation must be carried out in accordance with all safety rules and regulations. The rules are simple:
- when working with stone wool, direct contact with the material (glasses, respirator, gloves) must be excluded;
- it is not recommended to mount the material outside the house at temperatures above 30 degrees;
- Keep out of the reach of children;
- choose the right insulation for a specific surface;
- do not use the material in places where products are planned to be stored;
For all its versatility, basalt wool is not suitable for comfortable insulation of timber facades.