Basic requirements for the arrangement
The underground will successfully perform its functions if a number of conditions are met:
- high-quality steam and waterproofing of the ceiling and walls;
- insulation of both the underground itself and the floors with living quarters;
- reliable insulation of the basement, foundation and blind area of the house;
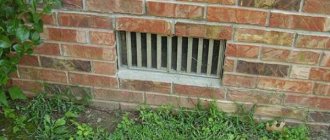
- arrangement of ventilation.
The listed measures will allow maintaining the optimum temperature and humidity in the subfield, will not allow condensation to form, which will prevent the formation of mold and mildew on the walls of the house.

Do I need to insulate the underground in the house
Insulated basement in a wooden house
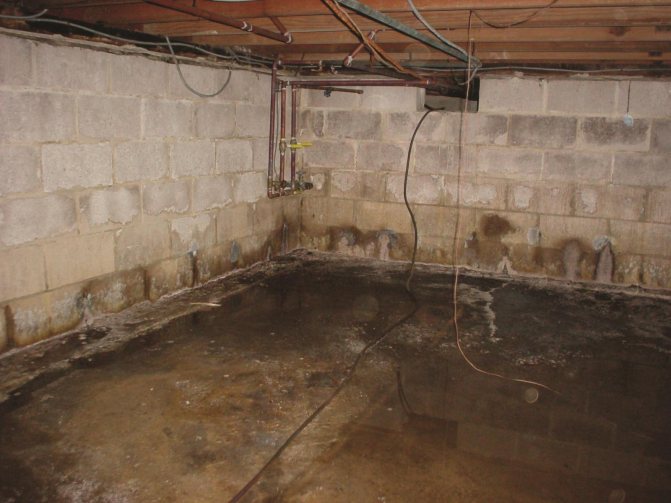
A damp and cold basement steals the heat used to heat the house. High-quality thermal insulation of the underground will help save on heating costs. In addition, basement insulation helps to improve the microclimate in the house - it prevents drafts, reduces the risk of mold, which is dangerous to humans, and the appearance of unpleasant musty odors in the living quarters of the building.
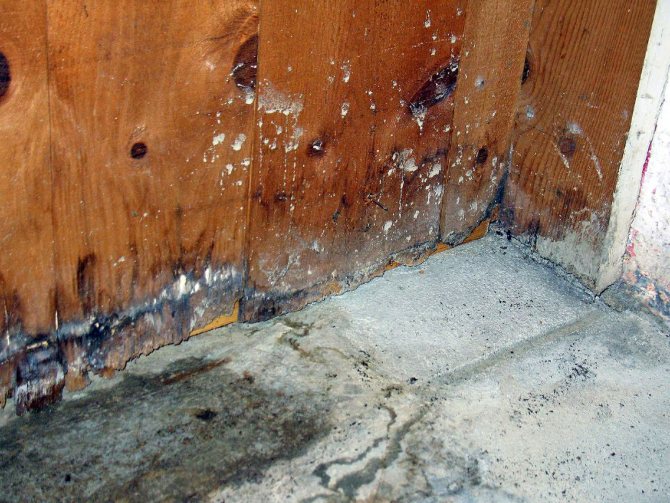
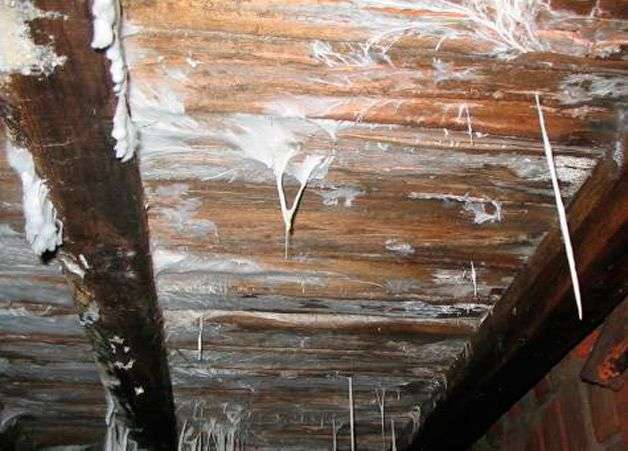
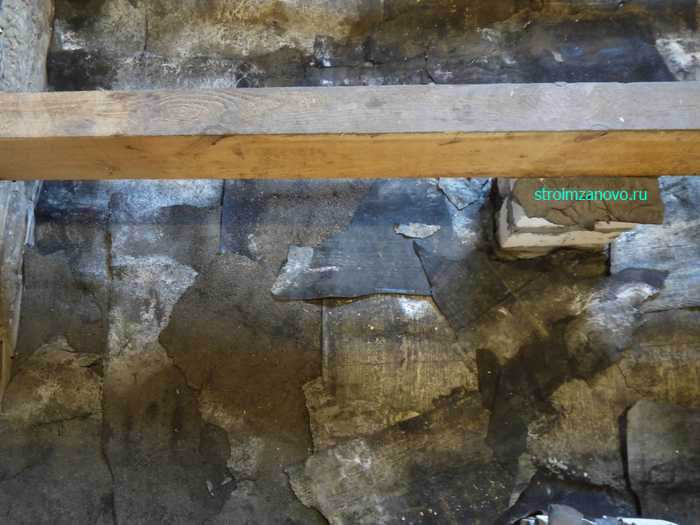
Poor insulation and waterproofing can cause wood to mold quickly and crack over time. At high humidity, wood, which is an excellent heat insulator, itself becomes a conductor of cold. And the service life of wooden walls decreases when exposed to moisture. As you can see, the subfloor of any private house needs special attention due to its proximity to wet ground.
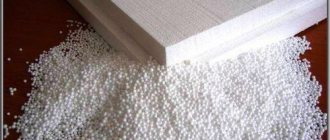
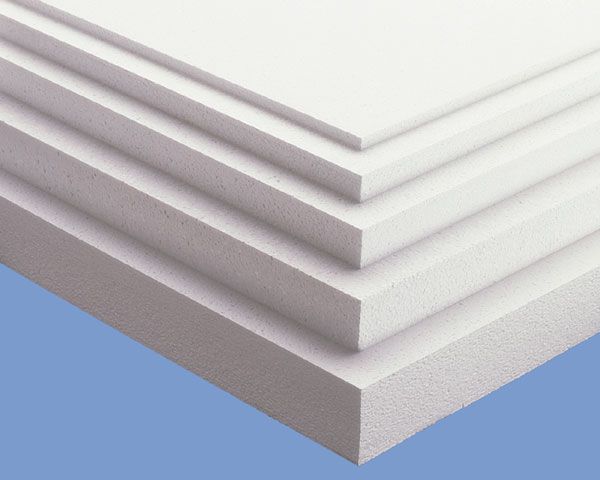
Materials (edit)
The range of modern heaters is quite wide. Here are just a few of the materials: expanded polystyrene, polyurethane foam, polystyrene, cement particle boards, isover, basalt.
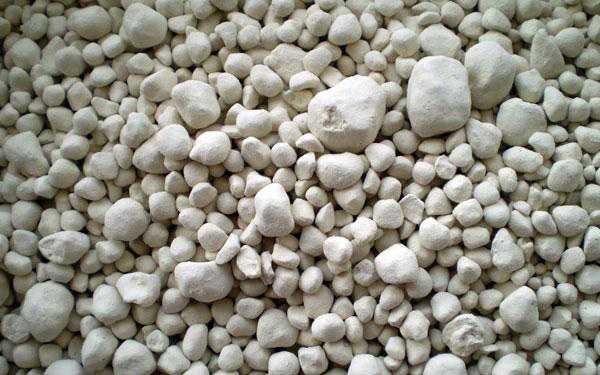
The underfloor can also be insulated with ordinary newspapers. The main thing is to get a layer of the appropriate thickness. There are also bulk heat insulators: sand, expanded clay, crushed stone, sawdust, etc.
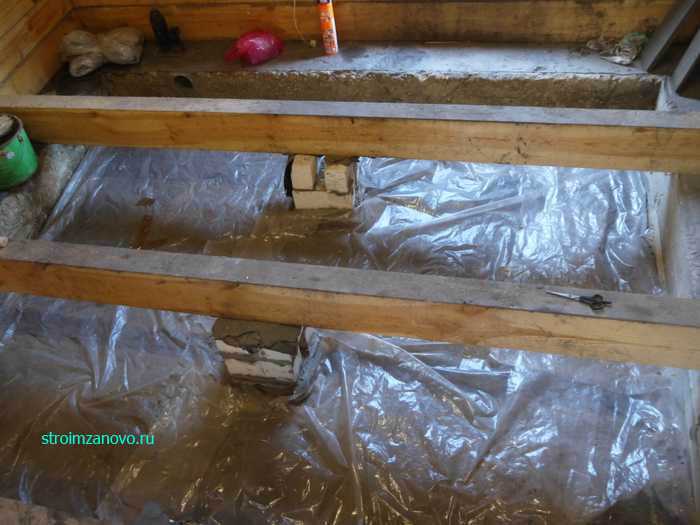
In order to qualitatively protect the wooden floors and the basement of the house from cold and moisture, roofing material, gravel and a vapor barrier film are also used to insulate the floor in the underground, on top of which a cement-sand screed is laid.
The caps of the basement are laid with felt or tow.
Site marking and foundation pit
So, let's start building. Having looked into our work plan, we proceed to the implementation of the first point - digging a foundation pit. Let's say right away - it is rather troublesome to arrange a pit of such a large size with your own hands, so do not be greedy and pay the excavator operator for the work. Save a lot of time, effort and nerve cells. But you still have to level the walls and floor manually. The depth of the pit should be based on the desired height of the basement ceilings (not less than 2200 mm), plus 500-600 mm (preparatory layer and screed).
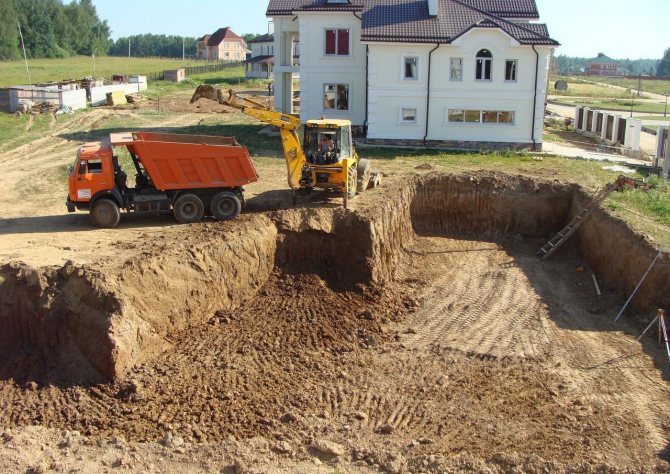
Foundation pit
Advice!
When the pit is ready, be sure to take care of the drainage system, since the weather is an unpredictable lady and loves to present unexpected surprises.
The drainage system can be done in two ways. The easiest way is to make something that looks like a canopy from a regular plastic roll film. It should be located at an angle and cover the entire area of the pit. This is easier to achieve than it sounds. The film is easily glued with a regular iron. The upper part of the makeshift canopy is raised on pegs driven into the ground, the lower part is buried in or pressed to the ground with stones. A small trench is dug along the entire lower part of the film as a drainage system. The design is simple and convenient and its device does not require special effort, money and time, but it has a significant disadvantage - windage.
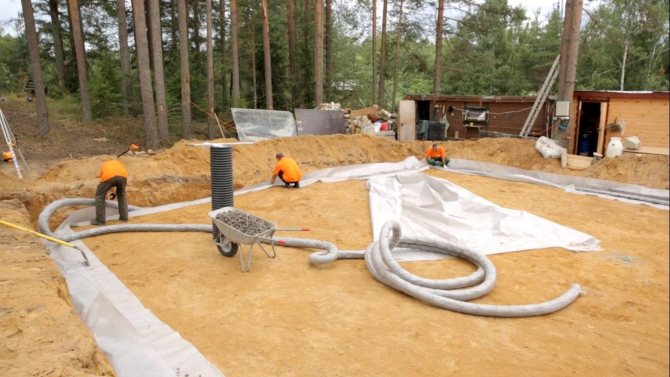
Laying drainage with crushed stone and sand filling
The second method is used everywhere in construction and planning sites.At the bottom of the pit, slopes are made from the center to the walls, along which drainage trenches are dug with a slope to one side and a container for collecting water is dug in at the lowest point. The device of such a drainage system will take a little more time and effort, but the method is old and proven.
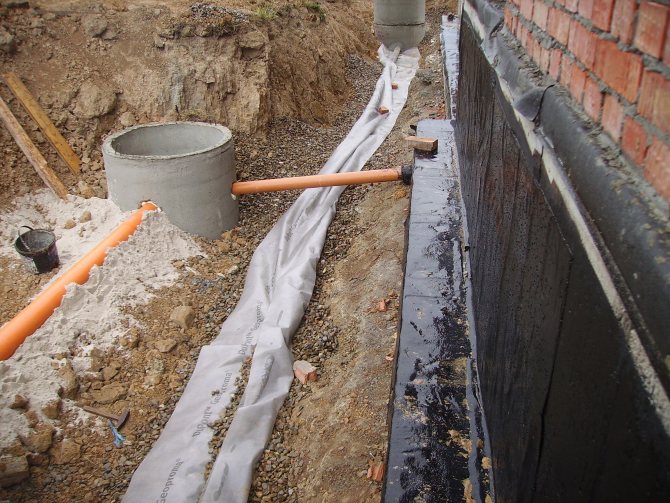
Drainage with a container for collecting water
Advice!
Before proceeding to the next phase, be sure to inquire about the water table in your area.
You need to know this in order to decide what to do first - the floor or the walls. At a high level, the floor is poured first (this is the opinion of experts). We believe that even on a dry, not subject to flooding, a site, you still need to start construction from the floor, because it is much more convenient to erect walls, having a solid, flat surface in the main. And even more so if the construction of partitions is planned inside the perimeter.
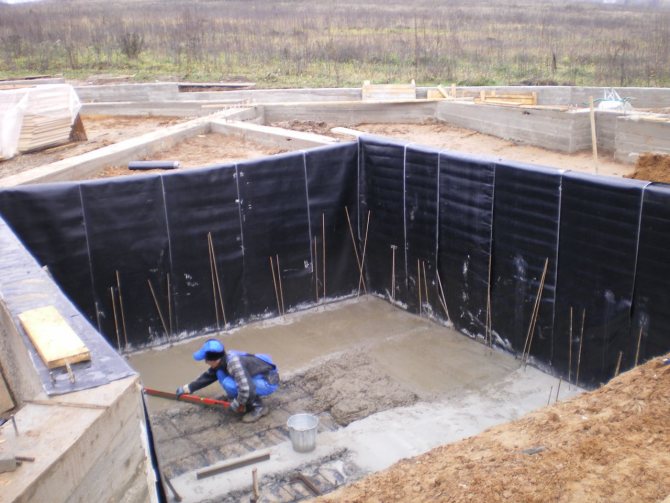
Pouring the foundation
We insulate the walls of the underground
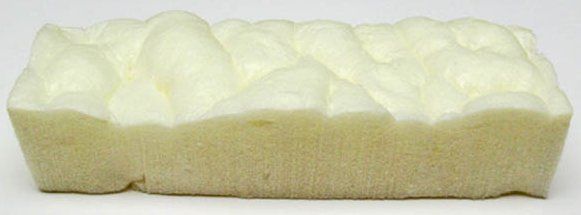
It is best to insulate the walls of the underground with such proven and well-proven materials as polyurethane foam (PPU) and liquid heat insulators - "Astratek", "Magniterm", "Akterm", "Korund", "Bronya" and others.
If, as a rule, it is necessary to involve specialists with expensive equipment for spraying on PPU walls, then using liquid heat insulators, you can do it yourself with your own hands.
Sequence of work
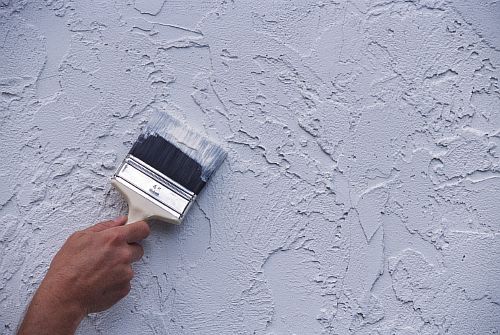
Wall treatment with liquid thermal protection requires a certain sequence:
- clean the brick or concrete walls of the subfloor, if necessary, eliminate the cracks with a special repair mixture;
- apply an acrylic primer;
- cover the prepared wall with a mixture with pronounced water-repellent and thermal insulation properties;
- reapply the acrylic primer;
- after 2-3 days, after the plaster has completely dried, apply a liquid heat insulator with a brush and a spatula, previously mixed with a drill at low speeds.
It should be remembered that the thermal efficiency of such a material is extremely high: 1 mm of liquid coating corresponds to 50-60 mm of foam, so it should be applied in a thin layer.
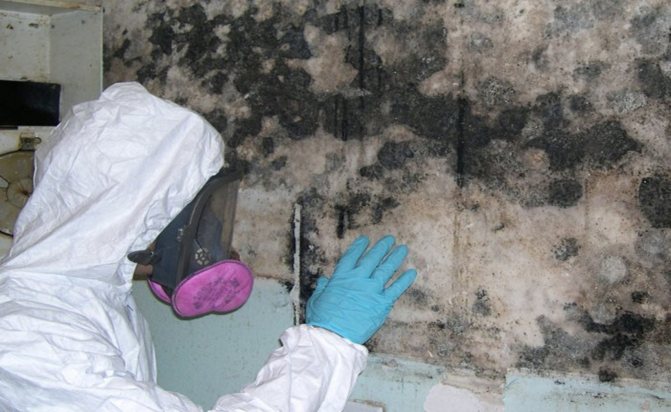
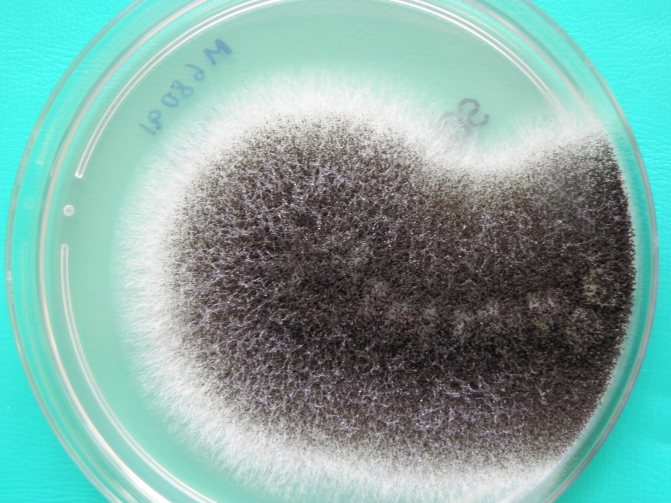
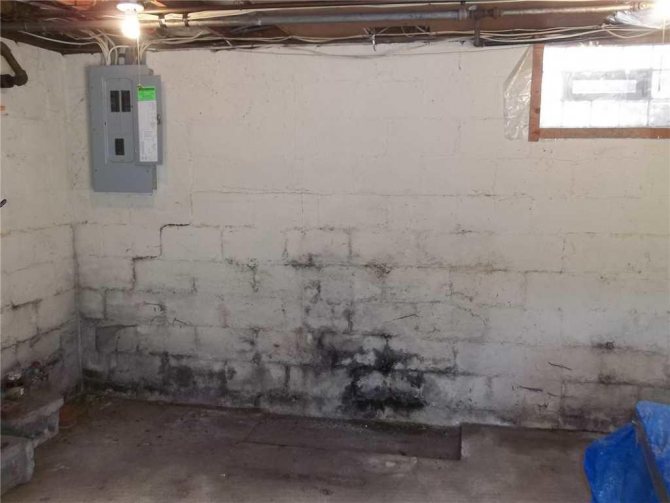
Ways to get rid of mold in your basement
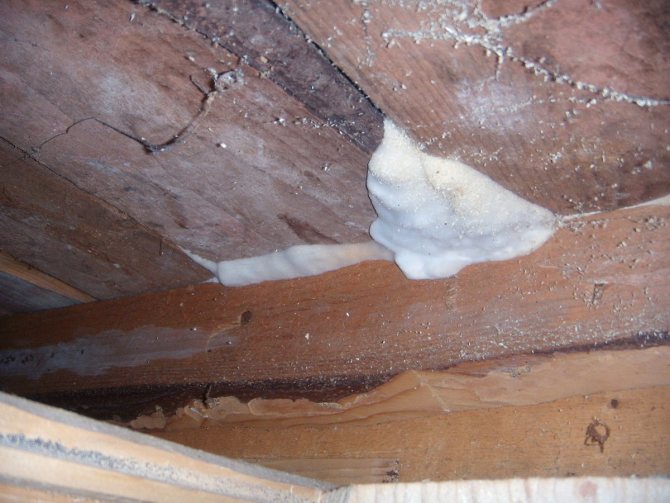
In order for the fight against the problem to be justified and not repeated every time, it is worth eliminating the cause of the appearance of mold.
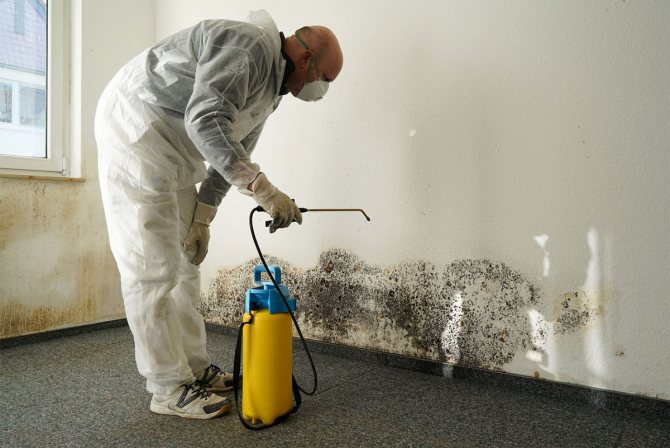
In the photo - the treatment of the cellar with antifungal drugs.
Once you've determined that the mold has developed in the subfloor of your home, take some steps to get rid of it.
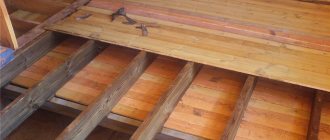
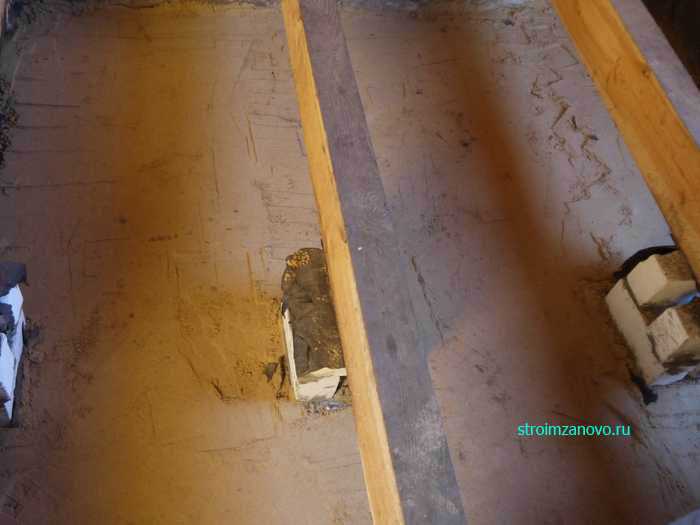
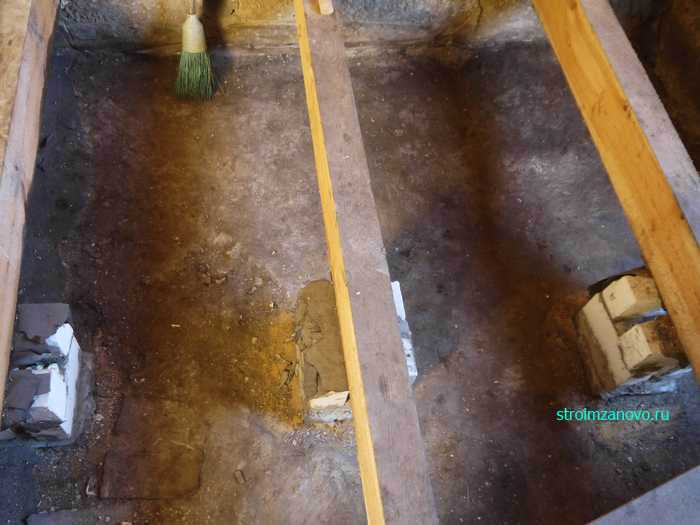
- Disinfection of the mill will not be effective if the spores of the fungus remain in the ground. Therefore, start the fight against the pest by removing the top layer of soil.
- After completing the first step, fill the floor. To do this, use clay, lime or gravel.
- We put the lags on top.
- We lay a wooden floor.
All the steps taken will provide high-quality ventilation, which helps to get rid of the pest.

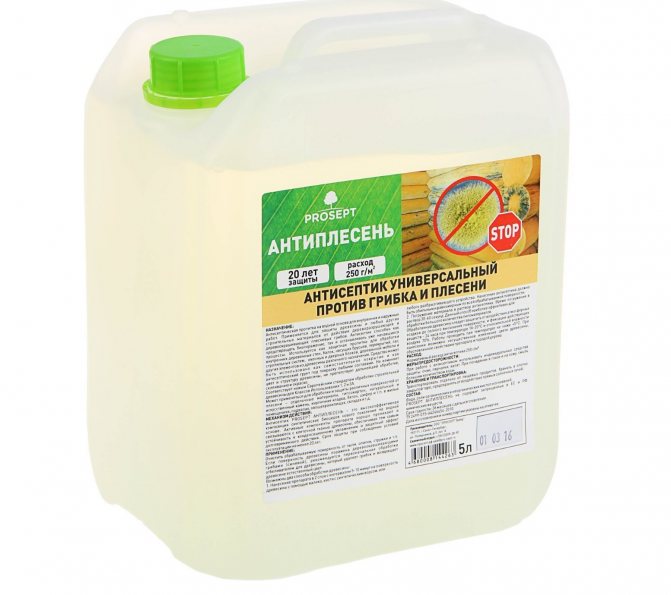
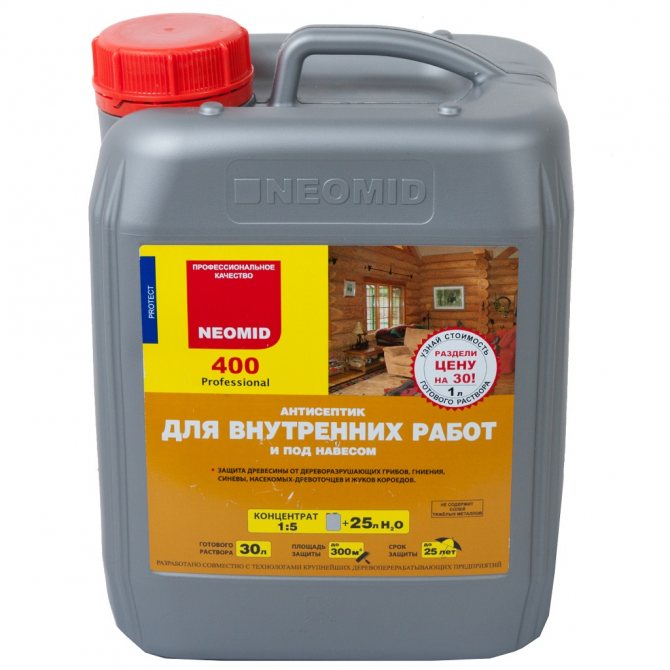
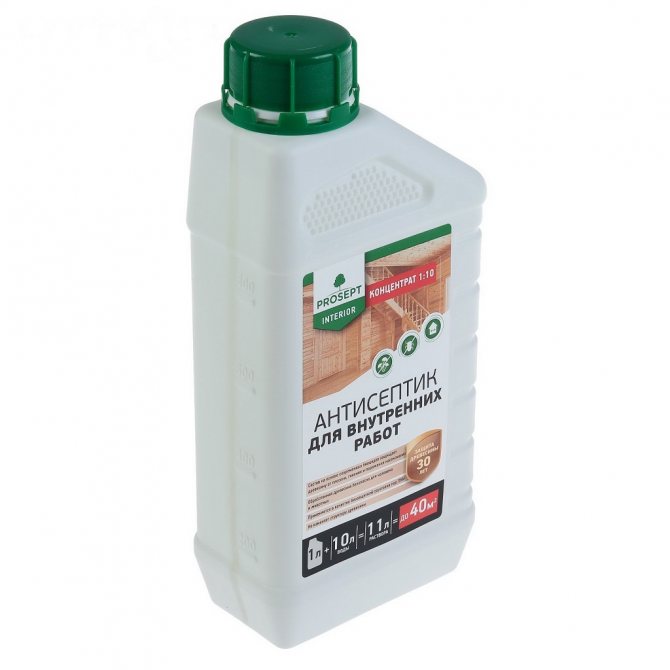
In addition, the fight can be carried out by chemical or folk remedies. The fight against colonies of the fungus with folk remedies is effective, but at the initial stages and a small area. Main remedies for mold control:
- Sulfur checker
- Chlorine preparations
- Vitriol: copper or iron
- Wood treatment solution
- Burner.
Advice. It is important to follow safety precautions when using each of the fungal control methods.
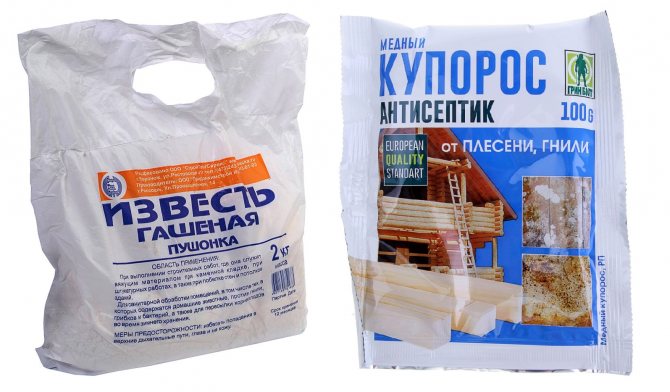
Vitriol is a quality remedy for mold.
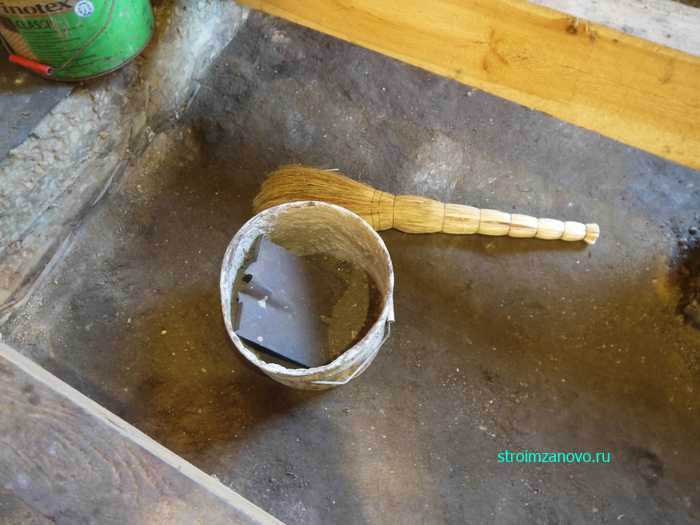
If you choose a sulfur checker, make sure that the room is airtight. Close all the cracks. Please note that sulfur is hazardous to humans and animals. The process of working with a checker takes place in the following sequence: we prepare an iron basin, place a checker in it, set fire to the wick and immediately leave the room. It is important to tightly close the door behind you. The most famous and accessible substance is "Whiteness".
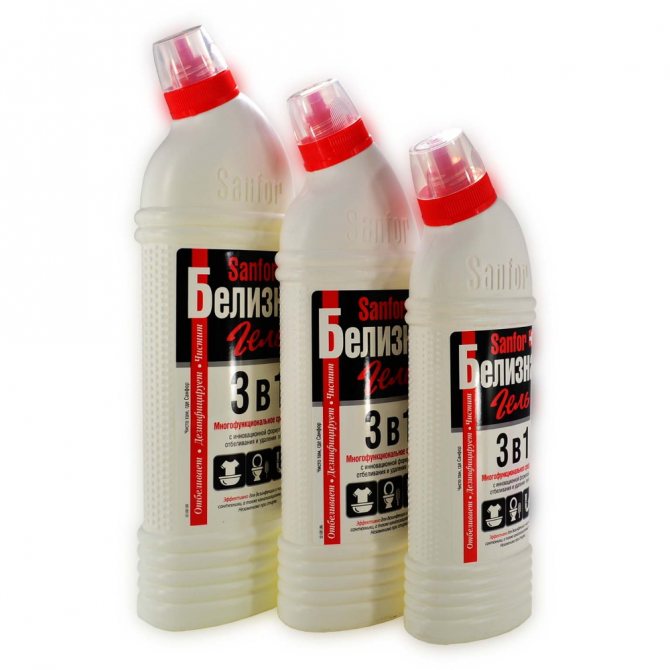
White three in one is ideal for whitening and cleaning.
To get started, prepare a concentrated solution and treat the entire surface with it. The effectiveness of the method is equal to the effectiveness with the use of a sulfur checker. It is important to start the preparation stage of the solution with your safety: stock up on a respirator, protective clothing and thick rubber gloves.
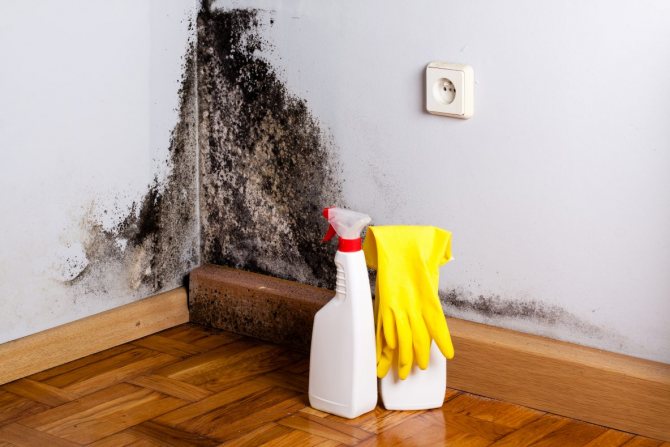
Use a variety of mold removers.
The vitriol method requires vitriol, clay, hot water. In one liter of hot water we dilute all the ingredients and process the area. It is important to repeat the processing process after a month.
Regular treatment of the basement from mold is the key to success.
Before processing the tree, you can use a special solution. The solution should contain: zinc chloride, sodium fluoride, silicon and sodium silicofluoride. The cooking process is simple: dissolve all chemicals in hot water and spray on wooden surfaces. From these chemicals, you can make a paste yourself, which can be used to treat already affected areas on a wooden floor.
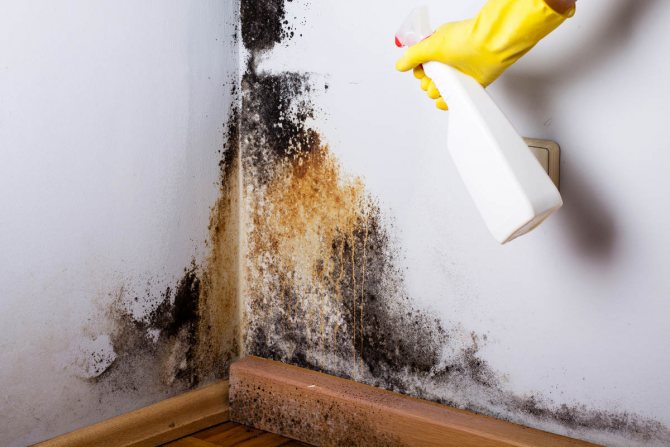
Get rid of mold early on.
The already affected areas are treated with a burner. The method is effective, but its effectiveness is reduced if the source of the mold is not destroyed.
Fungus is a serious problem that must be quickly eliminated.
Please note that each activity is effective. Do not forget to be careful when working with folk or chemical products. You should not let the process of fungal infection take its course, it does not go away by itself.
Don't ignore the growth of mold in your basement.
If one method does not effectively kill the fungus, try another. If nothing is done, the damage to the premises and health can be significant.
A good basement should be mold-free.
Heat protection of the floor and upper floor
We can talk about high-quality insulation of the subfloor, if only a full range of works has been completed, including, in addition to warming the walls, also heat protection of the floor and the upper floor. To achieve the maximum effect, it is best to insulate the floor with extruded polystyrene foam (EPS), and the ceiling with mineral wool.
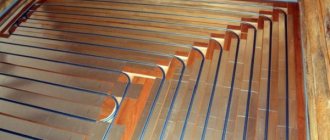
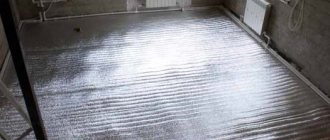
We insulate the floor of the subfloor
When choosing a material for floor insulation, you need to focus on the following points:
- high level of thermal conductivity;
- minimal water absorption;
- strength with low weight;
- minimum installation difficulties;
- durability;
- safety for human health.
Most of all, these conditions correspond to the Penoplex F slabs (in particular, Penoplex-Foundation) with an L-shaped edge for high-quality joining.
The work is carried out in the following order:
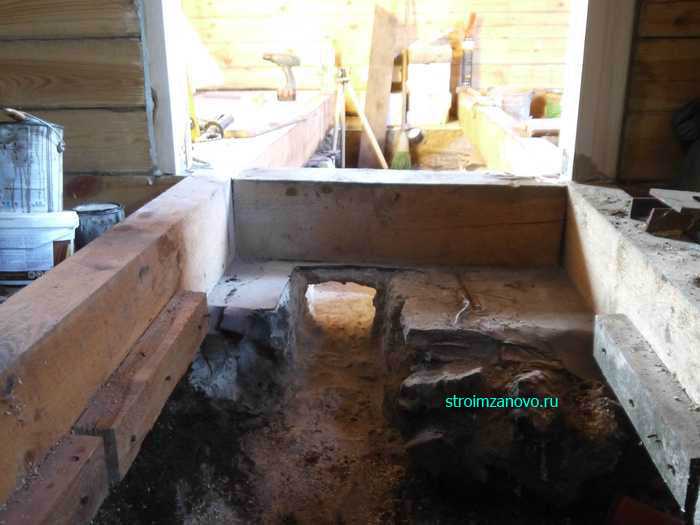
- choose excess soil to equip the floor of the required thickness;
- tamp the base;
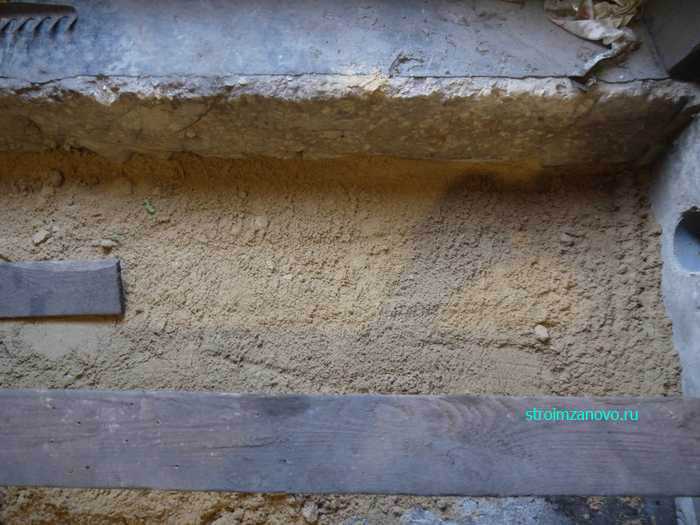
- lay sand on the base with a layer of about 10 cm and also tamp;
- lay a lightweight reinforcing mesh (cells 100 by 100 mm);
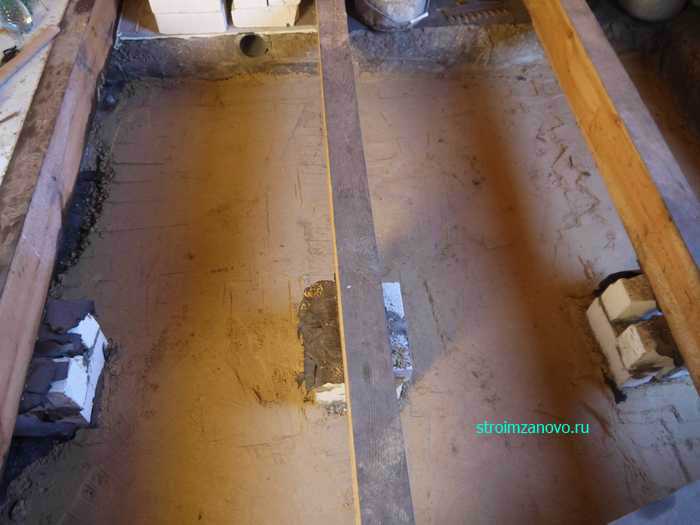
- lay a rough concrete screed 5 cm thick on top of the reinforcing mesh and wait until it dries completely;
- tightly lay the EPSP boards, fixing them on top with a reinforcing mesh with an even finer mesh (50 by 50 mm);
- pour a clean concrete screed 6-7 cm thick.
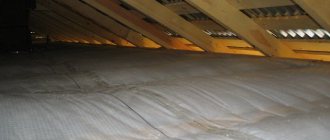
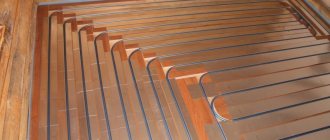
Protecting the top floor
The overlap of the underground is located under the living quarters of the house, therefore, it is advisable to protect the ceiling of the underground with basalt insulation, which, in terms of its properties, is ideally suited for such premises.
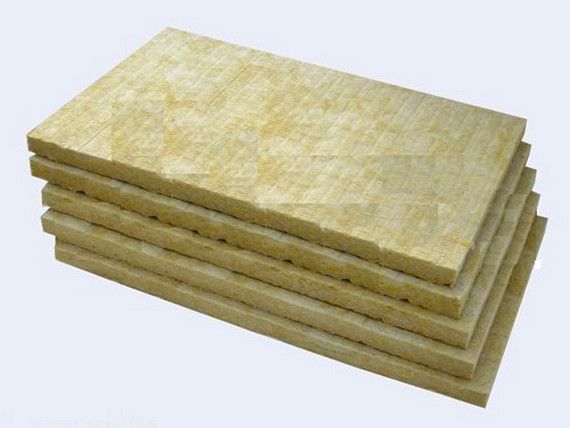
High thermophysical and operational qualities of such basalt insulation materials as Rockwool and Izorok make them indispensable for the underground.
They are characterized by:
- low thermal conductivity;
- strength;
- high fire resistance, which allows them to be used even when arranging fireproof partitions;
- high level of moisture protection;
- high-quality sound insulation;
- sufficient vapor permeability;
- safety and environmental friendliness.
In order to properly insulate the top of the subfloor with your own hands, you must:
- remove all irregularities on the ceiling;
- on the ceiling surface, mount the lathing with a step of 3-5 mm less than the width of the slab of basalt mineral wool (for a wooden house with already insulated scaffolds and a foundation, 500 mm is enough);
- insert the insulation plate into the spacer;
- sew up the insulation along the crate with a pre-selected coating - PVC ceiling panels, moisture-resistant plywood, etc.
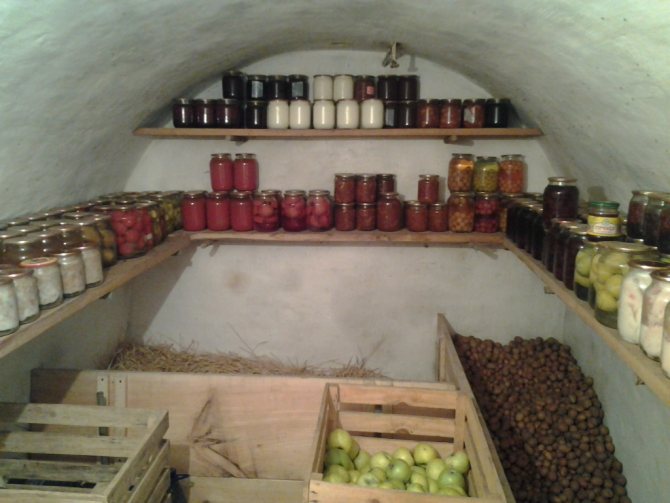
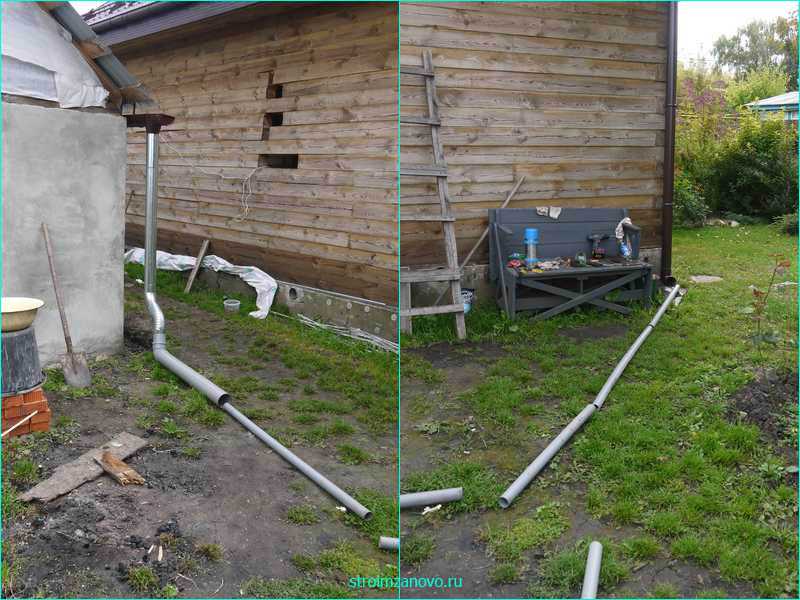
Basement drainage with ventilation
Sometimes it happens like this: it was dry in the cellar, but suddenly there was dampness. One of the reasons is poor ventilation. First of all, check the cleanliness of the ventilation ducts. Clean if necessary. If everything is fine, but the dampness does not go away, then the chimney is not working well. This happens when the air in the cellar is colder than outside.
Heavy and cold, he himself will not climb the pipe. At first glance, a paradoxical situation arises: it was cold and damp outside - it was dry in the cellar. It got warmer - drops of moisture hung on the ceiling, walls and objects, a musty smell appeared. In this case, in order to dry the cellar, it is necessary to activate the movement of air. There are several solutions.
- Put a powerful fan on the chimney to draw air. Ensure the flow of air masses - open the hatch, if any - windows or dampers. In a few days (from three to ten) everything will dry out.

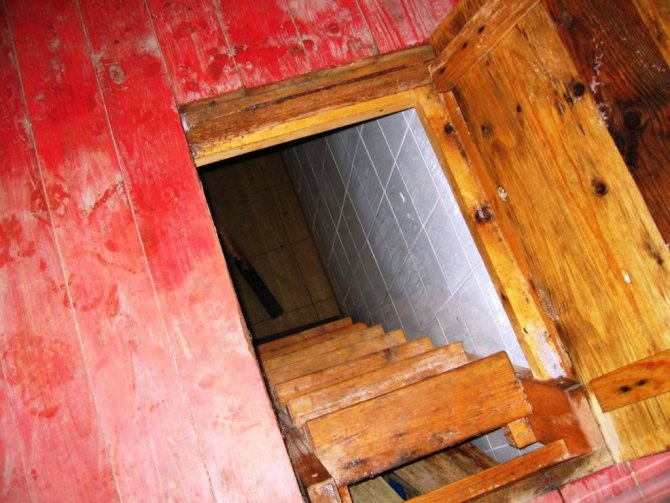
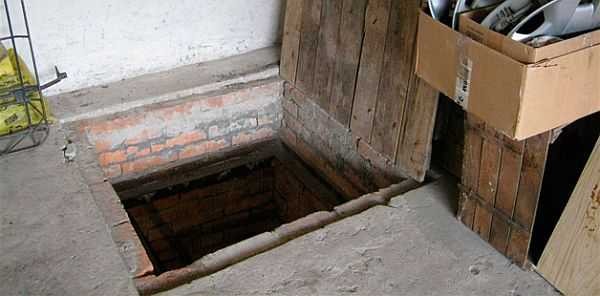
Organization of basement ventilation in a garage with a viewing hole - Use the old "old-fashioned method" with a candle. It is suitable if there is no electricity and there is nowhere to turn on the fan. This happens if the cellar is built separately, on the street. To dry it, temporarily grow it into the exhaust pipe (the one that ends under the ceiling) so that it almost touches the floor (it was 5-10 cm higher). A burning candle is slipped under it, but it is placed on some kind of non-combustible base. Due to the fact that the air in the pipe heats up, there is a normal draft, the raw air is pulled from the floor. Change the candle until the basement dries out. Instead of candles, you can use dry alcohol tablets. Sometimes the flame of a candle is not enough to start the movement of air. Then first slip a piece of burning newspaper into the pipe (just carefully, do not burn or melt the ventilation), after it has burnt out, move the burning candle forward.
How to dry the cellar in this case? Wait until autumn, and when there is no rain yet, but the temperature is already about 10 ° C, start ventilation using one of the methods suggested above. Working. If your nights are cold in summer, you can turn on the fan at night, and close the ventilation ducts during the day. So gradually you can reduce the humidity in the cellar in the summer.
We heat the cellar
If it is necessary to remove dampness even during warm weather, and ventilation only worsens the situation, you need to heat the air in the basement so that it goes outside by itself, carrying away moisture (the higher the air temperature, the more vapors it can contain).
To do this, take an old bucket or other metal container of about the same volume. They make many holes in it (you can use an ax) in the bottom and walls. Such a leaky bucket is tied to a cable (fasten securely). Coals for kebabs are poured inside (you can burn it yourself), the bucket should be almost full. The coals are kindled and stable combustion is achieved (to accelerate the combustion, you can adapt the vacuum cleaner by turning it on for blowing). A bucket with embers is lowered on a cable into the cellar, fixed so that it hangs above the bottom, and the lid is closed.
The lid on the cellar in the house should be practically airtight.
Periodically, the cellar lid must be opened, letting in an additional portion of oxygen (every 20-30 minutes).You can put a fan on the supply pipe or periodically turn on the same vacuum cleaner. If the coals are still extinguished, they are kindled again.
Attention! It is better not to climb inside, to do everything from above. Firstly, the temperature there is high (in a room about 2 * 3 meters about 70 ° C), and secondly, smoke and, perhaps, carbon monoxide accumulates inside.
As the coals burned out, the bucket was taken out, the lid was closed. Do not look inside for three days: smoke and gases will kill the mold and at the same time with drying you will disinfect your cellar. Usually one such "firebox" is enough to dry out the basement in the house or on the street. Likewise, you can get rid of dampness in the basement under the garage.
Sometimes coke or coal is used instead of charcoal. It gives a higher temperature and takes longer to "process", but it burns harder, requires more oxygen, often forced blowing (adapt the old vacuum cleaner and corrugated hose, but turn it on for blowing). But the temperature rises even higher and dries even more efficiently. But the price of coke is high, even though buying a bucket will not go broke.
Instead of a bucket of burning coal, you can use other heaters:
- a propane burner (lower the burning one on the wire, make sure that it does not light anything and leave it hanging in the middle, as tired of it, close the valve, you can open the lid only every other day);
- a heat gun of decent power (3-5 kW);
- kirogas;
- lower the potbelly stove into the basement and heat it.
All these methods can be used, but you have to go down into the cellar in order to ignite the pyrogas or potbelly stove. And this is an unsafe undertaking and do not use this method alone. You need someone to belay you upstairs. Regarding the heat gun: it is also better to lower it by tying (tying) a rope, and not to lower it yourself.
How to dry a basement in a garage is described in the video.
How to make high beds (to increase yields) read here.
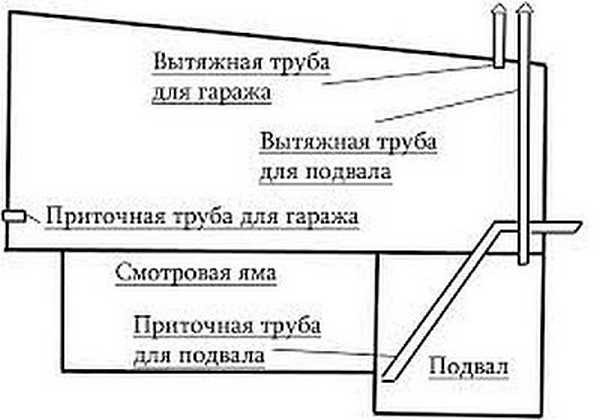
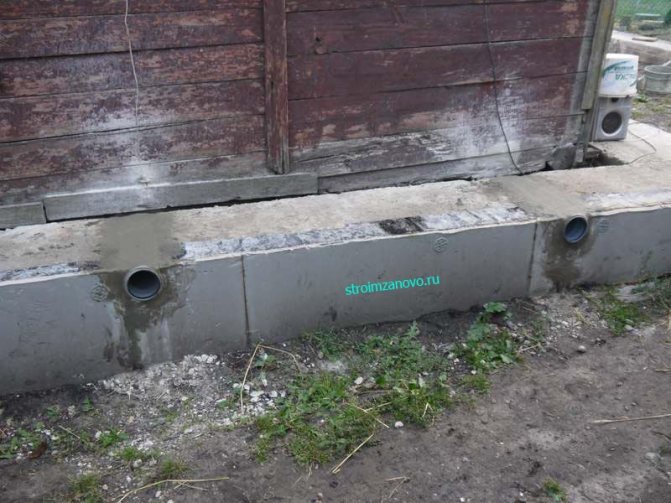
If ventilation was not done during construction, it is advisable to arrange it now. At least some: getting rid of dampness will be easier. Better, of course, two pipes - one for the inflow, the second for the outflow - as described at the beginning of the article. If the cellar is made separately on the street, it is easier to organize: they pierced the ground and the roof of the cellar, inserted pipes, poured everything with concrete mortar.
We suggest that you familiarize yourself with a Collapsible brazier with your own hands (47 photos): a folding drawing, how to make a folding, prefabricated homemade portable brazier for nature
It is more difficult with a garage, but no one clings to aesthetics here. But if the basement is without ventilation under the house, it is more difficult to do everything: it is better not to break the foundation, and you cannot stretch many pipes through the floor into the room. But even in this case, make at least one pipe. Even through the lid, take it out into the wall or ceiling, put a supply and exhaust fan. It can be turned on now for supply, then for the hood and in this way at least somehow dry the cellar.
With at least such ventilation, you can use any of the methods described above. You can also try to collect more moisture. For this, hygroscopic materials are laid out inside:
- Pour dry sawdust as soon as it gets wet - throw it out, fill it with new ones. Drying this basement will not dry out, but will lower the humidity. There will be no condensation drops on the ceiling for sure.
- Slaked lime. Unfolded around the perimeter, along walls and on shelves. It not only collects moisture, but also kills fungi in pairs.
Slaked lime can be used to reduce moisture in the cellar - Calcium chloride. 1 kg of dry matter absorbs 1.5 liters of water. You buy a few tens of kg, lay it out, collect it in a day, heat it up (heat it up) and can be used again. But you also need to work carefully: chlorine and calcium vapors are also toxic.
- Dry cardboard boxes. Ironically, they also absorb moisture well. You put a few dry ones, after 12-20 hours they are so wet that they almost creep in your hands.Throw it away, throw in new ones. Cheap and cheerful. Drying the cellar will not dry out at all, but it will collect condensation from the ceiling and walls.
If all these dances with tambourines do not inspire confidence in you (although they work), you can dry the cellar using modern technology. There are such household appliances - household air dehumidifiers. They are often placed in swimming pools to get rid of dampness in the room. You will need a medium power model. They cost about 20-30 thousand rubles, they work from a household network of 220 V. In the process, they collect moisture from the air into a special container. You will need to drain the water periodically.

One way to dry out a damp basement is by installing a household dehumidifier.
If the flooding was accidental, you need to pump out the water in any available way, and then proceed according to the standard scheme:
- Take out everything you can from their cellars.
- Leave all lid and air vents open for a while.
- When more or less dry, remove debris, fungi, mold from the walls and floor.
- Whitewash with lime.
- Dry in one of the ways.
If the flooding is periodic - in the spring, for example, you will have to make a full-fledged drainage system, and this is a separate conversation.
All of the above methods of how to dry a cellar are mostly based on practical experience. They are used everywhere and very often. In one case, one method works, in the other, another. Your task is to find the most effective one for your situation.
Additional activities
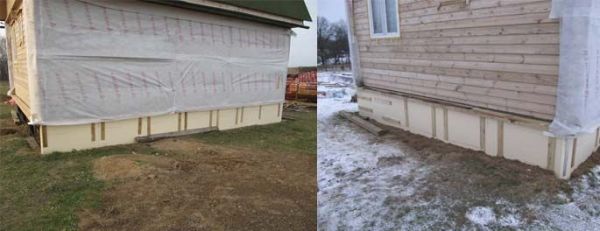
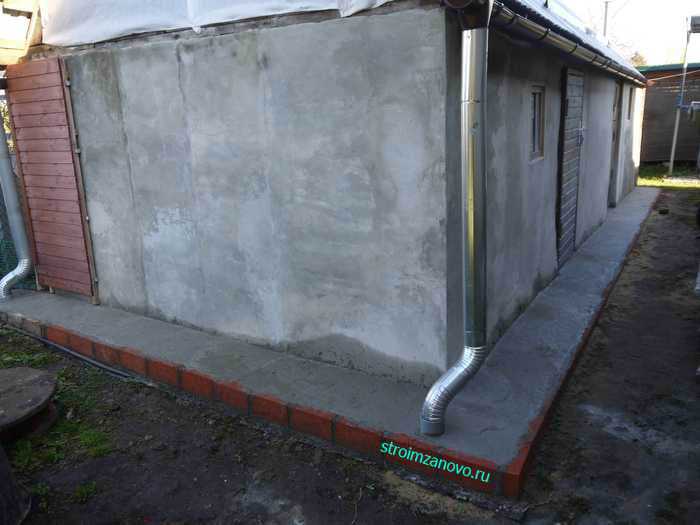
Even if you insulated the underground of a wooden house in compliance with all the most modern technologies, this will still not be enough without isolating the foundation and blind area.
In old village houses, so-called heaps, which were made not at all in order to sit on them, served for these purposes. The heaps, filled with sawdust, served to preserve heat and protect the lower part of the walls from moisture along the perimeter of the house, and prevented freezing of the foundation and soil around the building.
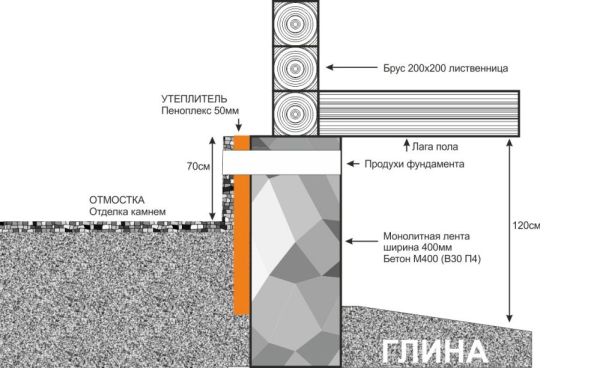
As a rule, the foundation is insulated even at the stage of building a house. In addition, along the perimeter of the foundation, it is necessary to mount insulated blind areas with a slight slope from the house - for additional thermal protection of the soil and moisture removal.
To do this, it is enough to lay around the foundation around the perimeter of the house "Penoplex" slabs 50-100 mm thick and fill them with a concrete screed.
Having completed all the necessary work to insulate the subfloor, you can be sure that condensation will not appear there in the summer, and the water supply pipes and other communications of your house will not freeze in winter, which will make living in it convenient and comfortable at any time of the year.
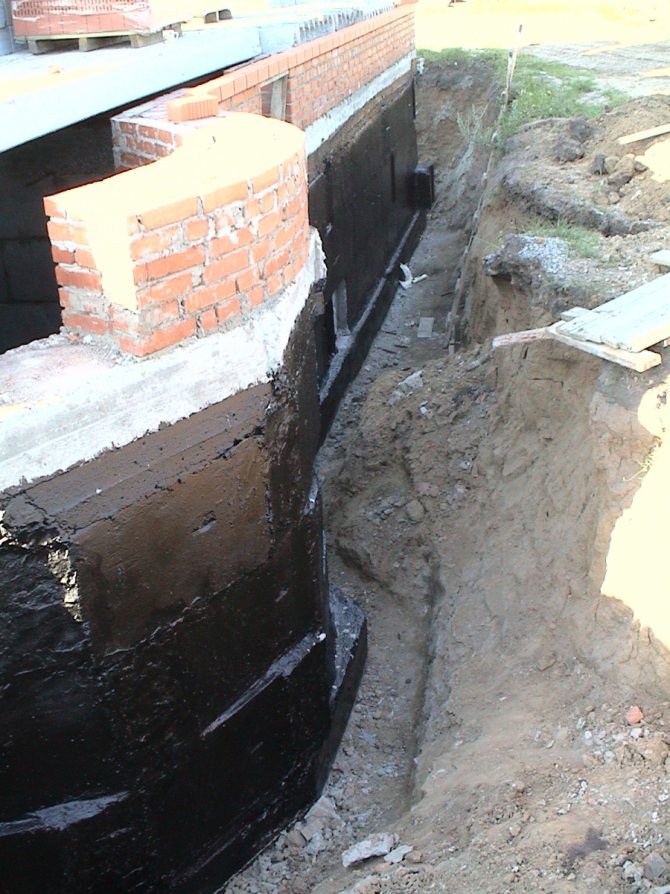
Insulation of the underground in a brick house
A damp and cold basement steals all the heat used to heat the house. You can insulate a basement in a brick house from the inside and outside. But external thermal insulation is considered more effective, since internal wall insulation is fraught with the formation of condensation at the junction of the walls and the insulating material. External insulation is carried out even at the stage of building a house, upon completion of work on waterproofing the foundation.
In addition to filling and insulating the soil inside the house, the foundation and basement of a brick house should be insulated. For wall insulation, extruded polystyrene foam is most often used - a dense and light material with low thermal conductivity. Cold mastic or expanded polystyrene glue is used to fix the plates to the surface. All gaps and joints between expanded polystyrene plates are filled with polyurethane foam.