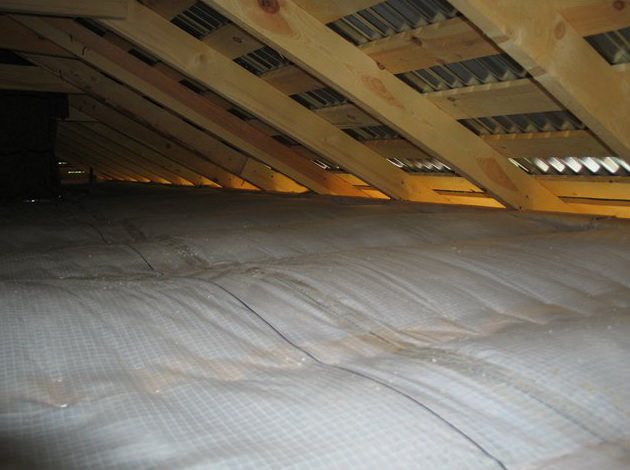
To protect heat-insulating materials from moisture, a layer of vapor barrier is laid, which should become an insurmountable barrier for condensation formed due to different temperatures in the room and outside, especially in winter.
After all, if the heat insulator gets wet, then it will cease to effectively retain heat and the room will become much colder, and in addition, the accumulation of moisture, even in small quantities, negatively affects the durability of most materials and structures.
However, not many, independently undertaking such work, understand the intricacies of this procedure and know exactly, for example, which side to lay the vapor barrier film on the insulation. This article will help you understand this.
Which side to lay
It is necessary to lay the vapor barrier material from the side of the room on top of the insulation with the side that is specially designed for this by the construction of a specific type of insulating material.
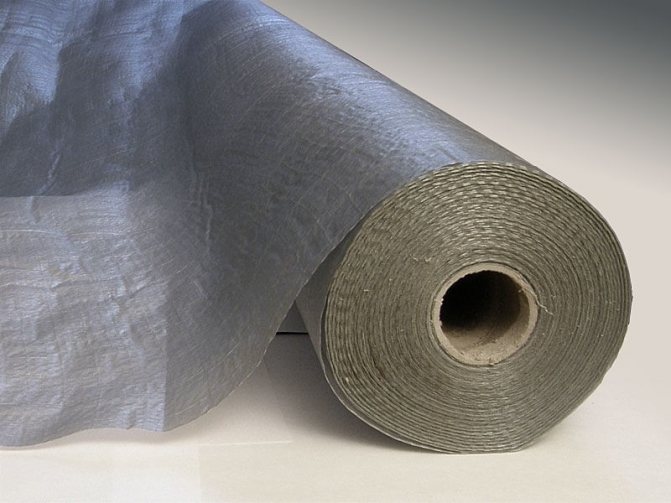
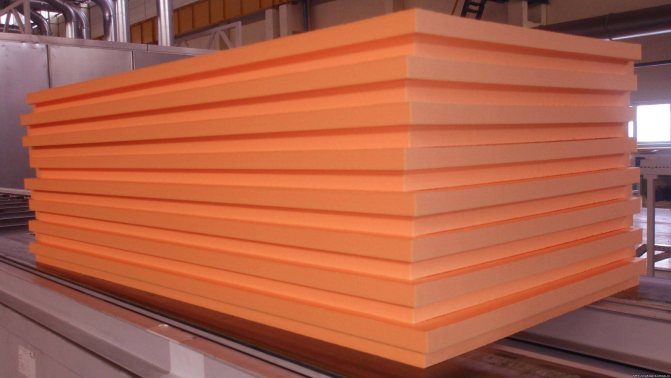
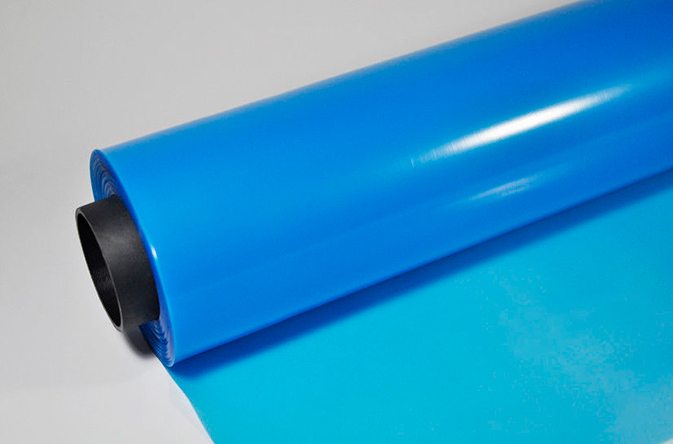
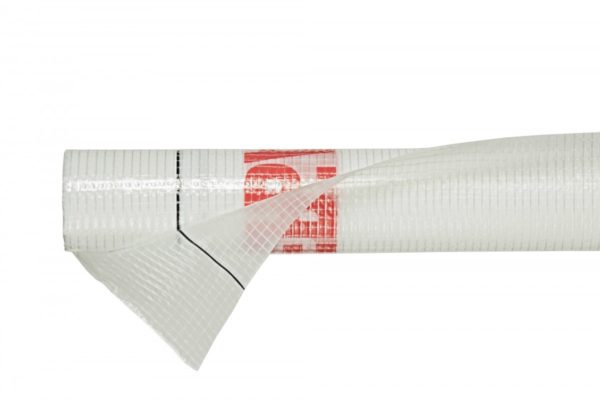
- Polyethylene film. Polyethylene film is one of the vapor barrier materials that provide complete isolation from water vapor contained in the air and is one of the cheapest and simplest vapor barriers. It has only one layer, with the same characteristics of the sides, which allows you to stack it as you like.
- Steam condensate film. The steam-condensate film is created using a two-layer technology with a smooth inner layer and a rough outer layer, along which drops do not flow down, forming puddles down and, lingering on its irregularities, evaporate. It spreads with the inner smooth side on the insulation material, and its rough side, respectively, looks into the room.
- Diffusion membranes. Diffuse membranes belong to the insulators with limited vapor permeability and consist of a polymer-based film and non-woven polypropylene. Unlike ordinary film, they let a certain amount of water vapor pass through themselves, which does not harm the insulation, as it evaporates very quickly. Such an insulator is fixed according to the same principle as its steam condensate counterpart, that is, the smooth side is on the insulation, and the rough side is outward.
- Energy saving vapor barrier materials. Energy-saving vapor barrier materials are mounted with a foil coating inside the room, because it has the property of reflecting heat back into the room in the form of infrared radiation. This type of insulation is represented by films with a heat-reflecting coating. The energy-saving effect in them arises due to the presence of an outer metallized layer that is resistant to high temperatures and reflects a significant proportion of energy in the form of radiation in the infrared range.

Types of vapor barrier materials
You must be careful with the choice of the option, because the wrong choice can only aggravate the situation: collect all the moisture in the insulation, and not protect it from unnecessary moisture. There are four types of vapor barrier.
Vapor barrier type A
This type of insulating material is used to remove steam and moisture from the outside only. It is used for the vapor barrier of roofs with a slope above 35 degrees.
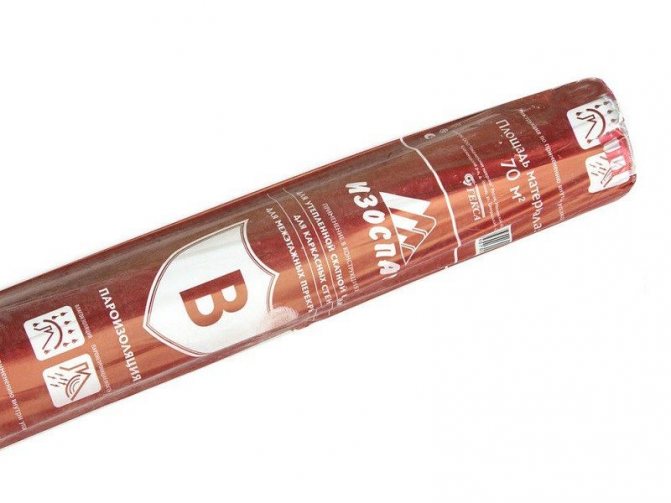
Vapor barrier type B
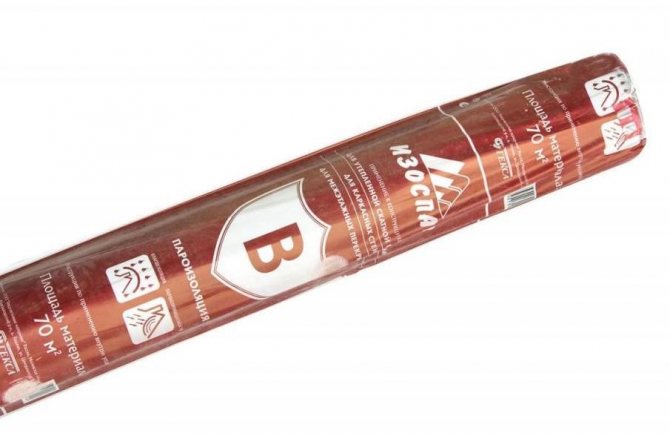
Universal vapor barrier material. It has a two-layer structure that provides reliable protection against condensation... It is thanks to its two-layer structure all moisture is retained, and during the day it disappears.And therefore, it is very important to carefully look at which side to put the vapor barrier to the insulation. As a rule, it is available in a film version.
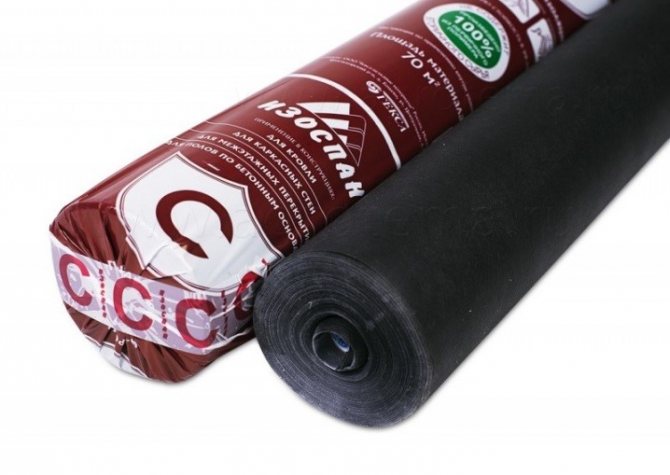
Vapor barrier type C
This type differs from the previous one in increased density. Use it in places where there is a possibility of increased condensation. Naturally, this type of vapor barrier is more durable, since its layer is thicker.
Vapor barrier type D
This type of insulation provides a very strong vapor barrier that is made possible by its foundation. The base is made of special propylene fabric, one side of which is covered with a laminating material. It is he who provides such high strength. This type can withstand very high loads, which is why it is used for roof insulation. In addition to holding high loads, it additionally protects against leakage.
The choice of one or another brand of vapor barrier depends on many factors: climate, material for walls, covering or flooring and insulation. For example, for the roof and external walls, a type C vapor barrier film is better suited, and a type B barrier will be sufficient for internal walls. But these are only recommendations. For the vapor barrier of the roof, an option with a vapor barrier of type B may well be suitable, and for walls you can safely use grade C or even D.
Determine the side
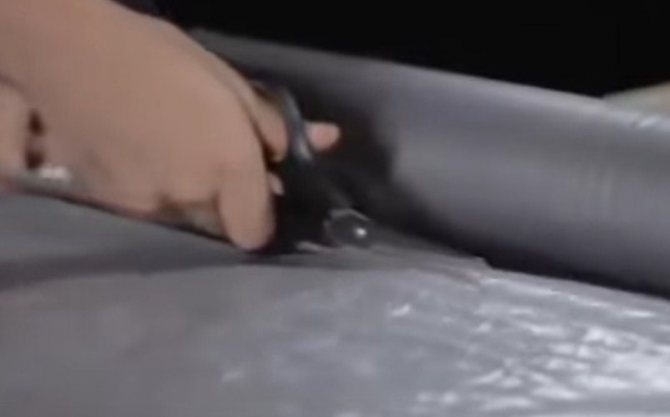
Often, when buying a roll of vapor barrier coating, an instruction is not attached to it, which could contain information about the marking of the inside and outside of the insulator. Sometimes such documents are simply lost and it is extremely difficult for a layman to determine the purpose of this or that layer just at a glance. But do not return to the store for instructions or call the seller, demanding clarification.
In such a situation, it is necessary to take into account the features of a particular material in each particular case, for example:
- in the case when the insulating coating is painted differently from different sides, as a rule, it lays down on the insulation with the light side;
- in the process of rolling the roll, the side facing the floor is almost always internal, that is, directly in contact with the insulation;
- a layer that has irregularities, corrugation or pile - during installation, it always looks inside the room, and a smooth one - faces the insulation.
Scope of application
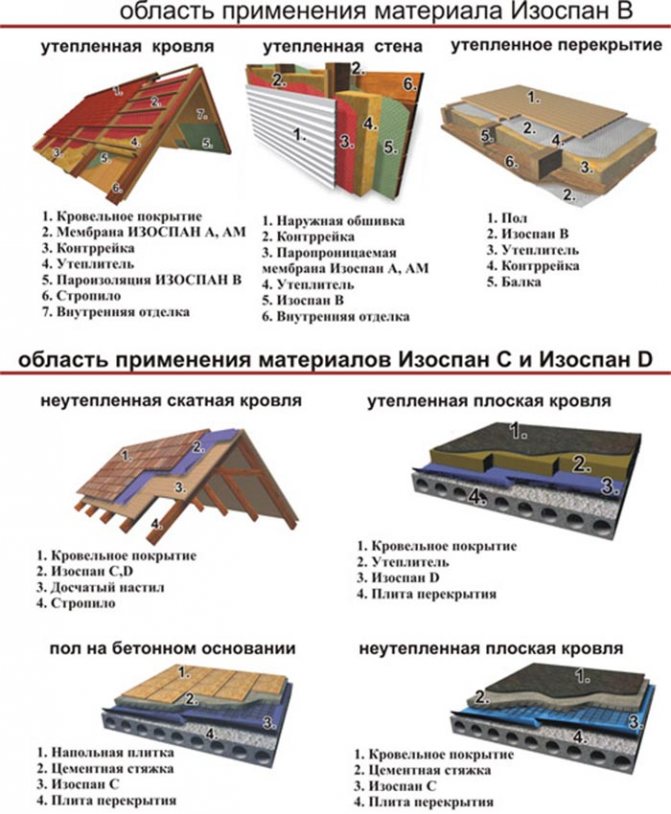
Isopan Applications Infographics
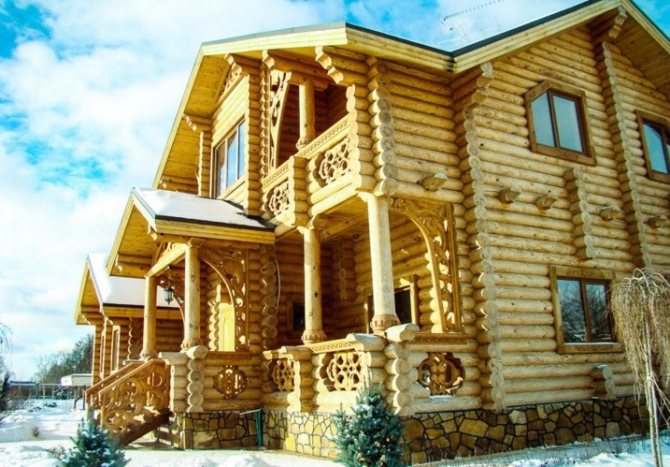
Any type of insulator can be used to vaporize wooden surfaces in your home. The material is applicable in hydro-vapor barrier works to protect roofs and facades, wall surfaces and ceilings, floors. The Izospan layer will reliably protect natural material from the destructive effects of moisture and steam.
Floor cake in a wooden house
Consider the existing types of insulator and study the specifics of their application:
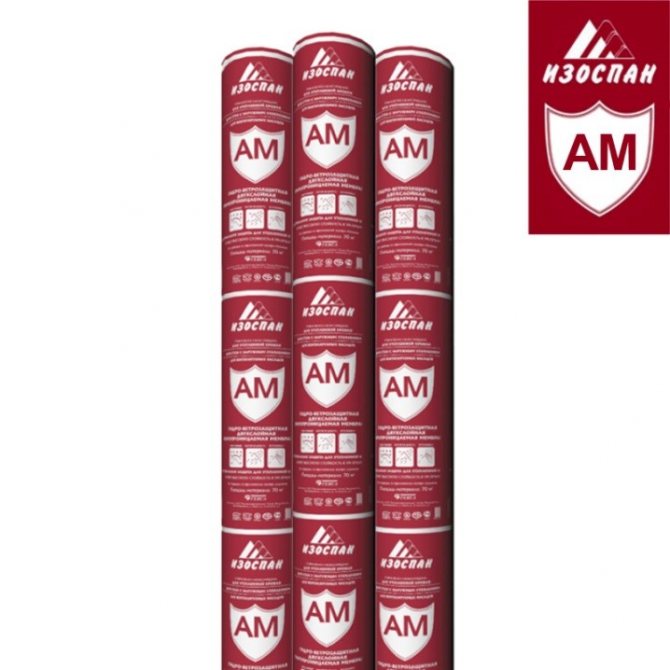
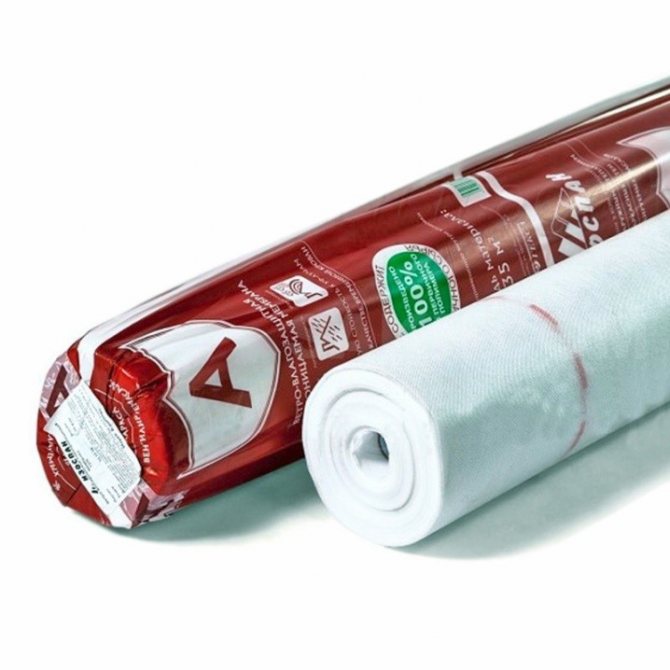
- Membrane insulator of class A. This type of insulator is most often used in local construction and installation works. The membrane is used to protect the internal elements of the structure from water and condensate accumulation. Installation of a class A insulator is carried out from the outside of the structures;
- Class B isolator. A distinctive feature of Class B Izospan is its high level of vapor tightness. This useful quality of the material is explained by the special device of the inner membrane of the insulator: the side that is pressed against the surface of the structure during work is smooth, and the front side has small fibers that ideally retain moisture;
- An insulator of type C has the same qualities as the types of insulation described above, but its technical characteristics are one level higher and therefore Izospan C is several times more expensive than materials of A and B class. In the manufacture of insulation, ultra-dense polypropylene sheets are used, which protect wooden surfaces from moisture, steam, condensation.
The material of grade D is universal in use.Its use in the arrangement of hydro-vapor barrier allows you to protect wooden surfaces from the harmful effects of negative external factors, including ultraviolet radiation.
Having chosen the type of material, you can proceed to work. We will tell you in detail how the process of constructing waterproofing of wooden floors using Izospan is going on.
Installation features
Mount from the outside or inside of the insulation
In the case of the floor, the vapor barrier material must be laid in two layers, that is, both from the outside of the insulation from below and from above to it.
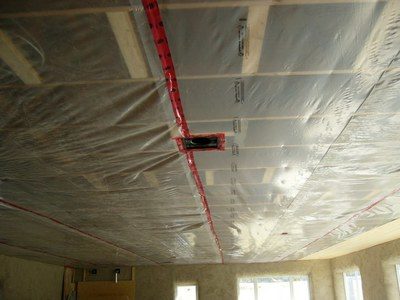
When organizing the vapor barrier of the roof of the building, the insulating layer is spread both on the outer surface of the roof and on its inner plane.
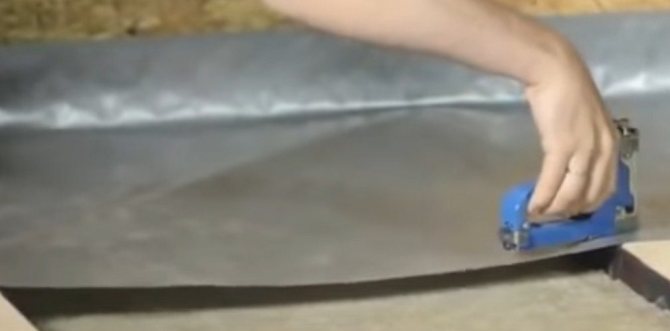
Vapor barrier of walls is realized according to standard technology, and like other options it can be inside and outside. The covering is fixed along the perimeter of the wall with a stapler, with a mandatory overlap and gluing the joints with tape. After that, a crate of thin slats is installed on top for the installation of thermal insulation.
Ventilation gaps: when needed
When laying deaf vapor barrier materials, it is necessary to organize ventilated gaps, especially with high air humidity, which, if they are absent, can cause a greenhouse effect.
In the event that the inner decorative facing is mounted without air gaps, in contact with the vapor barrier film, it will constantly be under the destructive effect of moisture condensed on it.
Thus, the free movement of air in the gap facilitates the unimpeded evaporation of condensate.
How to stack: overlap or not
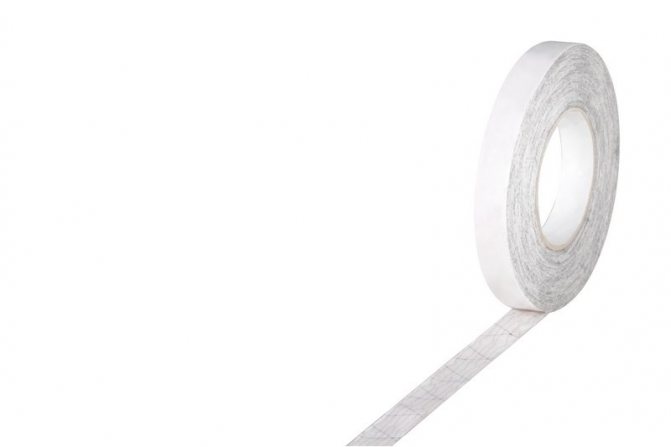
Waterproofing canvases are laid with about 7 cm overlap each other, and the joints between them are sealed with special tape or covered
PVC or isospan film. This technology creates a single air and moisture impermeable barrier.
Material integrity
The integrity of the vapor control material is extremely important, because even if there is a small area that allows humid air to pass from the room, the entire vapor control layer loses its effectiveness.
Therefore, it is necessary to additionally glue with tape all places with damage and holes that have arisen during the installation process, as well as the area where the film is adjacent to door and window openings.
Methods for fastening a vapor barrier
The methods of fastening the vapor barrier differ depending on the type of material used: roll or sheet.
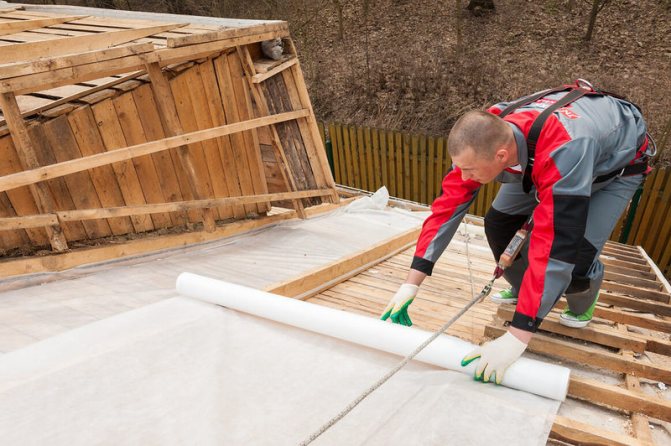
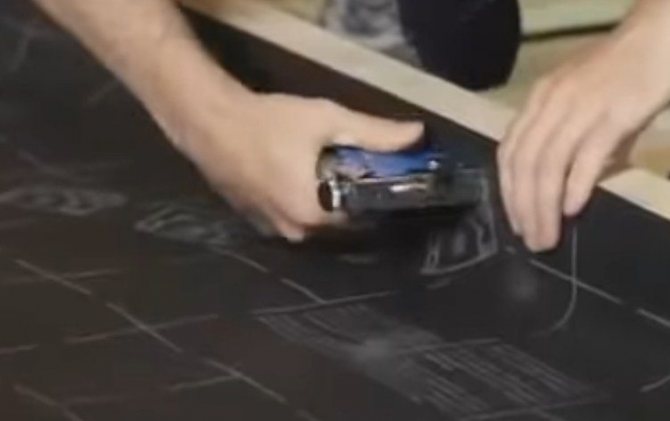
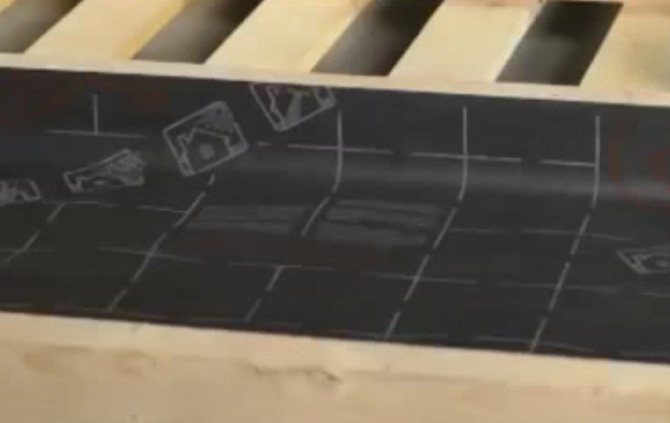
The roll-up vapor barrier is fixed along the entire perimeter of the surface to be coated with a construction staple and adhesive tape. In the event that further work does not provide for insulation, for the installation of the insulating material, you can use wooden or plastic slats screwed to the surface with self-tapping screws.
If it is necessary to lay a layer of heat insulator above the vapor barrier, its additional fixation is not required. Since both layers can be fixed at once on the same slats.
The vapor barrier, made in the form of sheets, is fastened with self-tapping screws on a profiled or rack-and-pinion frame made of metal or wood, respectively.
The vapor barrier is fixed with self-tapping screws, followed by gluing the joints with double-sided adhesive tape.

Vapor barrier membranes
A vapor barrier membrane for walls and other structures is a modern material that has certain properties. Among the advantages, it is worth highlighting high vapor permeability, long service life and strength.
Depending on the structure, membranes are divided into several types:
- One-sided. The membrane conducts steam in one direction. Therefore, during installation, it is important to trace which side to lay the vapor barrier to the insulation.
- Bilateral. Such a membrane can be laid by either side, since it allows moisture to pass from both sides.
- Single layer.
- Multilayer. They have high functionality and are used to solve various problems.
On the downside, membranes are quite expensive, especially when it comes to multilayer products.
Blitz Tips
- When using thermal insulation outside, it is mounted both before and after fixing the insulation, forming a three-layer insulation system.
- When mounting the film, it is necessary to maintain a balance between its excessive tension, which can lead to its rupture and its free hanging, which is also unacceptable, since it reduces the air gap between it and the finishing coating, leading to its direct contact with condensate on the film.
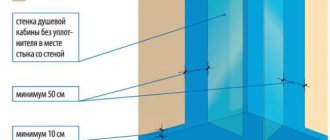
- When horizontally located insulation is adjacent to the walls, it is advisable to launch the material on their sheer planes around the entire perimeter of the room about 15 cm, this is enough to prevent it from getting wet from them.
- It is advisable to lay the vapor barrier on previously cleaned and absolutely dry surfaces, otherwise, a violation of technology and a deterioration in the quality of all work is likely.
Installation principles
Before starting work, you need to know how to properly fix the vapor barrier.
Preparatory stage
Initially, you need to choose a material. In this case, special attention should be paid to the features of the installation and its technical characteristics. After that, they proceed to the direct preparation of structures:
- All wooden elements are processed antiseptics and fire retardants. This will protect against decay and increase their fire resistance.
- Damp areas of concrete and block structures are treated with an antiseptic. This will prevent mold from forming.
If we neglect such work, then in the future this will lead to the destruction of structures. As a result, the service life of the building is reduced.
Ceiling installation
Ceiling insulation is carried out in buildings when insulating a pitched or flat roof. Also, such work is needed for thermal insulation of the basement and the rooms above which the attic is located. This applies to the bath. In any case, preparatory work is carried out at the initial stage.
When performing work, you need to follow some rules. Docking of materials should be carried out overlap. The length of the grip is at least 10 cm. In this case, the joints are carefully glued with special tape.
When laying the vapor barrier on the ceiling, it is also worth considering that the film should go onto the walls. Installation features depend on the design of the floor.
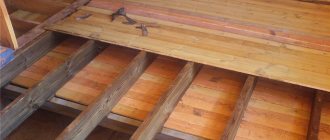
Laying on the floor
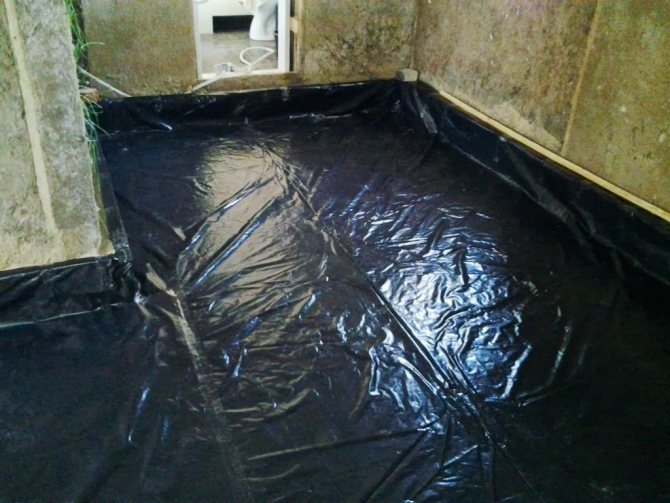
Now let's look at how to lay the vapor barrier on the floor. Algorithm of work looks something like this:
- Dismantling old flooring and removing debris.
- Hydro and vapor barrier of the subfloor is being laid.
- Insulation installation.
- Laying the second layer of vapor barrier.
- Finishing floor padding.
- Finishing finish.
When performing work, it is worth making sure that the film is laid correctly.
Laying on walls
The vapor barrier of the walls from the inside is carried out exclusively along the crate. Thus, the work is carried out according to the following scheme:
- Arrangement of the frame.
- Fastening the film horizontally along the entire plane.
- Wall decoration.
When performing vapor barrier, it is worth adhering to some rules. In the process of fixing the film somewhat stretch... All joints are carefully glued with tape.
The mounting method directly depends on the material used and the design features. Fixation of polyethylene and polypropylene films is carried out using staples and small nails.
Attention! To avoid damage to the material, it is necessary to use the clamping strips.
Thus, the membrane is attached.
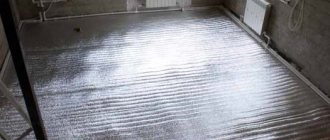
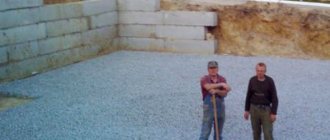
Do-it-yourself floor vapor barrier
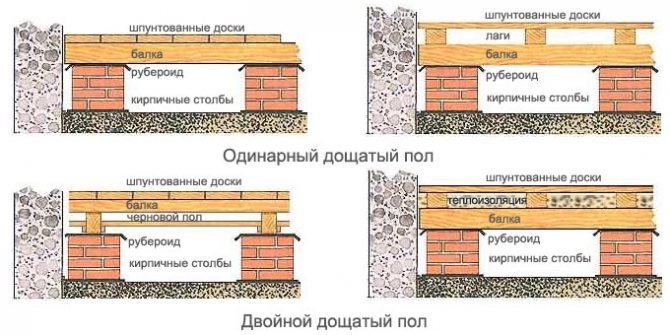
In a wooden house, the floor is equipped with several layers:
- An air gap remains between the soil and the subfloor. The underfloor is self-ventilated.
- Lags are made from thick timber.
- Laying waterproofing, insulation, vapor barrier.
The best option is to install insulation during the construction phase. In this case, less labor costs. It happens that during operation or repair it is necessary to lay the floor waterproofing. For information on how to put a vapor barrier when installing a sub-floor, see this video:
Preparatory work
When building a house, we treat all wooden materials with antibacterial compounds against fungal infections and pests.
Subfloor boards and logs are most susceptible to moisture.
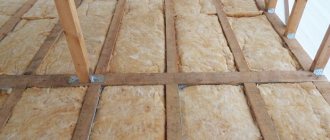
We put a vapor barrier layer on the rough boards and put thermal insulation on it.
If the vapor barrier needs to be installed during operation, we disassemble the floor to the rough boards. We check the condition of the floorboards. We replace the deformed boards damaged by mold or pests. We treat the logs and the first layer of the floor with protective compounds.
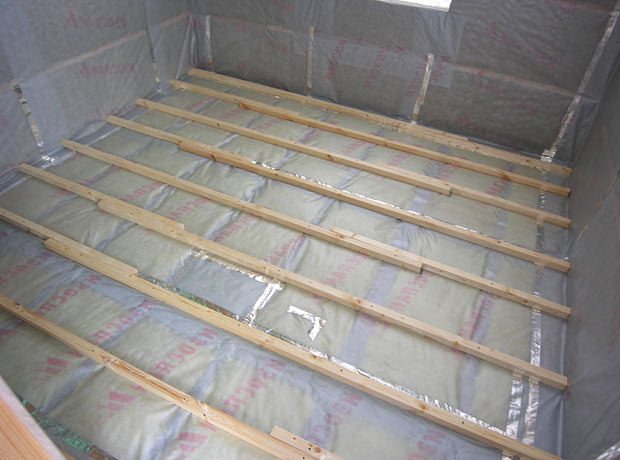
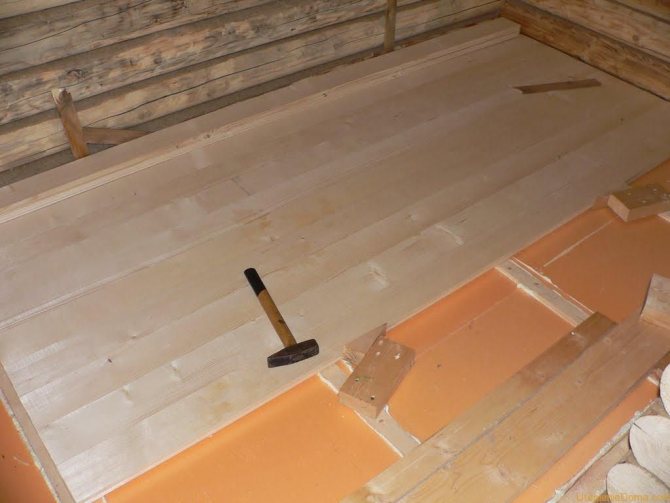
Insulation laying
Laying the vapor barrier material is easy to do with your own hands. To do this, you need to follow the installation instructions for the selected material and know the sequence of actions.
Stages of laying a vapor barrier layer:
- Spread the selected insulating material on the subfloor floorboards so that it lies freely. The strips should overlap by 150 mm. Models can be mounted on galvanized nails, staples, adhesive tape. We glue the joints with double-sided tape.
- We mount the logs strictly in the horizontal plane.
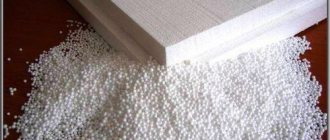
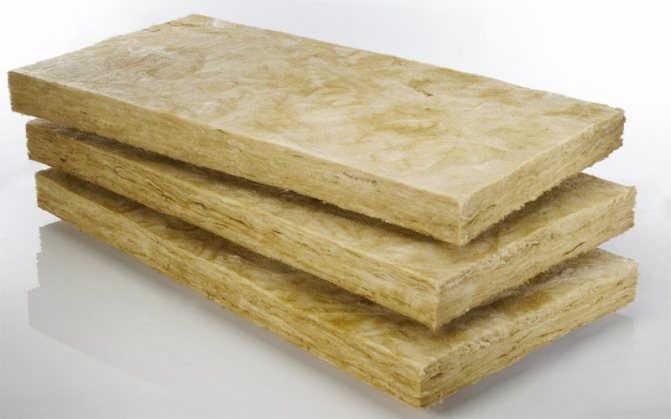
- We install thermal insulation (mineral wool, expanded polystyrene, polystyrene). We make sure that there are no gaps between the logs and the insulation. If, nevertheless, a space has formed, we fill it with polyurethane foam.
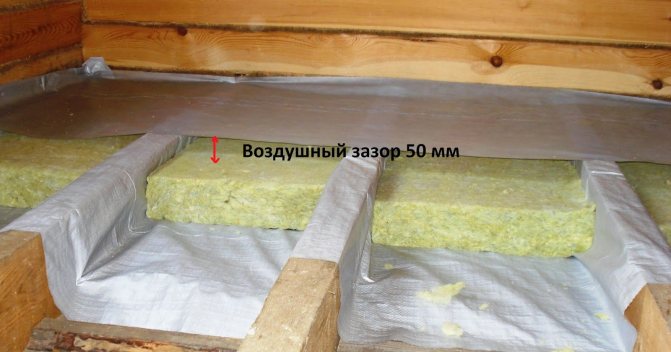
- We put a layer of vapor barrier material on the insulation, it will be an obstacle to the penetration of steam from the room. We lay the film so that there is a small ventilation gap. No gap is required when laying the membrane.
- We mount boards with a 2 cm gap between the vapor barrier and the floorboard.
- We lay the topcoat.
When laying the vapor barrier material, it is important to lay it on the correct side.
What you should pay attention to
The vapor barrier is laid on any base according to one algorithm, the exception is that the presence of concrete allows the use of additional materials such as bitumen or liquid rubber for this purpose.
If all the work is carried out correctly, as a result, the home owner will be able to guarantee maximum comfort in the premises, avoid heat loss, and save on energy costs.
Considering the prospects for arranging a floor in a wooden building, the choice of material must be taken very seriously. Ideally, it should protect the structure from the harmful effects of moisture for at least 40-50 years, as well as ensure the long-term suitability of the floor finish and thermal insulation. If funds are available, polypropylene film or diffuse membranes are an excellent choice. If the developer's budget is limited, it is worth considering purchasing a glassine that is sufficiently durable in use.
In the process of purchasing materials and installation work, it is worth carefully studying the characteristics of the selected isomaterial. Carelessness, negligence or lack of thoroughness will minimize the efficiency of the work done and the financial costs.