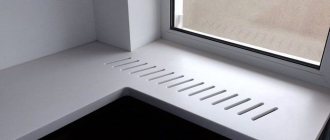

Choosing a place for installation
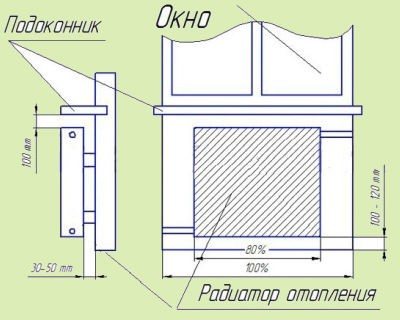
- For the best heat transfer and convenient cleaning of the room, you need to raise the radiator above the floor by 100-120 mm;
- You need to go down 100 mm from the level of the window sill. This is necessary for the free flow of heat from the radiator upwards;
- Finally, the distance from the wall to the radiator should be at least 30-50 mm. Closer approach to the wall will disturb the conversion of air and the wall itself will be heated, not the room.
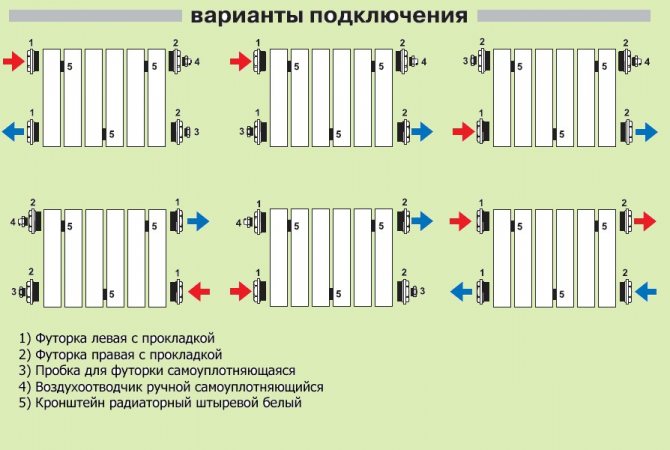
Let me remind you that installation of a steel radiator is possible in three ways: piping from below, from above, from both sides. There are several more connection options.


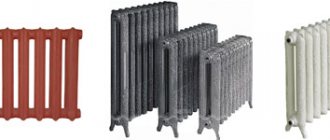
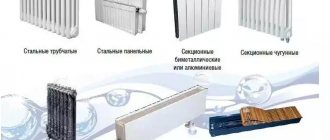
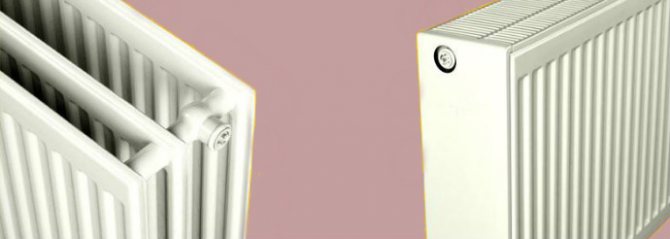
Steel tubular heating radiators
Compared to panel models, tubular ones are used less often. First of all, this is due to the high cost of the tubular structure.
Model KZTO PC 1. Max. working pressure - 15 atm, coolant temperature - 130 ° C.
Tubular radiators are steel pipes arranged in several rows (from 2 to 6 parallel pipes), which are connected by manifolds. There are models with both horizontal and vertical pipes. From the point of view of heat transfer, this is a fairly efficient design: the device heats up quickly and cools down quickly.
Characteristics of steel tubular batteries:
- Working pressure - up to 15 atmospheres (pressure testing up to 25-30 atmospheres). As a rule, the device undergoes 2 tests at the factory: 1) the device is checked for leaks with air; 2) the strength of the unit is checked with the help of water;
- Maximum coolant temperature - 120-130 ° C
- Depth - up to 226 mm, height - 190-3000 mm, length - unlimited.
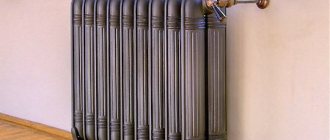
Tubular steel batteries are easy to clean from dust, in terms of hygiene they compare favorably with cast iron or aluminum counterparts, the cleaning of which is a real problem.
Note! As noted above, the disadvantages of steel tubular radiators include their high cost. The price of an 8-section IRSAP TESI 3036508TAM with a power of 472 W is about 6600 rubles. The price of an 8-section KZTO RS 1-300-8 (manufactured by the Kimry Thermal Equipment Plant) with a capacity of 216 W is about 2000 rubles.
Many manufacturers of steel tubular heating radiators cover the inner walls with a polymer layer that protects the device from corrosion.
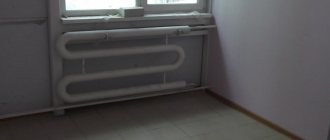
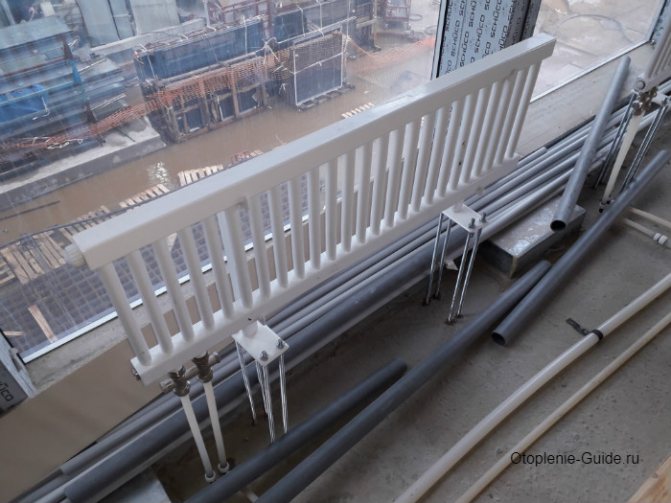
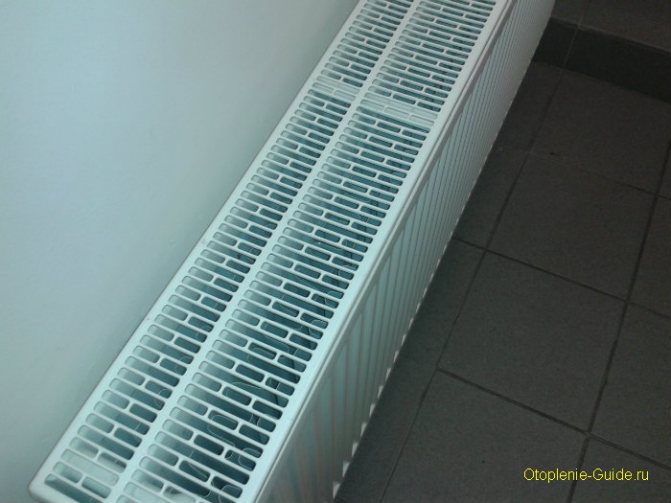
Steel radiator in an office building.
Installing the radiator mount
When the radiator is purchased, you can start installing it, but for this you need to choose the right place where the fasteners will turn.
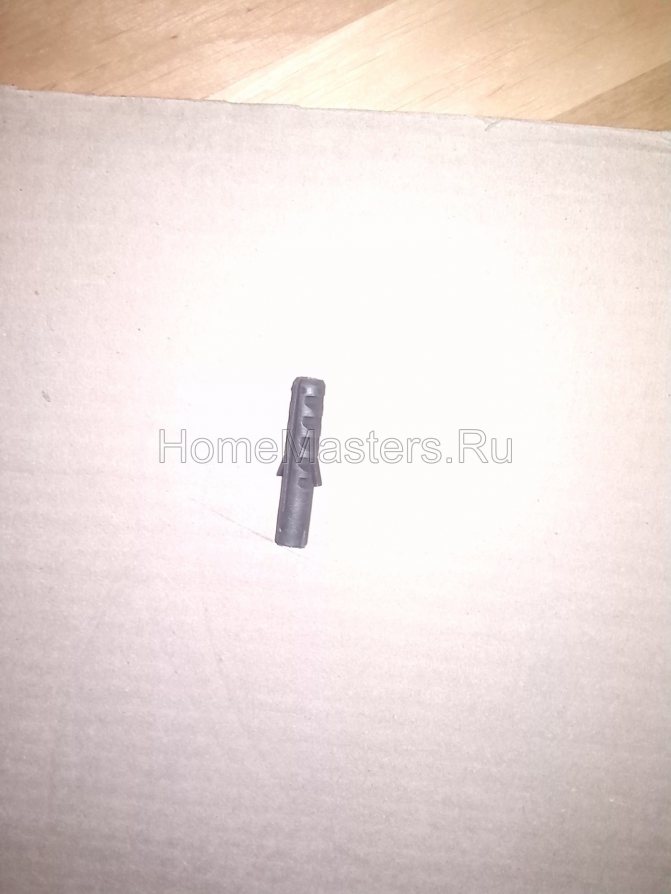
If the walls are made of plasterboard, special “butterfly” dowels are used, if the walls are made of gypsum or slag blocks, then plastic dowels must be used. For brick and concrete walls, use metal anchors. It is forbidden to target the radiator brackets with a construction gun.

Note. For drywall walls at the stage of their installation, it is better (necessary) to lay power guides in the drywall construction at the radiator mounting points.
After the selection of the fasteners, the marking is done, then the holes for the radiator fasteners are drilled, the selected fasteners are hammered in and the radiator suspensions are screwed on.
It is believed that radiators should be installed with a slight slope in order to avoid the formation of air locks. It is wrong. The tilt will not eliminate traffic jams, but will lead to a violation of the circulation of the coolant and reduce the thermal performance of the system.(SNiP 3.05.01-85 "Internal sanitary systems")
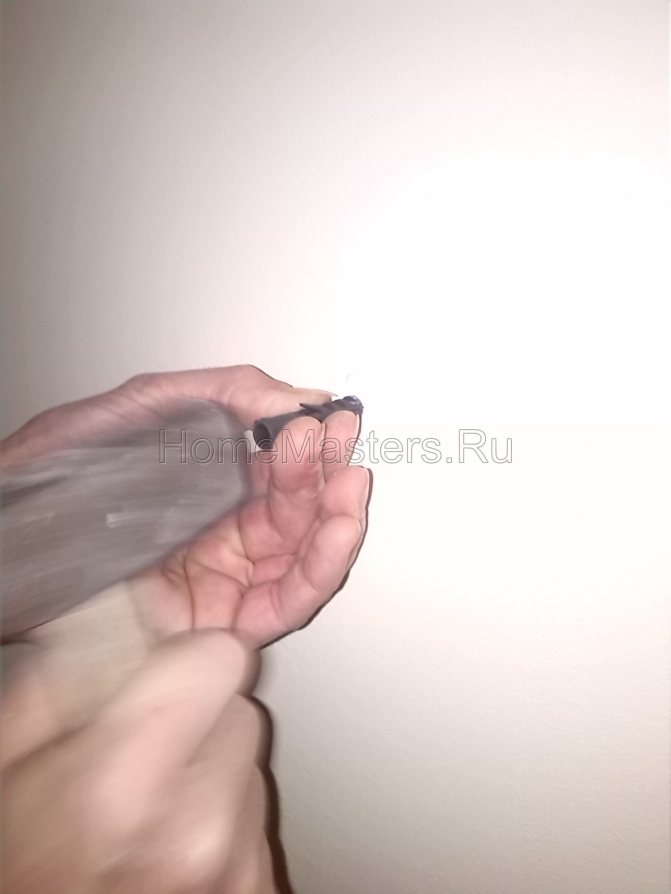
The holes for the fasteners should be drilled with the same drill size as the fastener itself, and the fastener must fit snugly into the wall. After the dowel is inserted, it must be cased (hammered all the way).
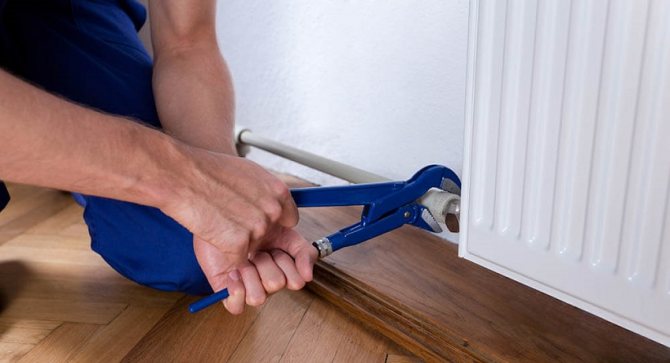
All strips (brackets) from the kit must be placed in their places and must be fixed with bolts that are also included in the kit. You can use an adjustable wrench to tighten these bolts and push them tightly into the wall.

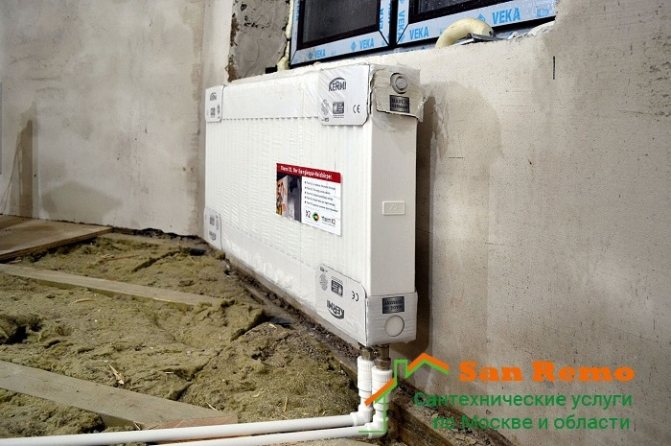
Panel battery installation
If you need to install steel radiators instead of old cast iron, then you need to take into account some of the nuances and sequence of actions when replacing them:
- First of all, you should protect the "weakest" sides of the system - close all taps and connections with sealant and tow.
- The next stage is the dismantling of old batteries, which is performed after all the media has been drained from the system.
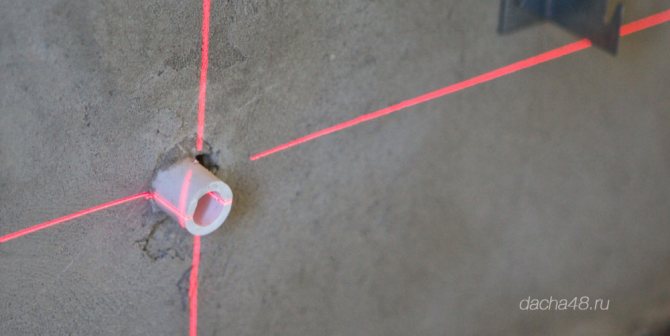
- Marks the location where the steel radiator bracket will be located. The number of clips depends on the length of the battery.
Before you mark with a pencil where the mount for panel heating radiators will be located, you need to measure the distance from the floor to its bottom (11 cm) and from its surface to the window sill (10-15 cm). These parameters are mandatory when installing radiators, since it is this ratio that maximizes the spread of heat throughout the room.
It is equally important to keep the distance from the panel radiator to the wall. If it is less than 20 cm, then part of the heat will go into the wall, which will increase heat loss, and thus require more energy to maintain the desired temperature.
Installation sequence of panel batteries:
- Prepare holes and fix self-tapping screws, on which each mount for steel radiators will be hung. There should be a distance of 4-5 mm between the self-tapping screw and the wall.
- After all the brackets are hung, it is necessary to fix them by screwing the self-tapping screws all the way.
- The next stage is hanging the structure on the upper brackets and only then is it installed on the floor mount for steel radiators.
- Adjust the distance from the wall and connect the radiator to the heating system.
- Install the elements that come with the heating panelsuch as thermostat and air vent.
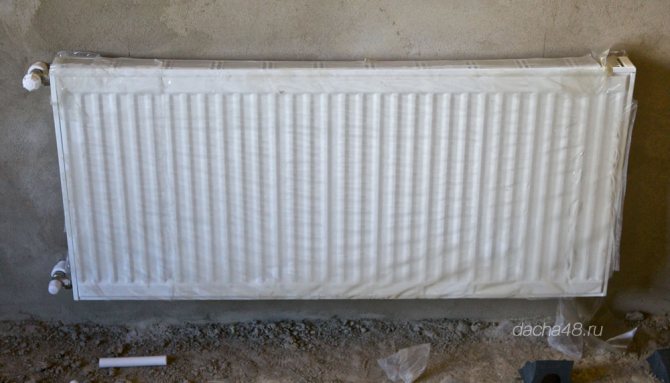
All work on the installation of a steel radiator must be carried out without removing the special coating from it. This will protect its surface from possible damage and contamination.
In the event that the steel panel is mounted to copper pipes, then brass or bronze fittings must be installed between them, and a sealant must be used as a seal.
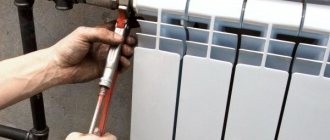
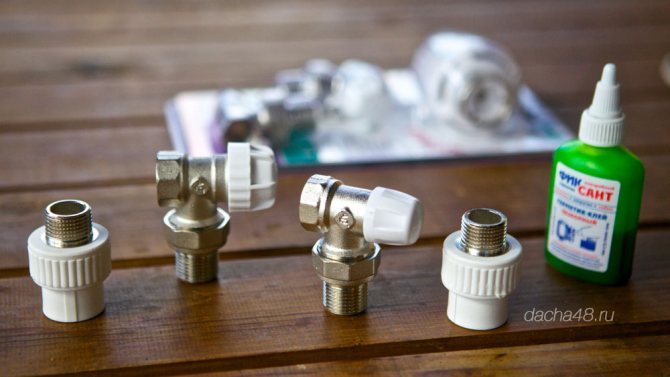
Assembling, connecting, crimping the radiator
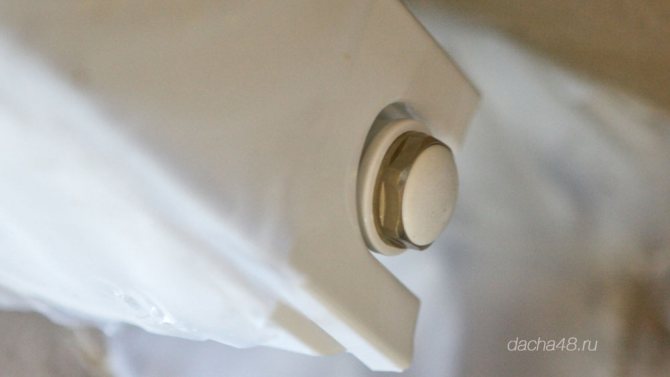
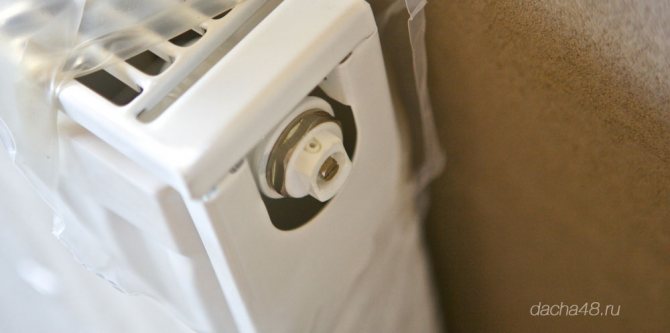
- Before installing the radiator, unscrew the plugs that are located at the top and bottom at the ends of the battery. It is imperative to unscrew them, since they are made of plastic, and they cannot withstand the temperature in operation.
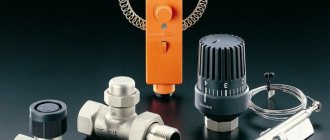
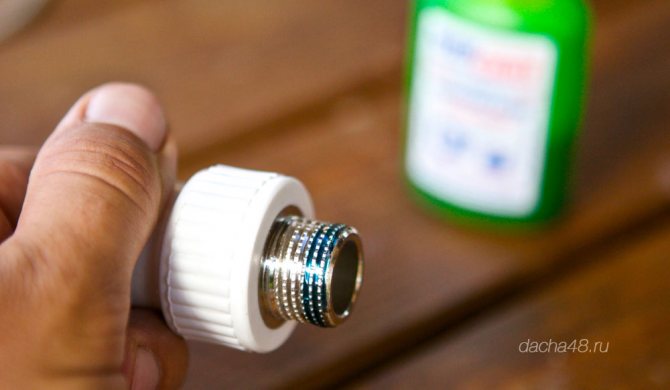
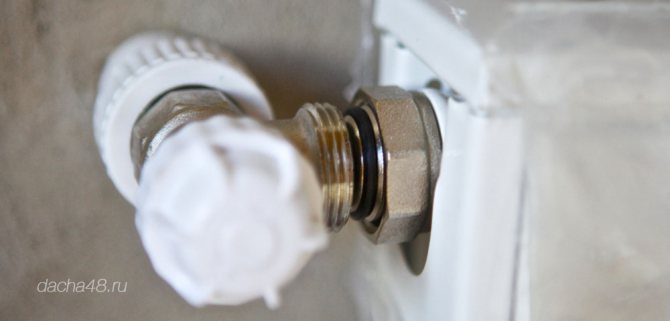
- Instead of plastic plugs, Mayevsky taps and steel plugs, as well as shut-off and control valves, are installed on the radiator. Installation of taps and fittings is carried out depending on the installation scheme.
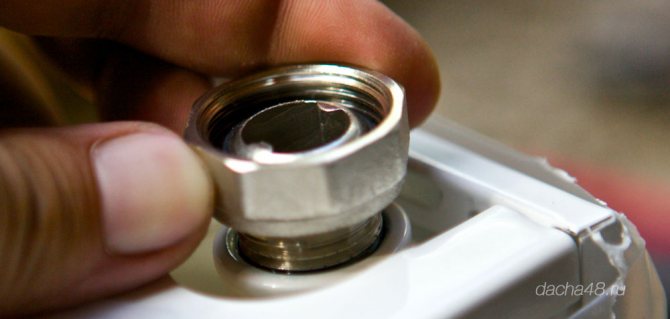
- Now, when the radiator is assembled, it is hung on the brackets and connected with squeegees to the heating pipes. Before connecting, you need to check the installation level of the radiator.
- After connection, a pressure test (check) of the connection connections is carried out and then the heating is started.
Note. In apartment buildings, the pressure in heating systems reaches 10 atmospheres, and when heating is turned on / off, water shocks are not uncommon. Therefore, it is recommended to install bimetallic radiators with a pressure of up to 16 atmospheres in apartments, while steel and aluminum radiators are best used in private houses and cottages.
© Obotoplenii.ru


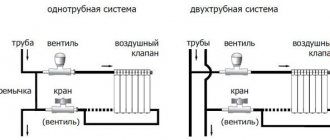
Radiator connection methods
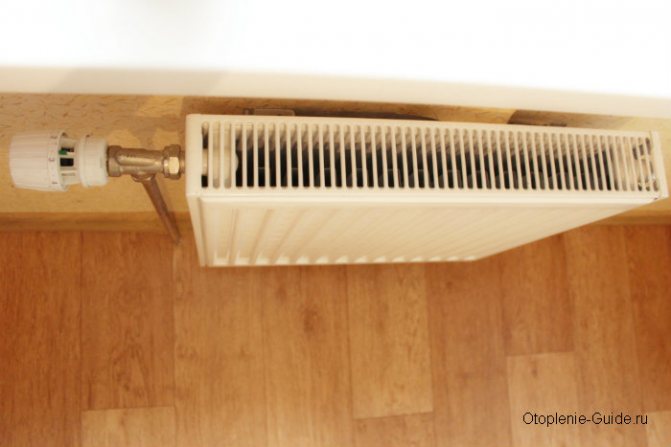
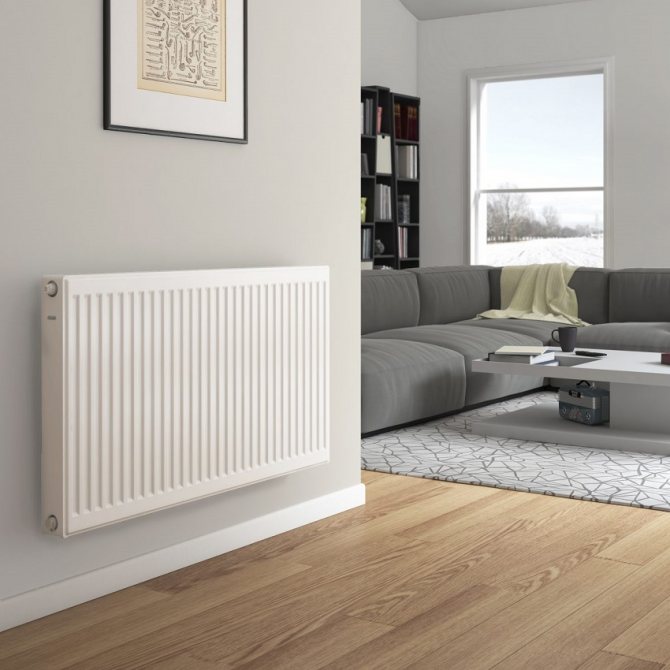
Steel panel heating radiators have gained popularity due to their aesthetics and ease of cleaning. Flat panels are much more convenient to clean than ribbed batteries. Models are available with a different number of inlets, but they are also used for side connection of panel radiators. Today, 3 types (with their own subspecies) of connections are practiced.

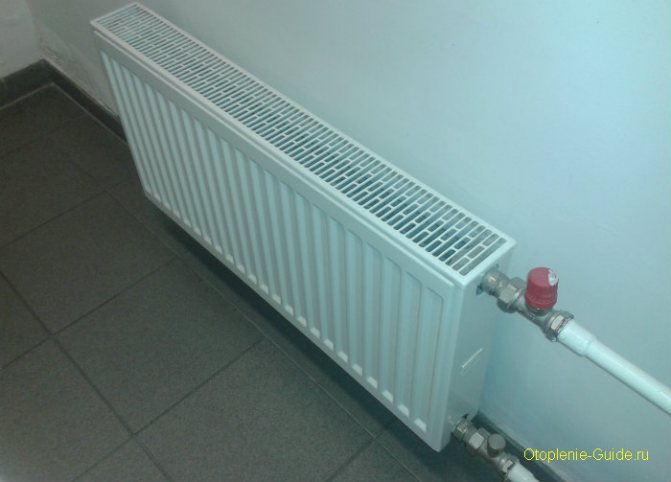
Steel panel radiator with side connection
Panel radiators are connected in different ways:
- Lower.
- Side.
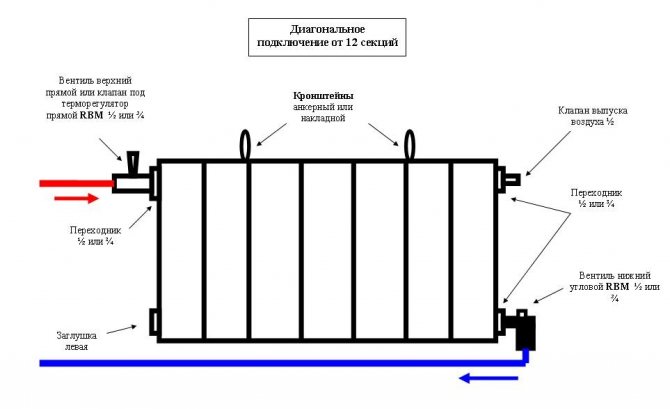
- Diagonal.
In country houses, the connection of radiators from the bottom is often used, in apartments with centralized heating, bimetallic models are connected in the classical way - from the side. In this case, the water supply comes from above, passes through all pipes (sections, blocks, departments) with a drain to the general communications from the bottom.
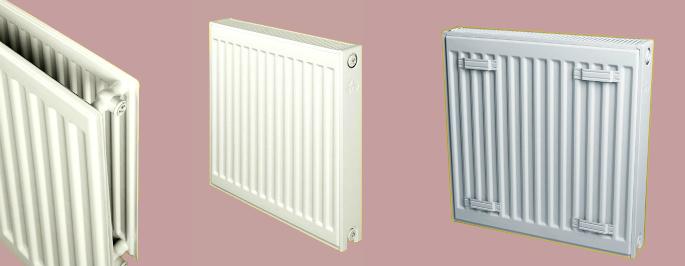
The newer models are attached to the wall and pipes in different ways. Multi-section radiators can be built up, panel ones - no, its heat output (power) is calculated in advance.
An important point! A radiator with a decorative shield absorbs 10-15% of heat, reducing efficiency. In the case of panel radiators, on the contrary, an external structural part is designed to warm the air. In models with double panels (front and rear), efficiency is increased. They can be installed by either side.
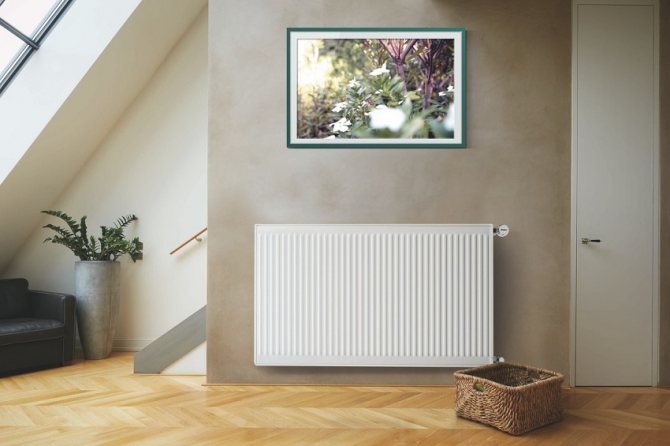
How and where to install a panel radiator
In city apartments, under each window there is a special niche for placing a heating block. This is the best place to mount it. Cold air from the window creeps onto the warm panel of the heater, warming up, rises up. This is how the circulation and heating of the air masses and the blocking of cold streams occur. Batteries hide window shades and curtains, so this is advisable even for aesthetic reasons.
Useful tips for installing panel radiators for the private sector:
- if there are more than 2 windows in the room, place the radiators opposite each other in order to "parallel" warm air flows for even heat distribution;
- it is not worth installing a heating circuit with rare batteries, this is an unreasonable saving even in an insulated building - there will be cold and warm zones, it is better to put small blocks at regular intervals;
- the "gravity" scheme is rational, but not the best; a boiler with a pump is recommended, which will effectively drive the coolant to the most distant radiator;
- it is undesirable to strongly bend the pipes of the heating system, since it is in the corners that they are most often forgotten by sediment and rust;
- in an elongated room, the collectors (entrances) should not be on the end walls, in extreme cases, you will have to duplicate with small panel radiators on the long wall, especially if it is external and poorly insulated;
- pipes under floors, ceilings and finishing materials are best done with a minimum number of joints to minimize leaks.

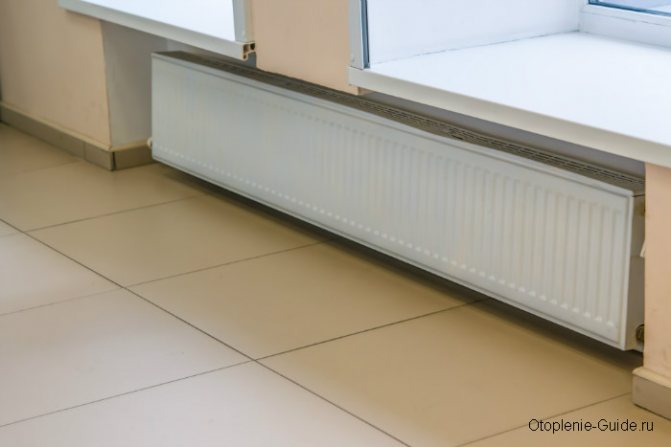
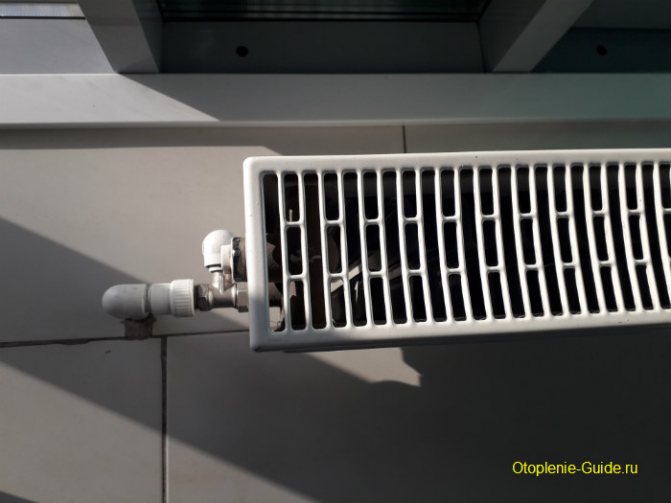
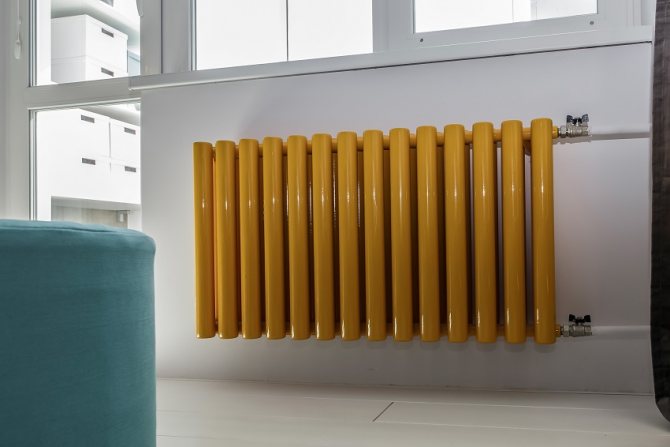
Steel tubular radiator with side connection
In city apartments, sometimes it is necessary to put batteries at the front door, especially if this is the first floor. Often, heating devices are brought out to an insulated balcony or loggia. This is the easiest way to minimize heat loss, but the housing office employees often resist the proposal to weld another battery onto the circuit.
Without notifying the management company, it is forbidden to independently change the circuit, the method of connecting the radiators, install shut-off valves in the absence of bypasses and make other "homemade" products.
When doing self-installation, remember that with side connection of panel radiators, the inlet flow of the coolant must be supplied from the top, and discharged into the lower hole.
Attention! The distance from the battery to the floor, window sill and ceiling should be sufficient for uniform passage of air masses - 10-15 cm, against the wall - 5-8 cm.
Do-it-yourself installation of a panel radiator usually does not cause problems. It does not take much time if there is experience in connecting polymer pipes with fittings and other accessories. However, it is important to fulfill all technology requirements in order to avoid problems with leaks in the future. It should also be remembered that the outer panel is flexible enough. It is easy to damage it mechanically, and it is quite difficult to fix the defect.
The distance from the battery to the floor should be 10 to 15 cm