Purpose and design features
The bracket is designed to hold the pipe in a vertical (or predetermined inclined) position. It does not allow chimneys drawn from individual sections to bend. In addition, the support bracket takes the weight of the chimney.
The wall bracket for fixing the chimney consists of the following main parts:
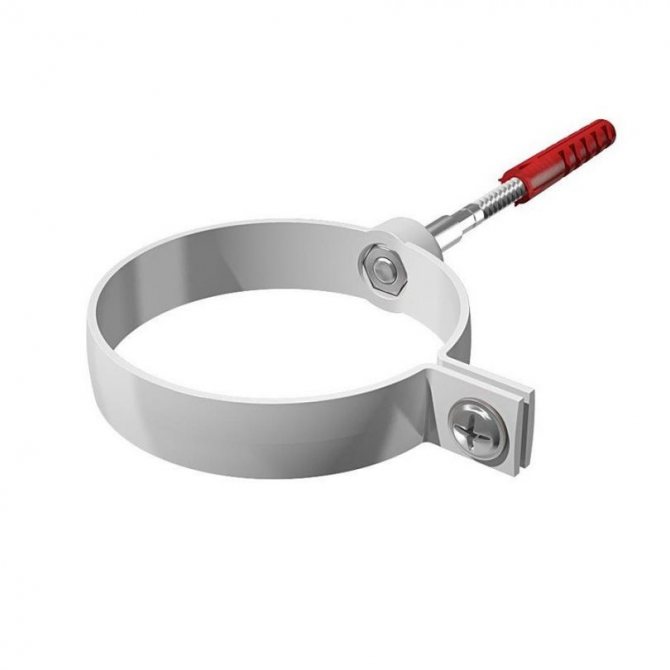
- split ring enclosing the pipe; supplied with a gasket made of rubber or heat-resistant material;
- console - a spatial structure made of a metal profile or bar, connecting the ring and the platform for fastening;
- mounting platform - a metal plate to which the console is attached and having holes for fixing the structure to a wall or other building structure.
The support, or starting bracket, instead of a ring covering the pipe, has a platform on which the lower end of the pipe rests. Consoles can be triangular for wall mounting and rectangular for floor support.
The starting bracket has a platform on which the lower end of the pipe rests
Video: device of a universal clamp for fixing pipes ↑
To fix the cast-iron and plastic sewer pipes, it is enough to use special clamps with rubber gaskets. Their installation is extremely simple and does not require special tools. It is only necessary to competently prepare a plan for the distribution of sewer pipelines and indicate on it all the places for installing fasteners.
Content:
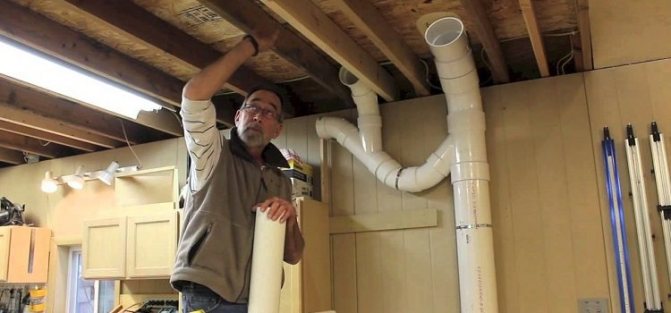
Sometimes, when carrying out repair work, it is required to attach polypropylene pipes or other means of communication to the wall, for example, for setting up a pipeline. The task, at first glance, looks rather simple, but it is not. How and what to fix the pipe to the wall will be discussed in this article.
Views
Depending on the design, the following types of chimney brackets are distinguished:
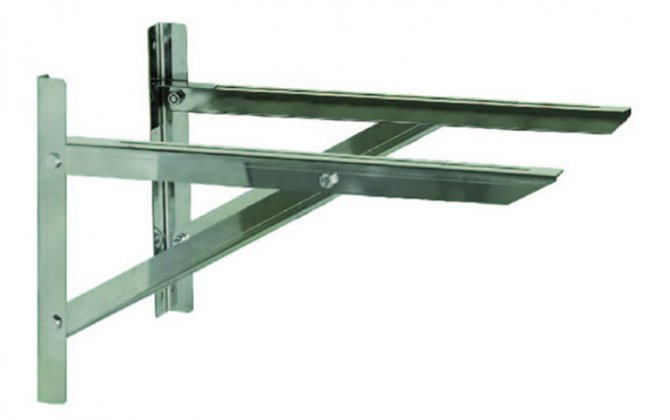
Starting
This is the most durable and powerful type - the entire chimney rests on it. Usually it is made of two cantilever triangles from a durable metal profile with a wall thickness of 1-3 mm. From the side of the wall and from the side of the street, they are connected by jumpers, which add additional rigidity to the structure. A support platform with a cutout for an audit with a valve for draining condensate is mounted on top. Sometimes, instead of a platform, another jumper is used, and the lower edge of the pipe rests on a square contour.
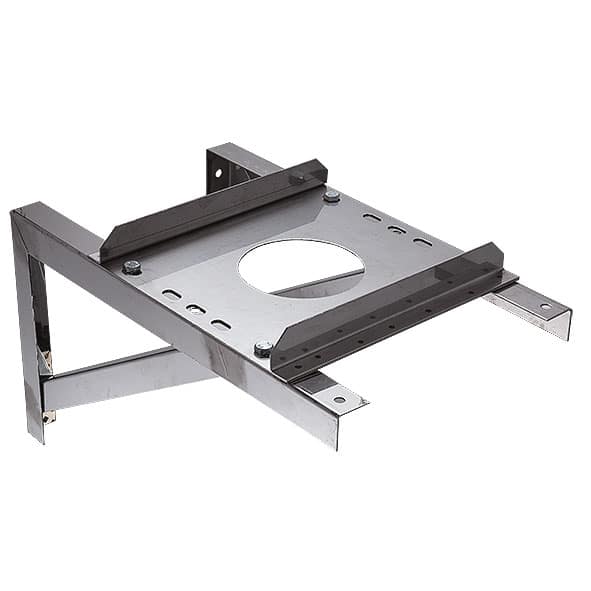
Chimney support bracket
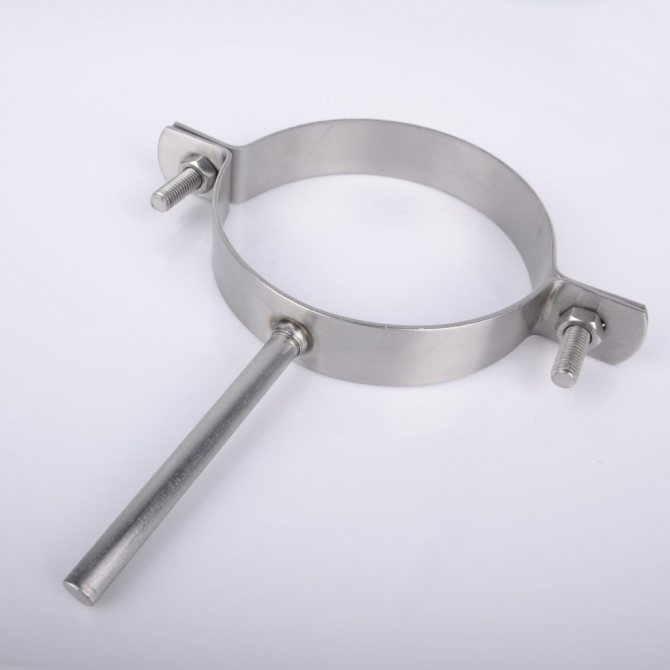
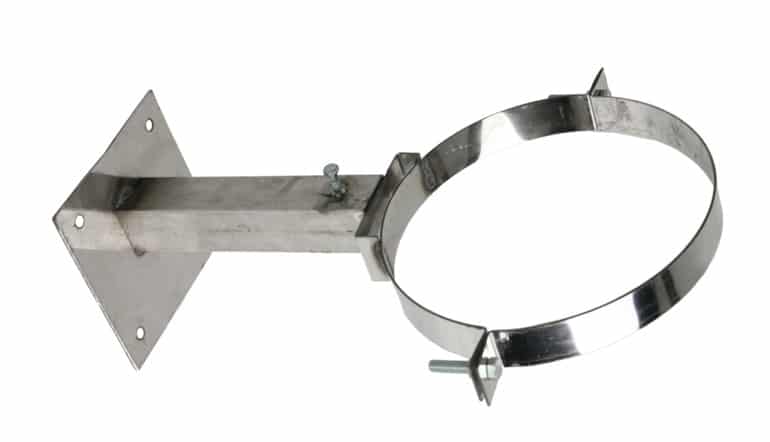
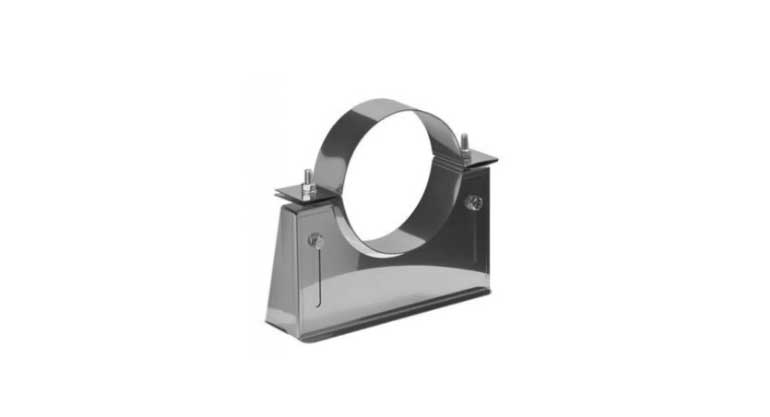
Wall (wall)
these are lighter structures, they do not carry a weight load, their function is limited to fix the vertical position of the pipe. They are a split ring and a lightweight cantilever structure that connects the clamp and the wall mount panel.
Manufactured by stamping and welding from stainless steel, galvanized or painted ferrous metal.
With a small distance from the wall (up to 100 mm), a metal plate located perpendicular to the wall can be used to connect the ring to the mount. This part of the split ring is welded to the semicircular cutout in this plate, and the other end of the plate is bent and attached to the wall.
With a large distance, the ring is attached to the plate with two metal profile consoles.

Chimney wall bracket
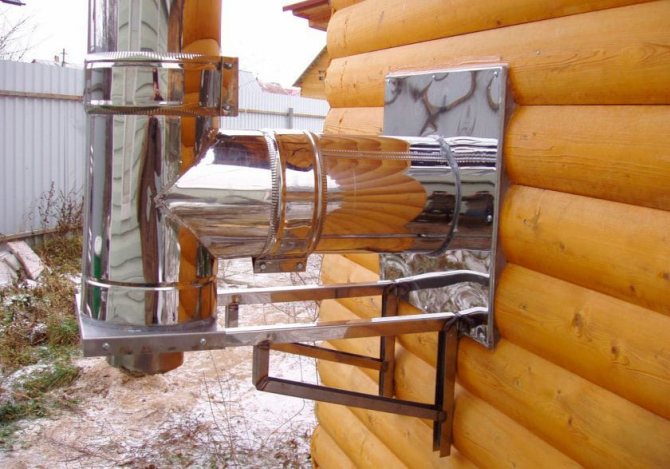
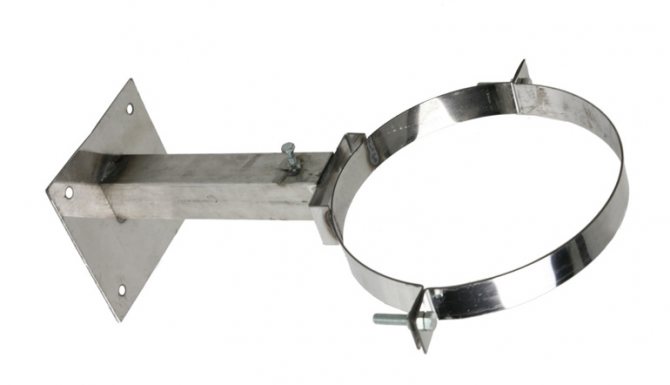
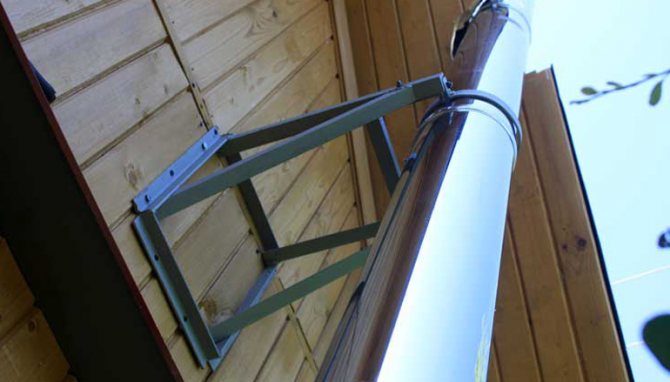
Telescopic
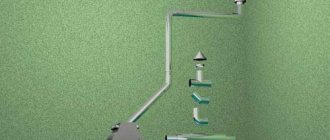
In such structures, you can change the distance from the ring to the wall - one tube of a square profile can move inside another. These brackets are very convenient for mounting the chimney on a solid log wall and other uneven surfaces.After the point of adjustment of the departure, the tubes are fixed with a bolt and nut. A telescopic pipe mount is less reliable than an all-welded one, so they have to be made from a larger section.
Telescopic pipe mount

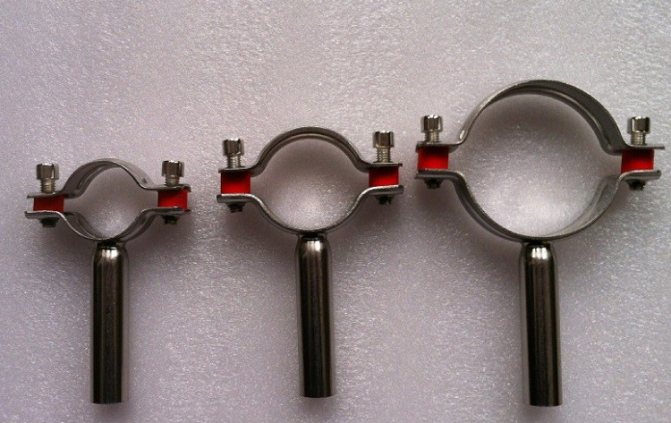
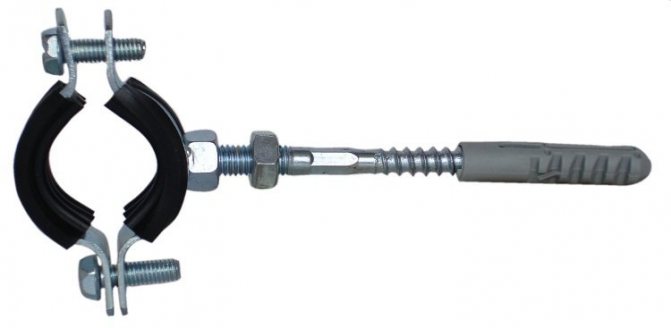
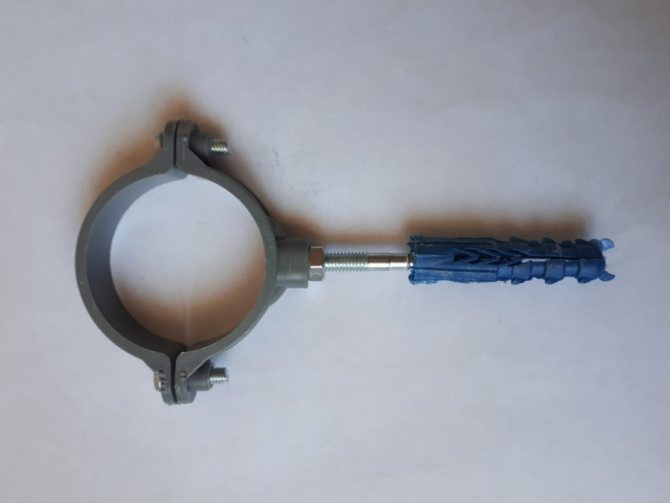
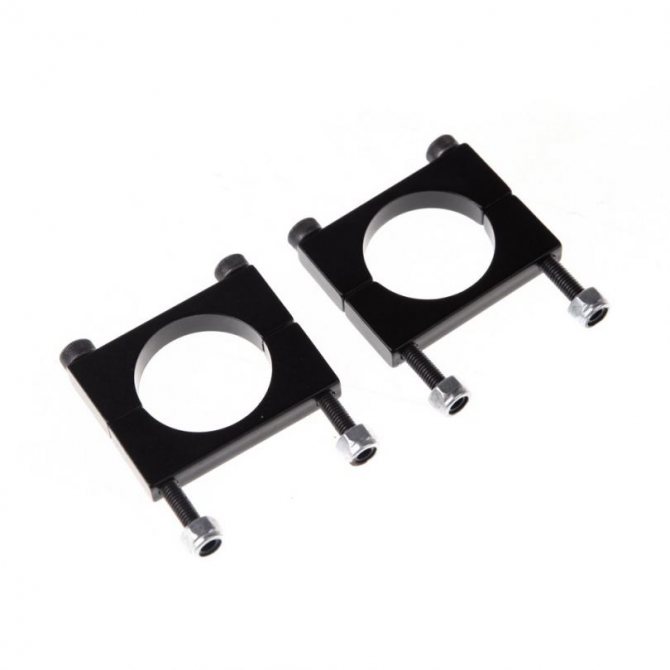
stiletto heels
Lightweight budget mount. It uses a standard pipe clamp welded to the threaded rod. The hairpin is wrapped in a wooden wall or dowel. Due to the single point of attachment to the wall, the rigidity and ability to withstand wind loads are reduced.
Bracket with studs
This mounting option does not use compression rings or clamps, the chimney is attached to a pair of cantilever guides. With this method of fixing, the ability to withstand lateral wind loads is reduced. Recommended for low-cost starting fixing of indoor chimneys. fastening.

Bracket for chimney
Features of determining the height of the bracket
The supporting element for fastening the air duct is installed directly under the turn of the line at the point of exit from the heater, both inside and outside the building. It should be located directly below the elbow fitting.
In order to determine the mounting height of the support bracket, calculate the level at which the horizontal part of the ventilation will end. If additional accessories are provided in the form of revisions and grids, the height will decrease by the width of the part to compensate for its installation.
Installation of wall fasteners begins at a height of 1 meter from the beginning of the chimney, and then this distance can be increased, but in increments of no more than 2 m.
Manufacturing materials
Fasteners are made mainly of the following materials:
- stainless steel;
- aluminum alloys;
- ferrous metal with subsequent galvanizing or painting.
Stainless steel has an aesthetic appearance, it goes well with the material of the chimney sandwich pipes. Such structures are strong, durable and not subject to corrosion. The disadvantages include the high cost. Independent production of stainless steel brackets is difficult due to the complexity of the technology of welding stainless alloys.
Aluminum structures are lightweight and pleasant to look at. They have not yet received wide distribution in our country due to their high cost.
Conventional structural steel is very inexpensive and is available for welding in the home workshop with a conventional welding inverter. This makes it an ideal material for DIY brackets.
Pipe fastening technology - step by step instructions
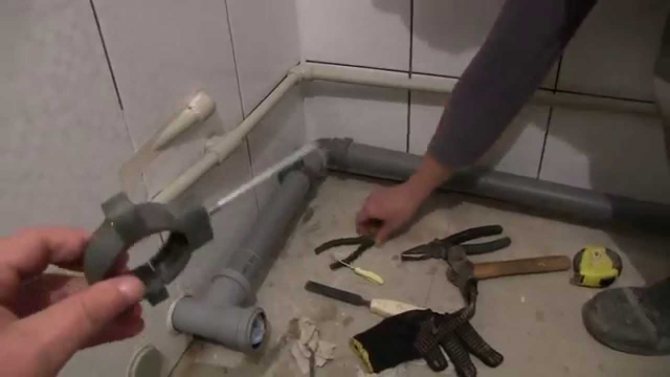
Before starting the installation work, the pipes are connected using butt, polyfusion welding or by the method of electrofitting. If you carefully read the pipe laying technology, the process will not take you much time:
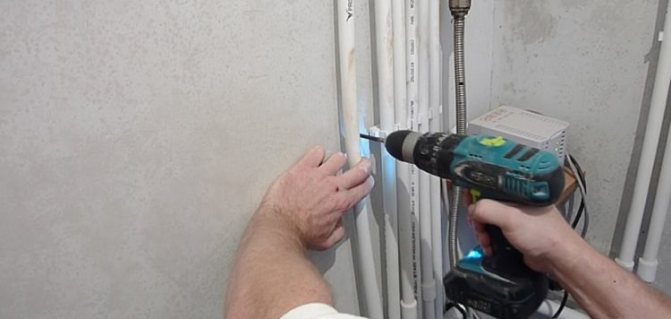
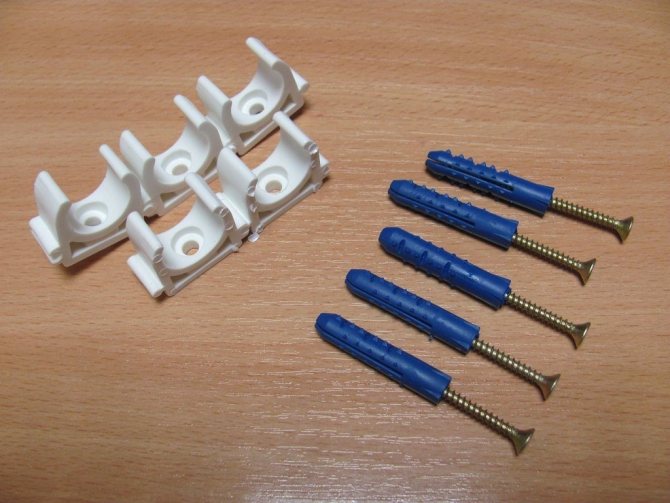
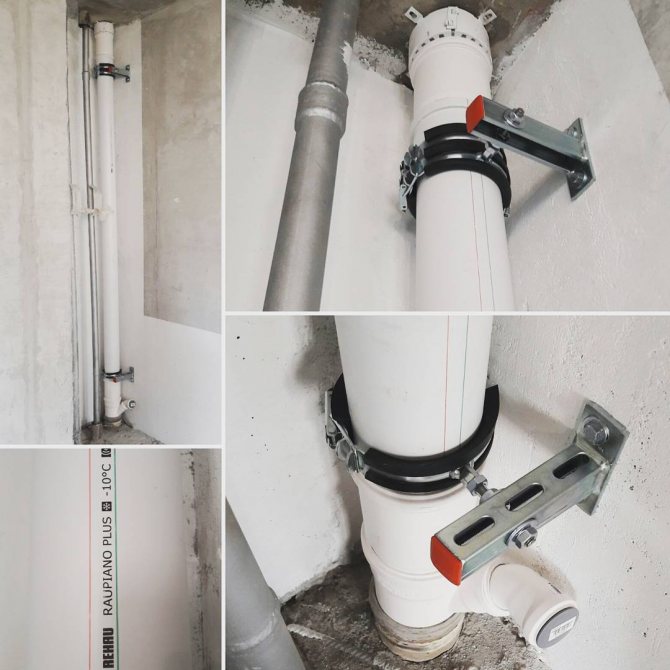
- The first step is to mark the path of the future pipeline around the perimeter. Please note that it should be installed with a slight slope - this way you exclude the possibility of water freezing in the pipeline even in an unheated room (for example, in a country house) .Using a drill, you need to make holes for dowel-nails. In the holes, pre-prepared fastening clips for polypropylene We insert the dowel into the hole with a hammer and a screwdriver. The final stage of the work is to install the pipes into the clips.
Appearance of the finished fastener
Advantages and disadvantages
Compared to brick chimneys, sandwich chimneys with wall brackets have the following advantages:
- quick installation;
- no high qualifications are required in furnace work and masonry;
- low cost;
- light weight, no capital foundation required.
The disadvantages include:
- shorter service life, after 5-8 years of constant use, the metal chimney must be replaced;
- brackets are prone to sagging;
- dubious aesthetic value, not every architectural style is in harmony with a metal pipe.
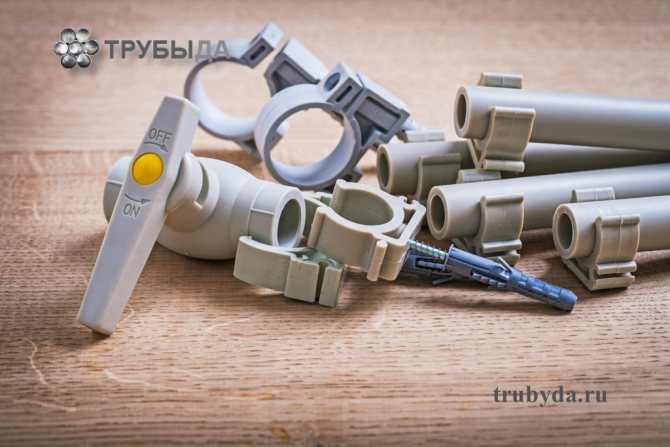
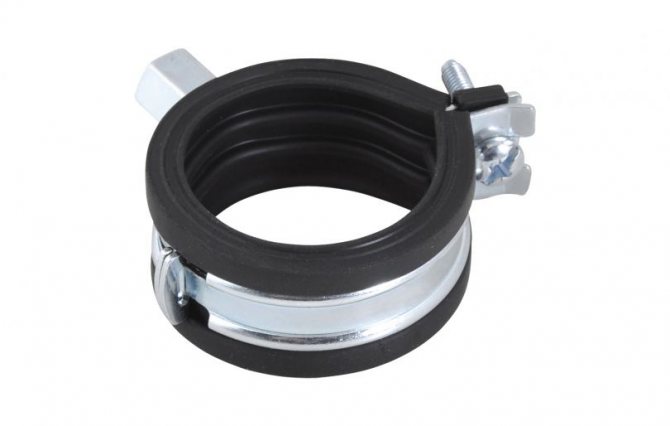
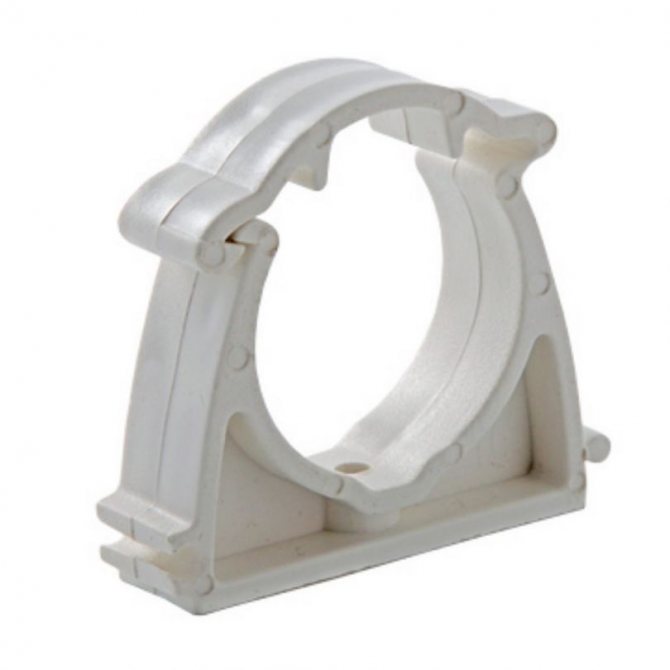
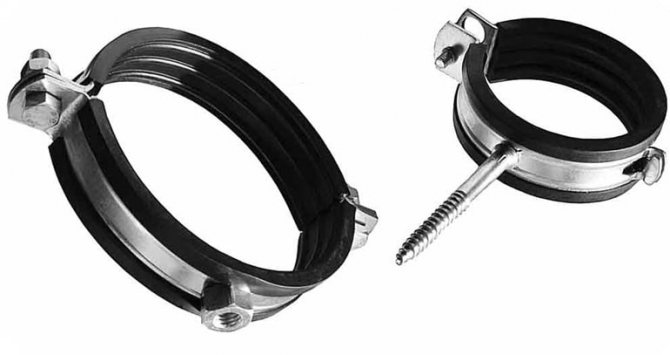
Clips - their meaning and subtleties of installation
The clip is made of a special material - nylon.
It has such useful properties as high heat resistance and resistance to mechanical stress. Among the technical characteristics of the clip, you need to pay attention to the diameter, it must correspond to the size of the outer diameter of the polypropylene pipe. The installation of clips has its own rules, on the implementation of which the service life of the finished communication system depends.
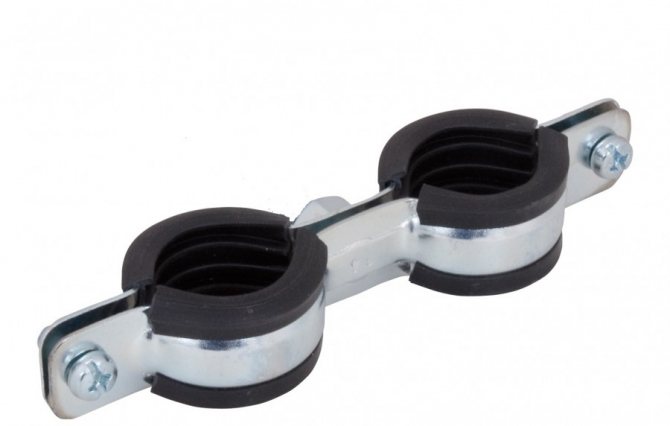
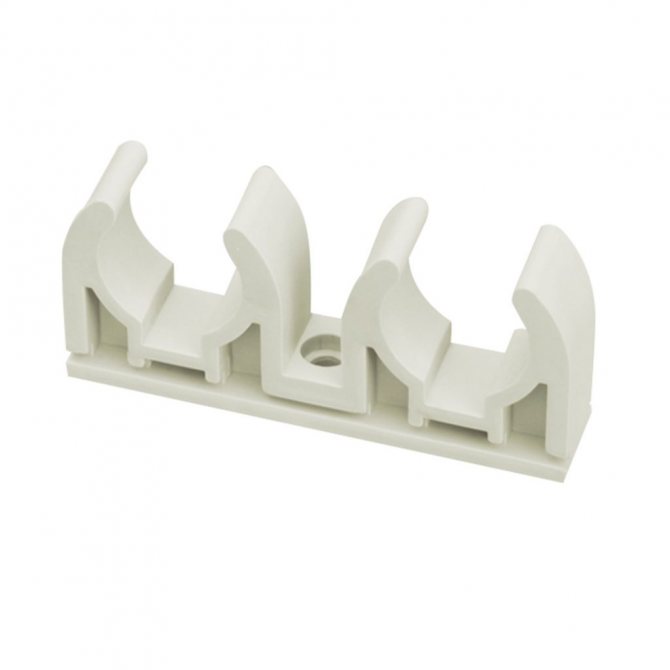
Single clips and double clips
The main issue that is important not to miss is the step size between the clips. If you install the clips too far apart, there is a risk of sagging at the support points.
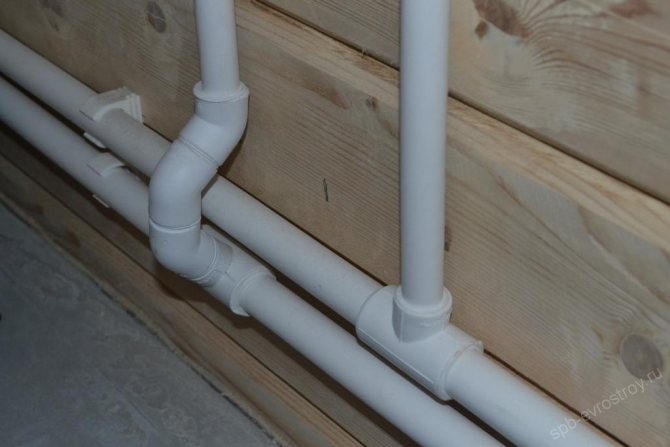
When installing a communication system with two parallel pipes, use a double clip.
Correct pitch between clips
Criterias of choice
When choosing a bracket, the following factors should be considered:
- chimney diameter;
- maximum and average distance from the wall;
- wall material and pipe material.
With a small distance from the wall, plate wall mounts are chosen; with an increase in the clearance, you will have to switch to cantilever structures.
A small diameter pipe can be fixed with a clamp on a hairpin; for heavy sandwich structures, a more reliable fastening will be needed.
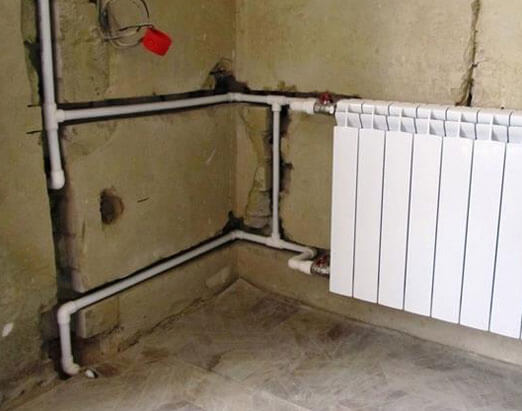
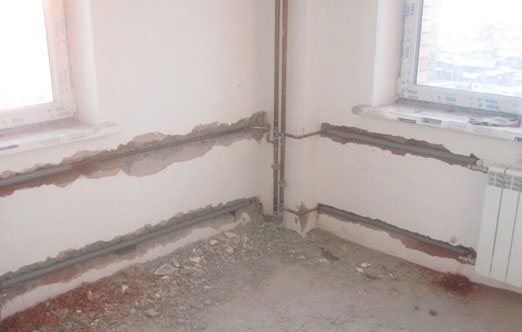
Methods for fixing heating pipes in the wall
As a rule, it is customary among residents to hide steel heating pipes in the wall, those that have already served for a long time and have a very unpresentable appearance.
However, it is worth remembering that there are two main options for such work:
- Equip the main walls with grooves and move the racks a short distance, and then seal them up with plaster.
- Design a plasterboard box around the heating pipes.
There are also cases when the wall is completely sheathed with plasterboard. The riser in this case is located inside the false wall.
Next, mention should be made of the most common methods for covering pipes in a wall.

Installation rules
In order for the chimney to be fixed securely and not to squirm under the gusts of wind, experienced craftsmen formulated the following rules for installing chimneys:
- it is necessary to fasten the pipe at least every 1.5-2 meters of its height;
- fasteners are installed in the middle third of the chimney section; fastening at the junction is unacceptable;
- tees and bypasses of the roof edge are mounted on powerful cantilever guides that can withstand the weight of the chimney part above them.
Before tightening the fasteners, make sure that the mounted part of the chimney is vertical using a level or plumb line.
How to remove plastic pipes into the wall
This type of work is simpler, since it is quite possible to do it yourself, excluding the use of a welding machine. Corrosion of such pipes, of course, does not threaten, and these elements can serve up to half a century.
However, there are disadvantages to this installation method:
- the negative sides of the polypropylene used in this method of the device include its high coefficient of thermal expansion, which requires equipping the heating riser with special bends that play the role of expansion joints. This prevents plastic heating pipes from expanding inside the wall;
- the maximum temperature that polypropylene can withstand is 95 ° C, but there are situations when this parameter can be higher, which will inevitably lead to a water hammer. But such a problem will be relevant only for those owners whose heating is connected to the central system.In self-contained structures, control over heating indicators is completely carried out by residents.
In the event that the fastening of heating pipes to the wall will be carried out inside a closed plasterboard box for heating pipes or other decorative structure, subsequently the only repair method will be only to open the entire structure, which is a very laborious and inconvenient work.
Advantages and disadvantages
The starting, or support bracket, is made of two sturdy cantilever structures that are connected at the base with jumpers. To a certain extent, it also carries a power load, since it serves as a support for the entire vertical mass of the chimney and is installed at the place where the chimney exits to the street.
The wall bracket is used to fix the flue duct along its entire length, both vertically and horizontally. It is able to withstand a fairly large weight, create a rigid support, and is easy to install.
The disadvantages include the fact that its fastening ring has a certain, unregulated cross-sectional size.
Clamps differ in the form of fastening the chimney ducts in them - instead of a closed ring, two tightening brackets are used.

As a budget option, ordinary clamps are used, attached to the walls with studs.
The main advantage of the telescopic arm is its sliding design, which allows you to adjust the distance of the fastener from the base to the required amount. Installation can be carried out on uneven surfaces, observing the vertical position of the chimney. It is not necessary, as in other options, to cut the rods or guides to the desired size.
Devices consisting only of cantilever rails, without fixing clamps and ring pads, are easy to install. They are also easy to adjust the distance of installation of the chimney to the wall. However, their fastening is less rigid than in the ring clamps.
Installation
The rules for installing air ducts are regulated by the standards of GOST and clearly prescribe the sequence of placing the elements. First of all, the horizontal section of the pipe is docked with the heating equipment and brought out to the street or brought to the place of transition into a vertical structure.
The next step is the installation of the fixing points. According to the markings applied, the wall is drilled in the right places, forming holes of the corresponding diameter in the amount that is provided for by the brackets. Then they are equipped with plastic dowels.
The support bracket is fixed in its original form. It is better to disassemble the wall parts before installation by disconnecting the outer half of the covering clamp. The plate with the leg and the second half is fixed on the wall.
After that, metal channels or sandwich pipes are assembled into a single structure, starting from the bottom and moving up. As the line approaches the place of fixation, it is pressed with the halves of the clamp and tightened with bolts. Throughout the entire process, it is necessary to control the vertical position of the pipe line using a building level.
If the chimney is drawn from stove heating, the line is collected from pipes and partially stretched inside the premises. In this case, the wall should be insulated before fixing the brackets.