A visor for a chimney is a special device that is mounted on a chimney and is not only a decoration, but also an important component of a chimney. This device performs a number of important functions, including: correct removal of combustion products, protection of the pipe channel from atmospheric precipitation, as well as from various debris entering the pipe. Correct installation of the visor increases the thrust in the system, which affects the efficiency of the system as a whole.
A visor for a chimney is a protective structure, which is considered mandatory for each type of pipe.
Construction properties
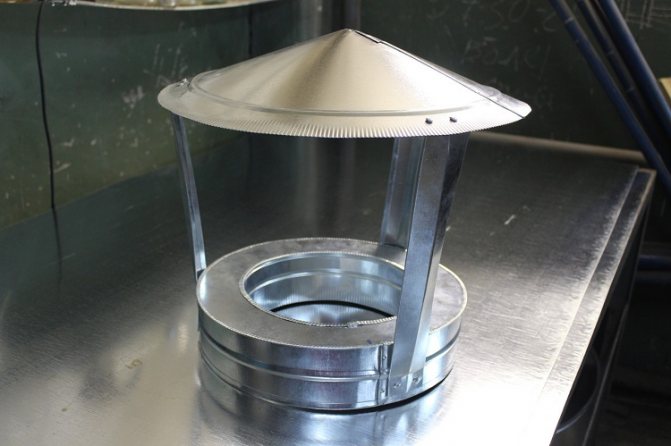
The product consists of two parts:
- Cover. Protects from precipitation
- Dropper. Drains water that flows down the pipe
This design was invented together with chimneys. After snow, rain and even birds got into the first structures, protective caps were invented that eliminated these problems. After a while, such a device began to be supplemented with aesthetics. Since that time, chimneys not only protect ceramic chimney pipes, but also decorate homes.

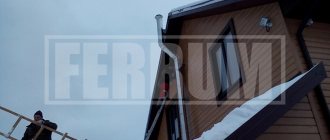
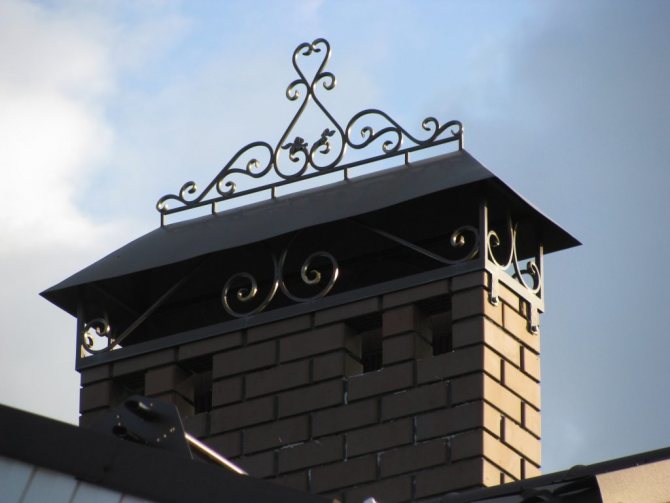
visors for the chimney pipe on the roof
Chimney canopy specifications
The purpose of the hood is to increase thrust by deflecting the air flow. A properly executed deflector protects the chimney from the ingress of snow or water due to slanting rain.
And the mesh, which can also be installed in the chimney, prevents debris and birds from entering the structure.
The dimensions of the chimney hood are in accordance with the dimensions of the chimney pipes.
Main functions:
- Increased traction.
- Improving the efficiency of the chimney up to 20%.
- Protection from rain, snow, debris.
- Strengthening brickwork.
- Improving the appearance of the roof.
A properly executed vane will prevent air turbulence and turbulence that cause noise and vibration in the chimney.
Materials for the canopy over the chimney
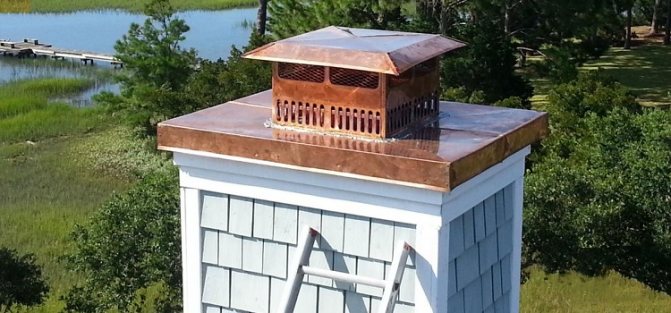
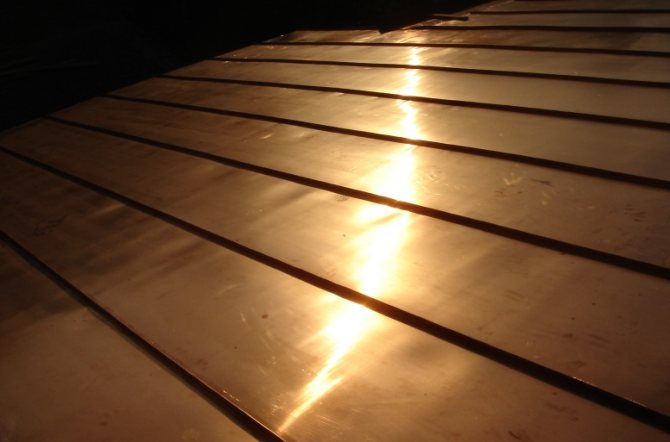
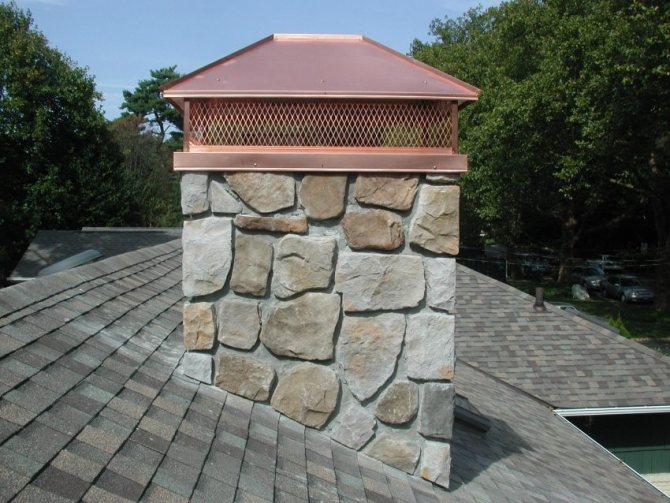
When making a visor for a chimney pipe with your own hands, you can use various materials. The most common are zinc, stainless steel and copper. They are quite resistant to water and acids. If you use other materials, then after a while the visor over the chimney will become unusable. Nevertheless, copper is considered the most durable material for these purposes. A visor made of such a material looks beautiful and has the highest indicators of resistance to water. Chimney canopies photos and videos will be below.
how to make a visor for a chimney pipe
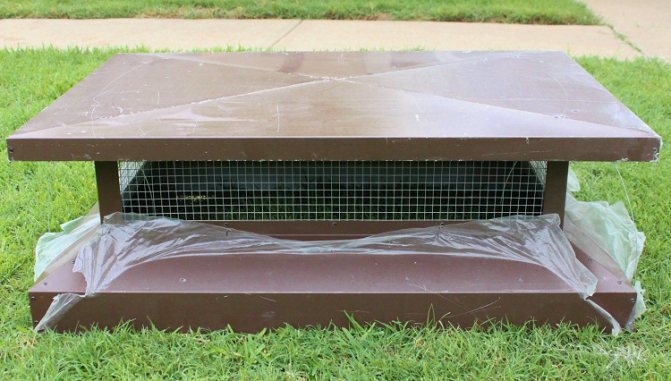
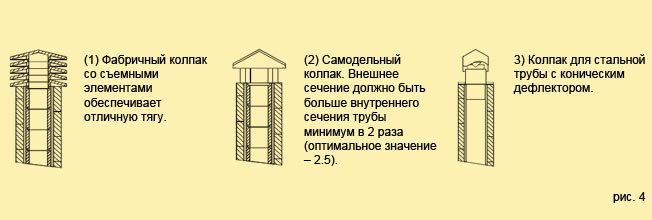
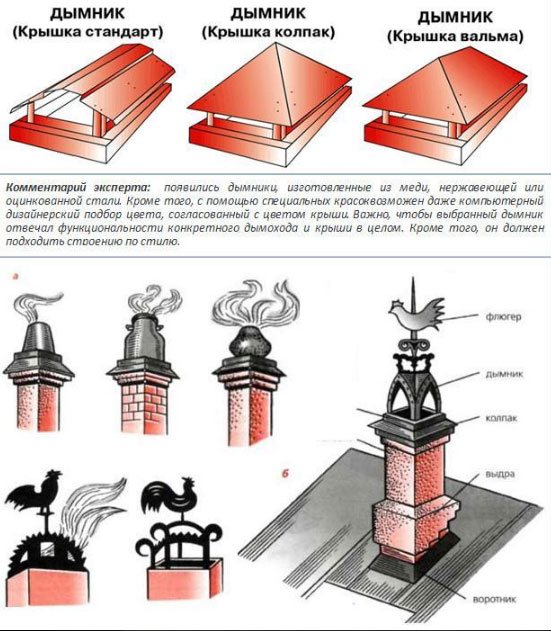
Cap device
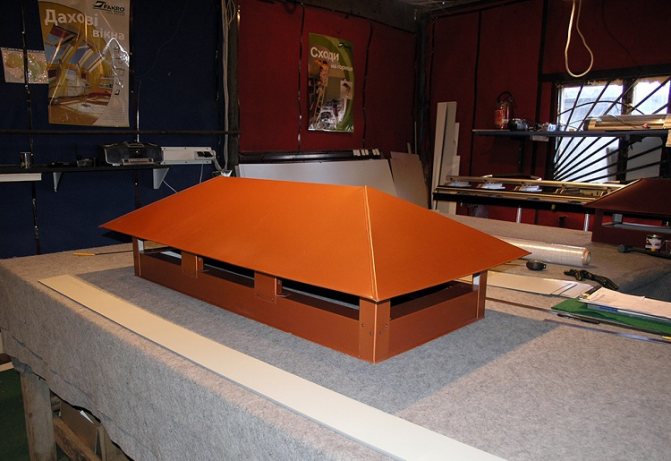
The classic model of the cap is assembled from several parts:
- protective umbrella - in the form of a pyramid, cone, fungus, hemisphere or other more complex configuration. It performs the function of protecting the pipe from moisture and foreign objects,
- apron - drip. This part of the hood protects the chimney head from drops flying off the umbrella. It helps to increase the service life of the chimney, prevents the destruction of brickwork, corrosion of metal parts, the appearance of dampness and fungal deposits on the surface of pipes,
- brackets - metal plates used to connect the visor to the apron. Their number is selected depending on the size of the chimney and the weight of the umbrella. The welding method is used for fastening products.
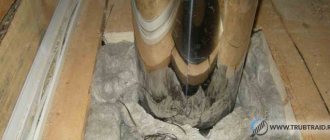
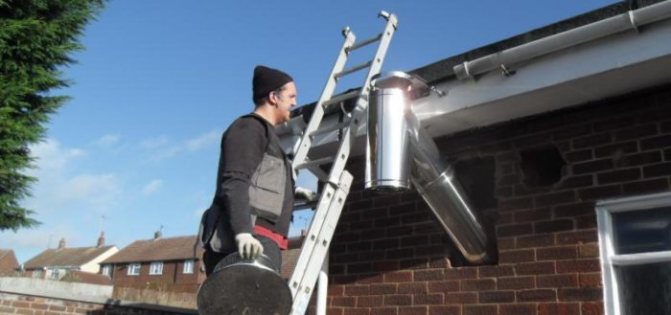
Preparing to install a visor on the chimney with your own hands
Before you make a visor for the chimney with your own hands, you need to draw up a drawing for installation on paper. It is important not to forget about the skirt-shaped drip. With the help of it, water does not flow down the pipe.The vane itself protects the chimney from all sides.
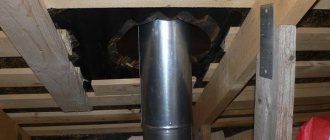
do-it-yourself chimney visor
Making a visor for a chimney with your own hands, drawings and diagrams are in the first place. Next, you need to make sure that he behaves steadily under various atmospheric phenomena. Since the location is rather difficult to access and it is not very convenient to climb there all the time. The best chimneys are considered to be copper or stainless steel. It can also be made from shaped pipes or other available materials, but it will be less practical and reliable. With the right choice of material, it will last for many years.
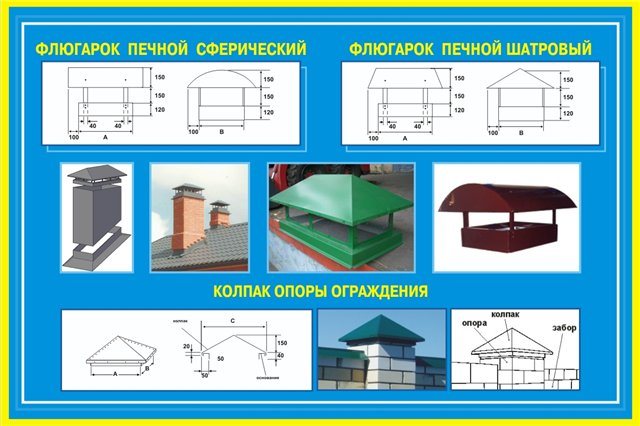
Classification of visors by shape:
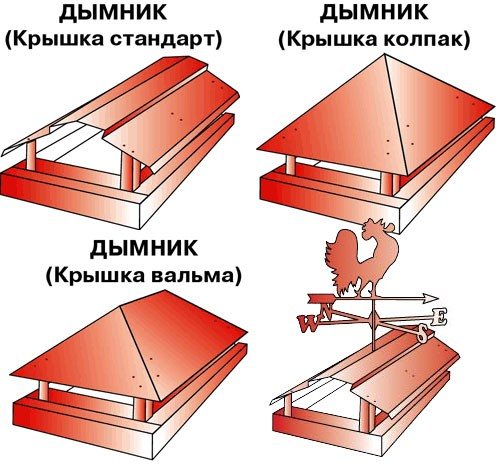
Types of chimney caps in shape.
- Vaulted (semi-cylindrical).
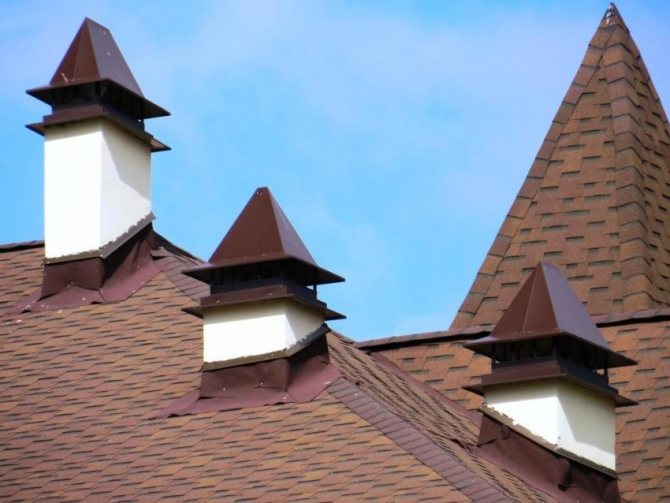
- Tent.
- Four-slope.
- Gable.
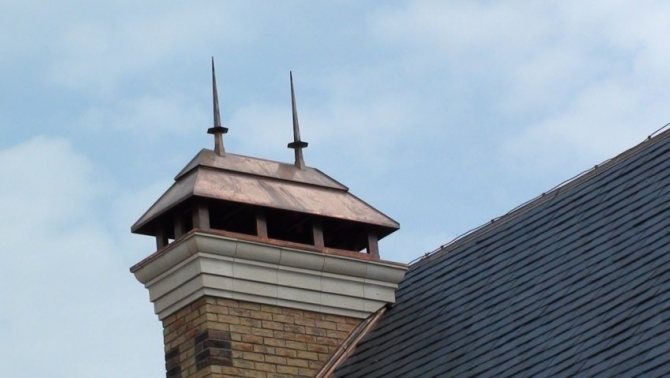
- Spire-shaped.
- Four-pronged.
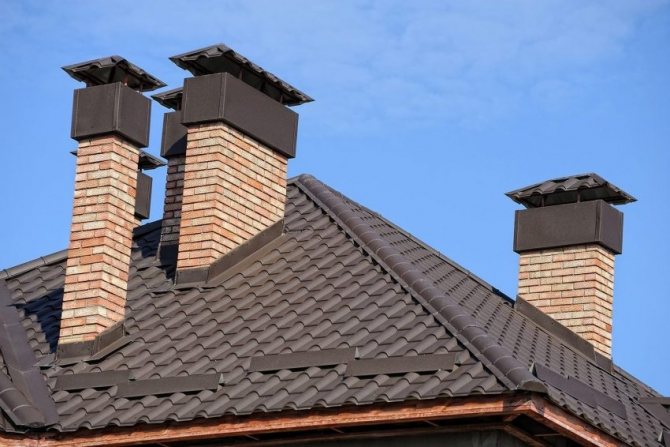
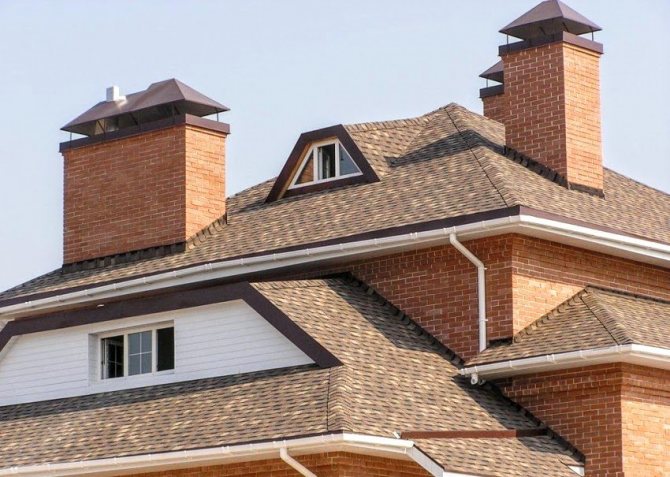
- Flat.
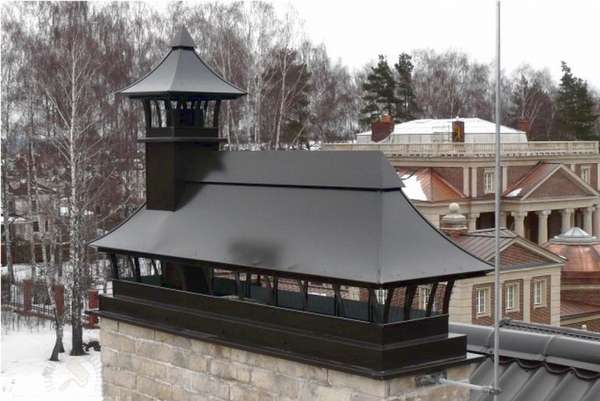
A flat-topped hood made of copper is most often installed on houses built in the Art Nouveau style. If the house is built in the European style, a visor with semicircular tops is more often used. A weather vane with a gable roof allows for effective ventilation and protects the entire structure from filling with snow.
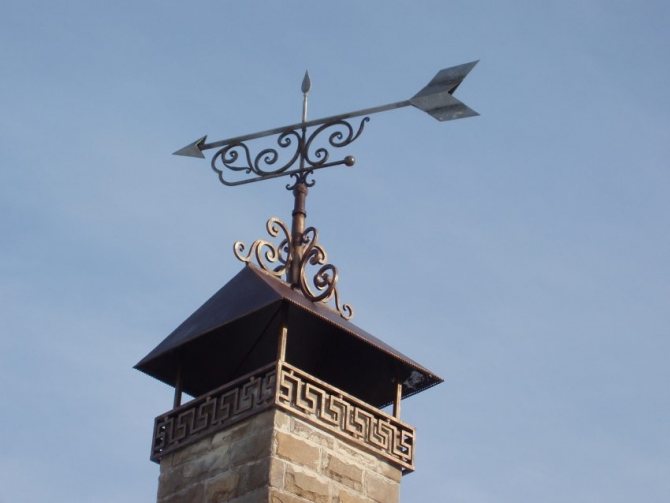
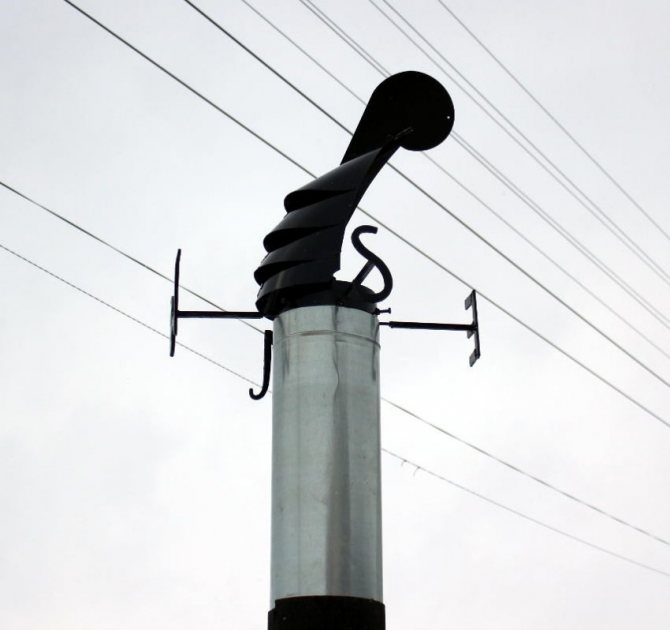
If we are talking about a visor with a built-in weather vane, it is possible to place a special damper, which will make it possible for the combustion product to escape unhindered in windy weather. The chimney equipped with an opening lid is very practical as it makes it easy to clean the chimney ducts.
Types of visors on the chimney.
The reasons why the pipe smokes:
- When the gusty wind intensifies, cold air begins to blow into the chimney, which creates considerable pressure on the outgoing combustion products, which results in a drop in draft, and this is the reason that most of the smoke remains inside.
- Wrong choice of chimney diameter.
- Too low chimney height on the roof and wrong choice of placement.


Principle of operation
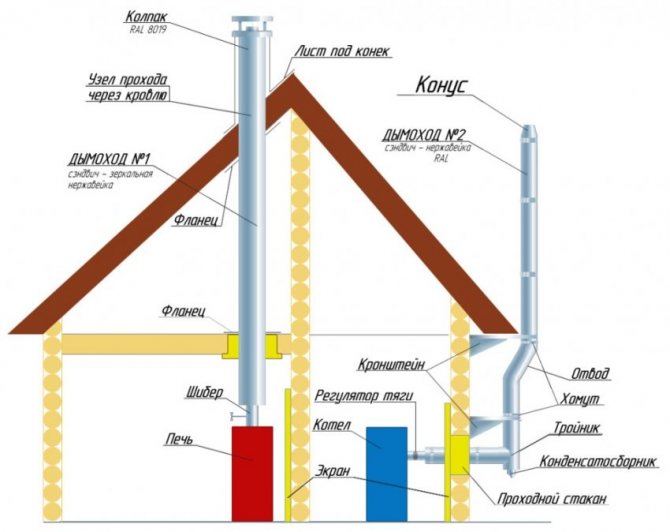
Installing a hood on the chimney not only protects against water and debris from entering the chimney pipe, but also allows you to optimize the draft in the heater. It happens as follows:
- the air flow rests against the wall of the upper cylinder and is forced to bend around it from all sides,
- sliding along the surface of the cylinder, the air stream turns upward, at this time the smoke coming out of the channel is sucked in,
- the movement of air inside the chimney becomes more intense, a zone with reduced pressure is created at the top of the chimney, where smoke rushes from the combustion chamber,
- if the wind jets are directed vertically or at an angle, then they penetrate into the upper cylinder through the gap and suck the gaseous combustion products into the pipe.
How to make a cap with your own hands?
Despite the limited service life, the hoods are recommended to be made of durable galvanized sheet steel. This is a simple job that anyone can handle with a simple set of tools.
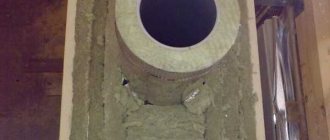
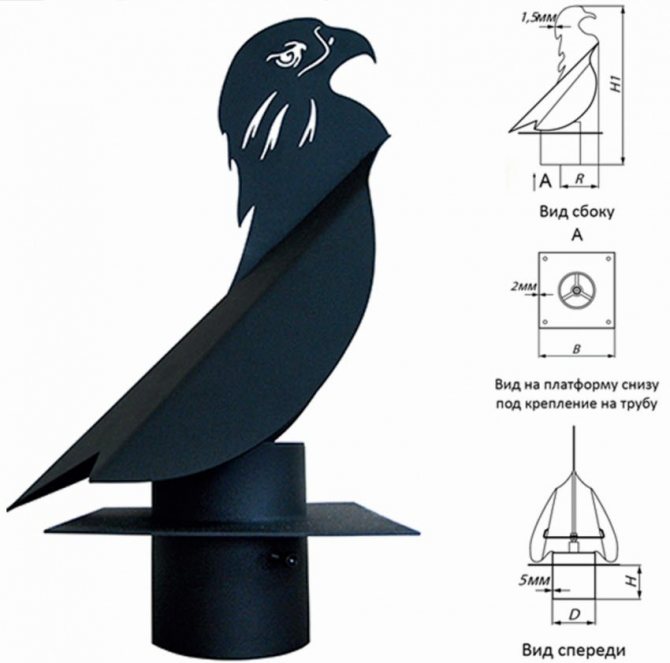
First, you need to measure the diameter of the pipe head, on which the protective cap will be attached. Depending on the type of construction chosen, you need to sketch on paper an approximate sketch of a weather vane - gable, conical or hip type.
It is necessary to adhere to the basic rules in arranging a protective element for a chimney:
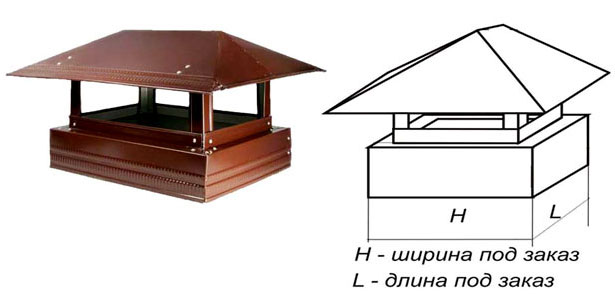
- the upper part of the structure - an umbrella or a cover - must be 10 cm larger than the pipe so that it protrudes 5 cm from all sides;
- the distance between the head of the chimney pipe to the fungus must be at least 10 cm, otherwise it will be difficult for smoke and exhaust gases to escape;
- the inclination of the walls of the fungus or lid should be at an angle of 30 to 45 degrees;
- The nozzle should easily slide over the pipe head, so it is necessary to leave a gap by adding another 3-4 mm to the sketch.
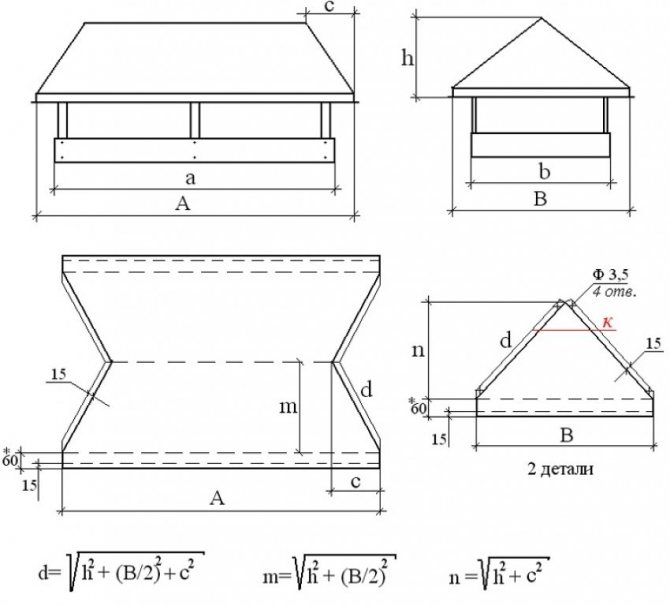
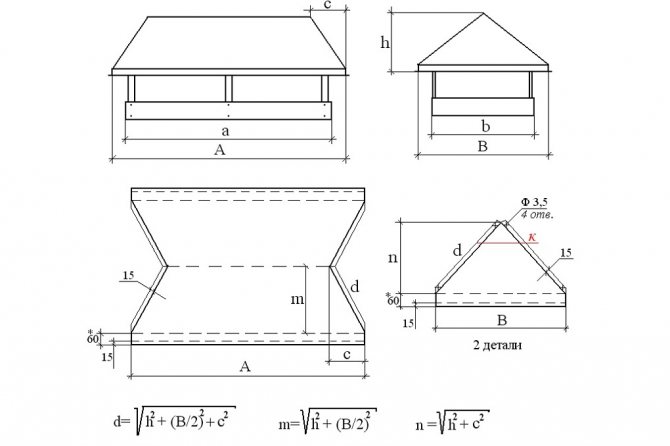
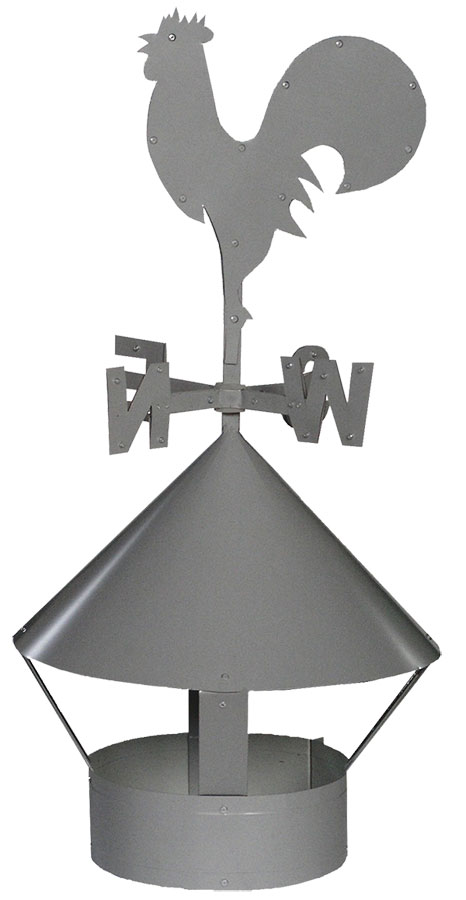
Algorithm for making a weather vane using the example of a simple conical structure on narrow brackets:
- Before working with sheet metal, you need to make a template on cardboard at a scale of 1: 1. A simple pyramidal design involves dividing the pattern into 4 identical triangles connected by vertices.
- With the letter "d" mark the height of each vertical side of the triangles, with the letter "B" the length of their base.
- The drawing should provide for the distance between two of the four sides of the pyramid that will need to be connected.
- To connect the sides, you need to make additional sections with a fold up to 15 mm high, in which holes are drilled for installing rivets.
- At the base of all triangles, you need to draw the sides corresponding to the shape of a rectangular chimney nozzle.
- It is necessary to mark the fold lines with a dotted line.
- The finished piece should be attached to a sheet of galvanized or stainless steel, and cut to shape using scissors or a metal knife.
- Carefully draw a blade along the fold lines on the cardboard to leave squeezed marks on the metal sheet. The resulting lines will serve as a guide for the folds.
- Use a drill to drill rivet holes on both sides of the workpiece.
- The metal is bent with a special bending machine to form a pyramid shape. The connected parts of the structure are fixed with rivets.
- The upper protective part is ready. Now you need to make brackets from metal plates and weld them to the fungus. A primer is applied to the welding site, and the cap is covered with anti-corrosion paint. The finished legs of the structure are attached to a metal base, which is pre-made from metal plates along the diameter of the pipe head.
Advantages and disadvantages
The advantage of installing a hood on a chimney is:
- more aesthetic appearance of the chimney duct,
- protection of the inner space of pipes from the ingress of foreign objects and various debris,
- protection of the chimney material from the effects of precipitation,
- the chimney covers part of the mouth, not allowing the flow of wind to overturn the draft.
There are not so many disadvantages of installing an umbrella on the chimney, but they are quite significant:
- the product is installed in the path of the exit of combustion products and serves as some obstacle to their free outflow. An incorrectly selected and installed model can reduce traction and lead to smoke in the room,
- The water vapor formed during fuel combustion goes out with the smoke through the chimney to the street and condenses, in contact with the cold metal of the hood, and then freezes when the temperature drops below 0º. As a result, icicles freeze on the chimney, which blocks the passage opening of the pipe and impedes the smoke removal process.
Types and designs of caps
The variety of shapes and types of chimney ducts forces manufacturers to develop hoods of any size, configuration, and appearance. In specialized stores you can buy a chimney of the following forms:
- gable,
- hip,
- tent,
- steeple,
- with a flat lid.
Photos of different types of chimney caps:

For the manufacture of caps, one of the following materials is used:
- stainless steel,
- copper alloy,
- roofing galvanized sheet,
- powder coated galvanized steel,
- titanium zinc alloy.
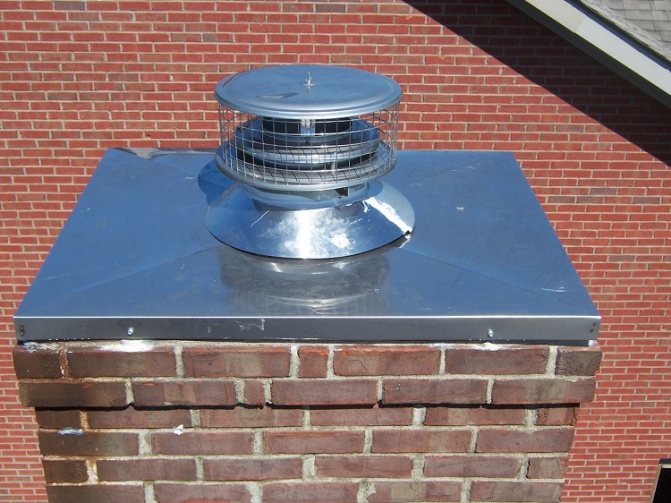
The chimney design can have:
- an opening lid, which greatly simplifies the maintenance of the chimney,
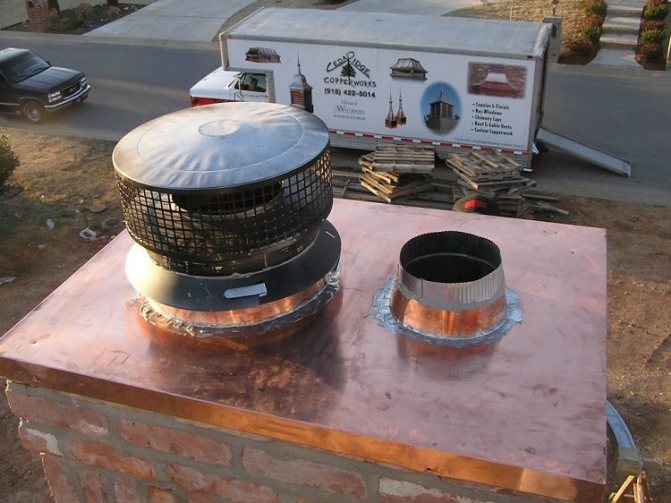
- an air vent allowing free outlet of combustion products,
- spark arrester - designed for solid fuel stoves that heat houses with a roof covering made of combustible materials.
Often chimneys are equipped with weathercocks in the form of heraldic symbols or stylized as images of animals, birds, heroes of fairy tales, myths, decorated with forging, carving.
Materials for making
The characteristics of the raw materials from which the structure is made affect the durability and functionality of the element.
The chimney for the chimney is made from:
- copper alloys;
- become;
- zinc titanium;
- polymer compounds;
- galvanized metal, etc.
Copper products are popular, aesthetic, durable (they last about 50 years). When installing, it is important to take into account the incompatibility of the alloy with other compositions. Fasteners are recommended to be made of copper to prevent oxidation. Long-term operation depends on the compliance with the installation standards.
Galvanized metal is popular for the manufacture of protective structures. Dyeing of raw materials is not recommended for buildings heated with wood. During operation, the surfaces are covered with a bloom from exhaust fumes, from changes in temperature regimes they lose color.
Zinc-titanium plates used in the creation of protective structures are similar in terms of wear resistance and strength to copper alloys. The service life of the products reaches 50 years. the material is resistant to corrosion processes.
Protective caps made of steel are low-cost, durable, and have an average service life (15-20 years).
Budget models of caps are made of durable plastic (polyester), galvanized steel. The performance characteristics of the products are maintained for up to 10 years. Materials are resistant to temperature extremes, high humidity.
Weathervans are also made using the art of forging from hardened iron. The products are durable, aesthetically pleasing, but they are distinguished by a high price.
Selection recommendations
The choice of design is influenced by the design of the roof, the diameter and materials of the chimney. Brick pipes of typical furnaces are equipped with standard hoods that protect from precipitation and dust, prevent air currents from blowing out. Complicated smoke evacuation systems require hoods with covers, built-in deflectors.
The configuration and design of the product must match the style of the building. When selecting an element, it is necessary to take into account the methods of fastening the structure to the roof and the technology of installation work.
The structure is located in a hard-to-reach place, therefore, it is recommended to use strong compounds for the caps. Models can be supplemented with a mosquito net, however, it is necessary to take into account the weakening of the draft from the furnace structure during installation.